 Save
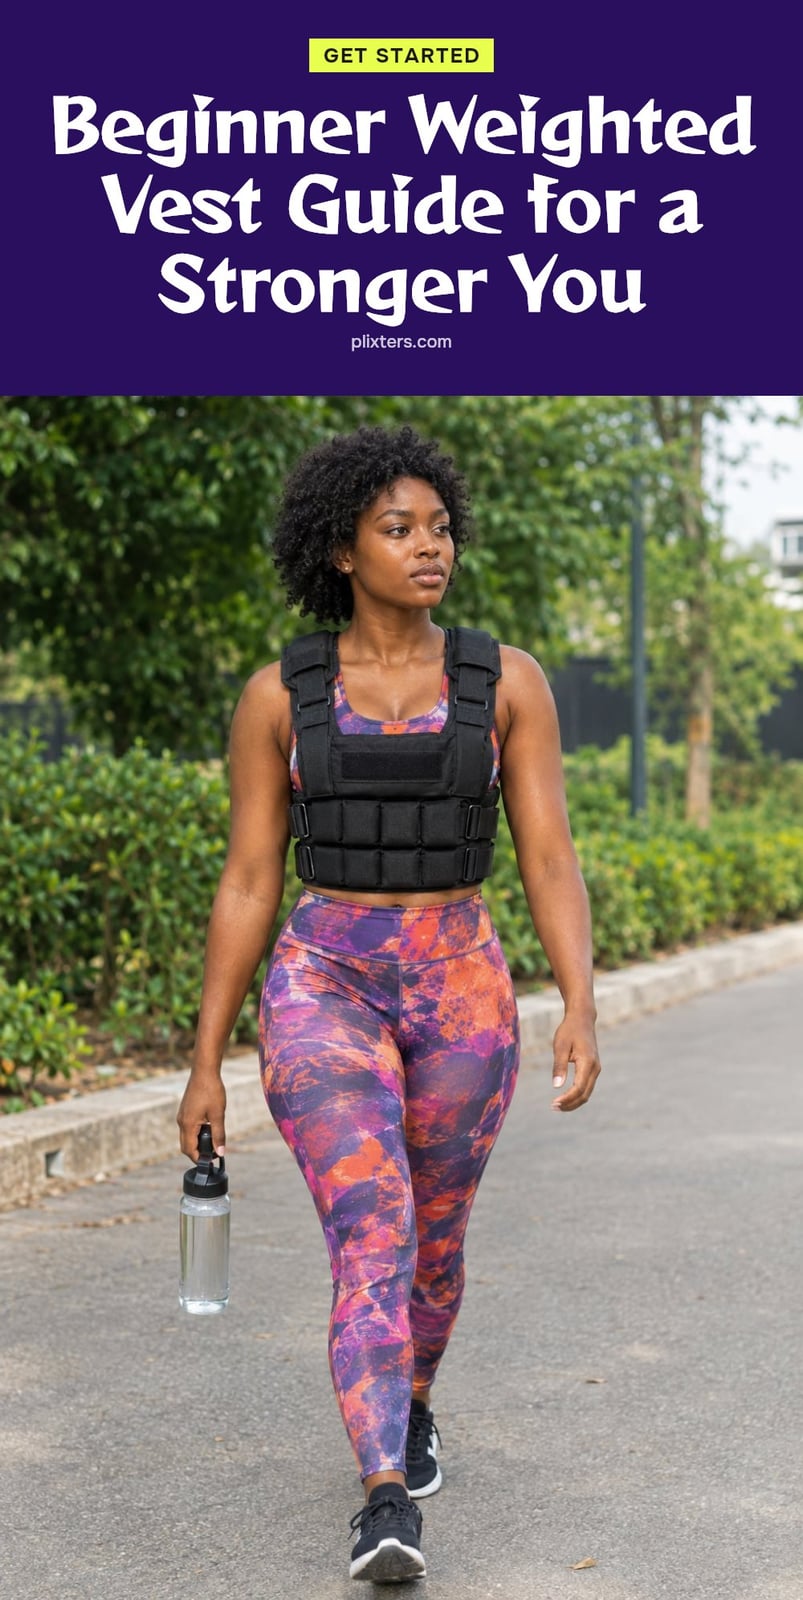
Adding a weighted vest to your workouts can take your fitness to the next level, whether you’re walking, doing bodyweight exercises, or tackling hills. This piece of gear increases the load on your body, helping you build strength, improve endurance, and burn more calories. In this article, I’ll cover the benefits, how to start safely, and tips to avoid common mistakes so you can get the most out of your weighted vest.
Key Takeaways
- Start with a vest that is 5-10% of your body weight to avoid injury.
- Wear the vest snugly so it doesn’t shift during movement.
- Use it for walking, bodyweight exercises, and light cardio, not high-impact moves at first.
- Stop immediately if you feel sharp or persistent pain in your joints or back.
- Expect noticeable strength and endurance gains within 4 to 8 weeks of consistent use.
10 ideas in this post
- What is a Weighted Vest and Why Use One?
- Essential Gear for Weighted Vest Workouts
- Step-by-Step: How to Safely Start Using a Weighted Vest
- The Benefits of Incorporating a Weighted Vest into Your Routine
- Common Weighted Vest Mistakes to Avoid
- Top Tips for Effective Weighted Vest Training
- When to Expect Results and Vest Cost
- When to Consult a Professional About Weighted Vest Use
- Frequently Asked Questions
- Final Thoughts
What is a Weighted Vest and Why Use One?
A weighted vest is simply a piece of fitness gear that adds extra resistance to your body during exercise. By wearing one, you increase the workload on your muscles and cardiovascular system, which can lead to greater strength, endurance, and calorie burn. It may also help improve bone density over time. My tip: start with a vest that is 5-10% of your body weight to avoid injury and build up gradually.
Essential Gear for Weighted Vest Workouts
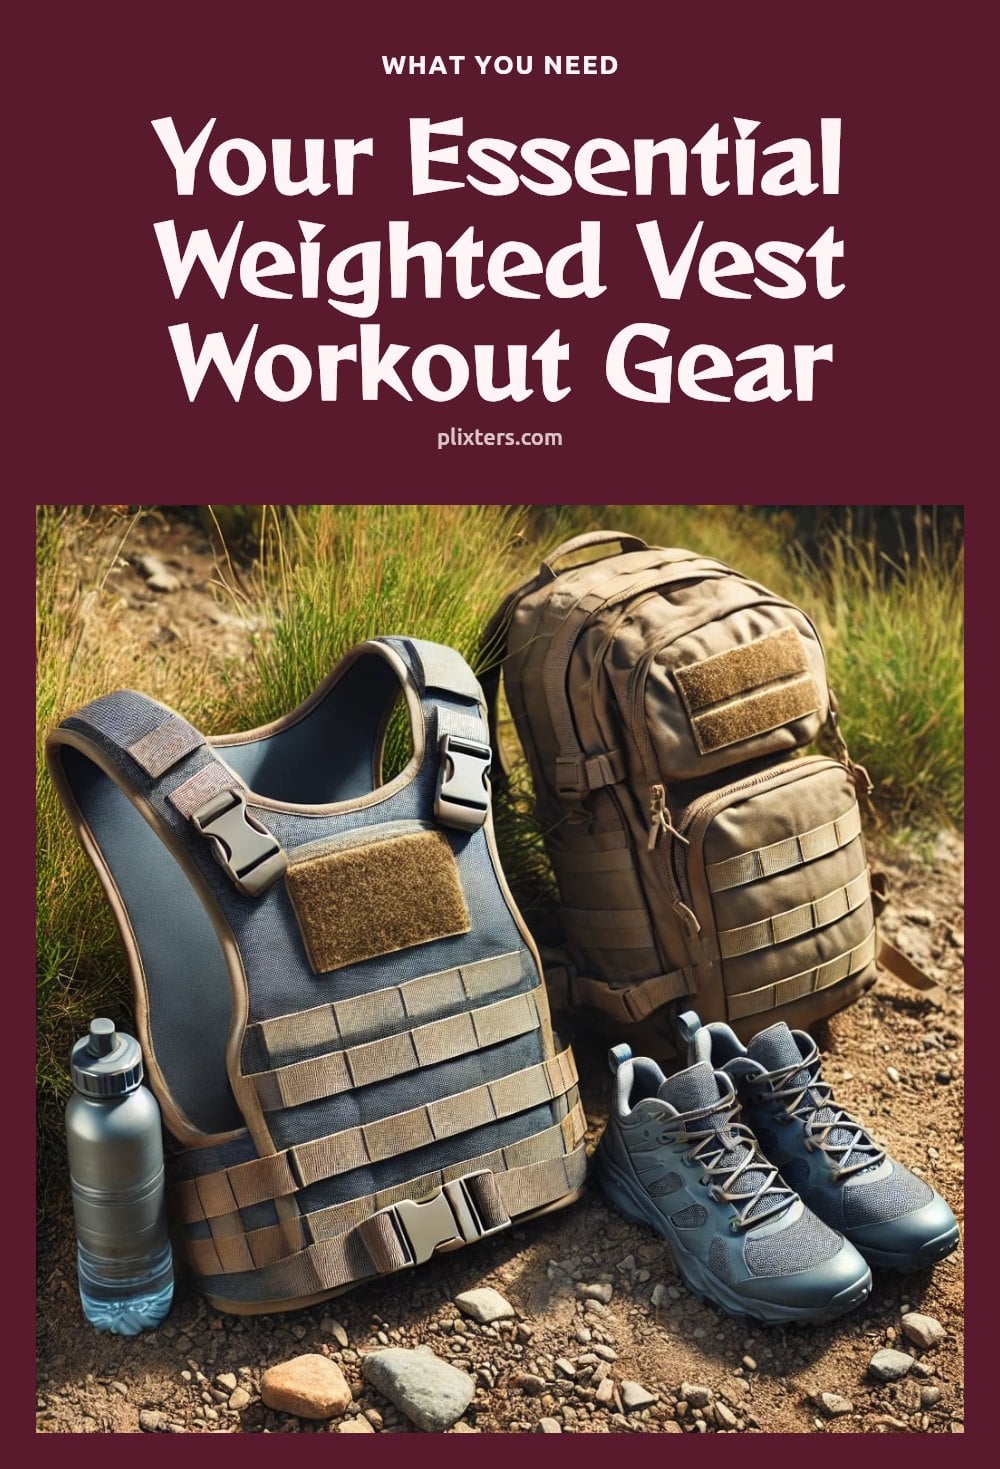
To get started safely, you need a few key items.
- Adjustable weighted vest: Choose one that lets you add or remove weight so you can progress over time without buying a new vest.
- Moisture-wicking athletic clothing: This helps keep you comfortable and reduces chafing from the vest.
- Supportive athletic shoes: The extra load puts more stress on your joints, so good cushioning and stability matter.
Step-by-Step: How to Safely Start Using a Weighted Vest
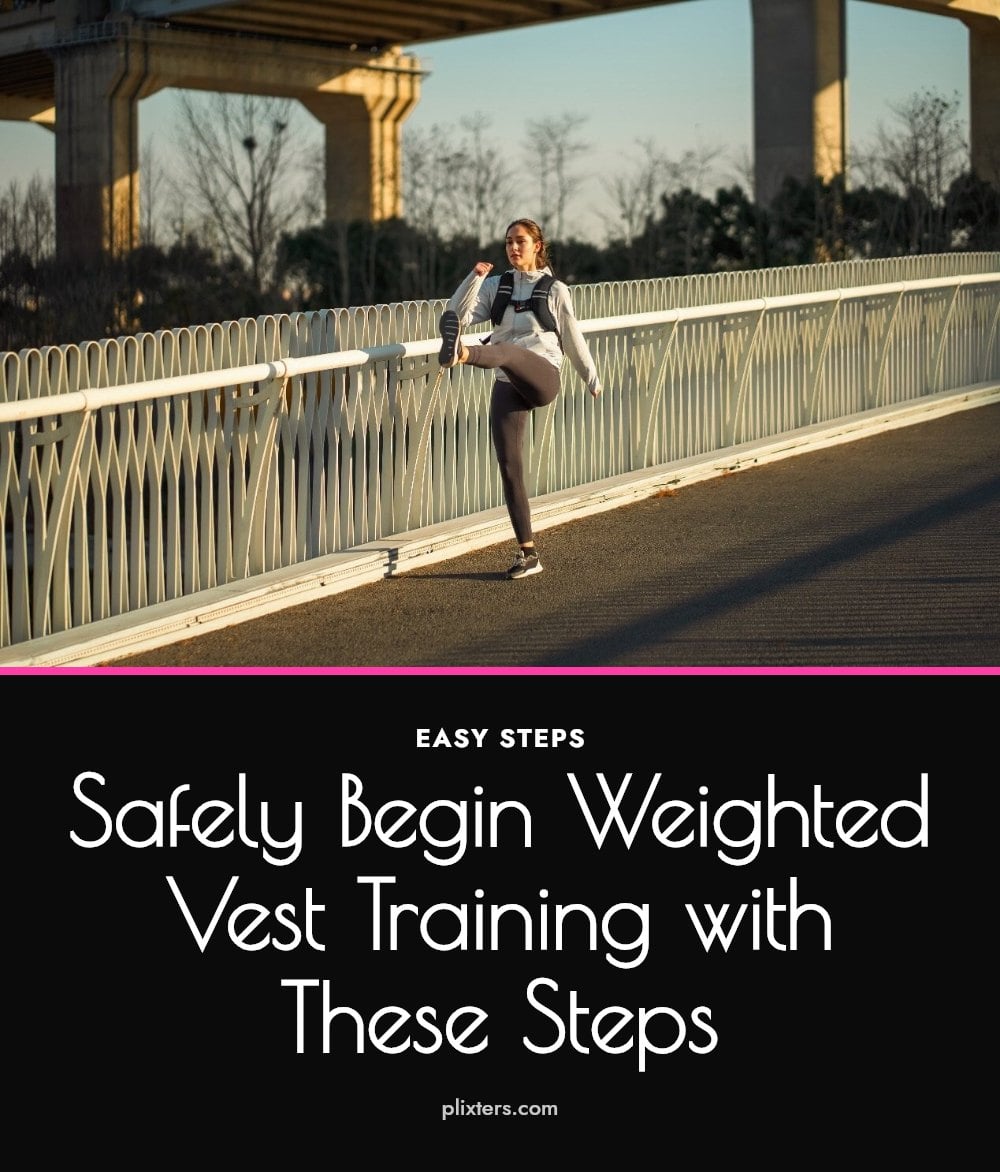
- Choose the right weight: Select a vest that is 5-10% of your body weight. For example, if you weigh 150 pounds, start with a vest between 7.5 and 15 pounds.
- Fit the vest properly: It should be snug against your torso without restricting your breathing or movement. Adjust the straps so the weight stays evenly distributed and doesn’t shift around.
- Start with low-impact activities: Begin with walking on flat ground for 15-20 minutes. This allows your body to adapt to the extra load without jarring your joints.
- Increase gradually: After a few sessions, you can add 5-10 minutes to your walk or increase the weight by 1-2 pounds. Wait until the current weight feels manageable before adding more.
- Listen to your body: Pay attention to how your joints feel, especially your knees, hips, and back. If you notice sharp pain or discomfort, remove the vest and stop. Prioritize proper form over speed or heavier weight.
The Benefits of Incorporating a Weighted Vest into Your Routine
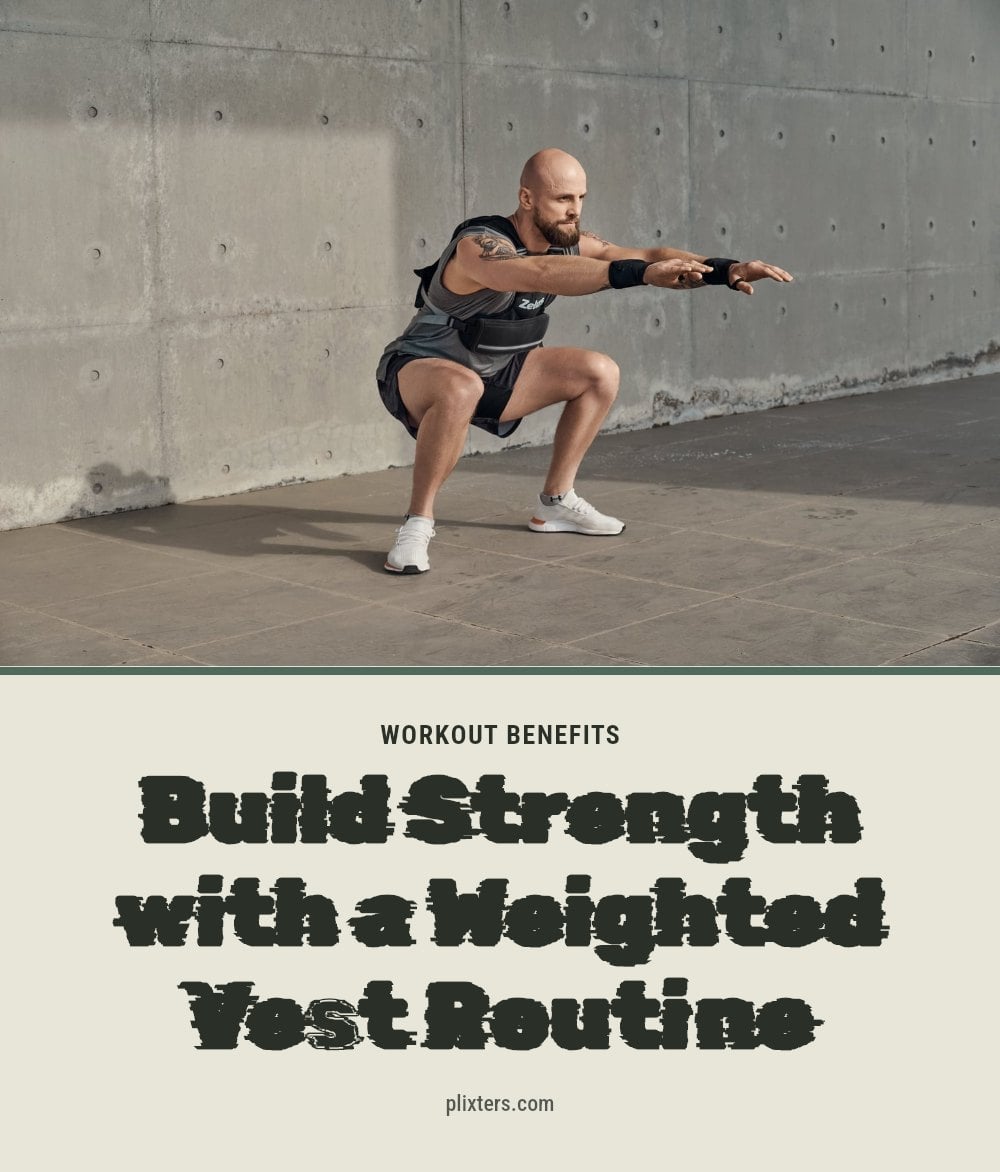
Wearing a weighted vest during your workouts can deliver several tangible benefits.
Increased calorie burn
The extra weight makes your body work harder, so you burn more calories during the same activity compared to doing it without a vest.
Improved muscle strength and endurance
Adding resistance to bodyweight exercises like squats, lunges, and push-ups challenges your muscles more, helping them grow stronger and last longer.
Better bone density
Resistance training with a vest places healthy stress on your bones, which may help increase bone mineral density and reduce the risk of osteoporosis over time.
Enhanced cardiovascular fitness
Your heart has to pump harder to move the extra weight, which can improve your cardiovascular endurance with consistent use.
Common Weighted Vest Mistakes to Avoid
Starting with too much weight: This is the most common error. A vest that is too heavy forces you to compensate with poor form, which can strain your back, knees, and hips. Stick to the 5-10% rule and only add weight when the current load feels manageable.
An ill-fitting vest: A vest that is too loose will bounce and chafe, while one that is too tight can restrict your breathing and movement. The vest should fit snugly around your torso and not shift when you move.
Jumping into high-impact activities: Using a weighted vest for running or jumping right away increases joint impact significantly. Begin with low-impact movements like walking or bodyweight squats to let your body adapt.
Ignoring joint pain: Any sharp or persistent pain in your knees, hips, or back is a sign to stop. Pushing through it can turn a minor issue into a long-term injury.
Failing to progress gradually: If you never increase the weight, your progress will stall. Add small increments every few weeks to keep challenging your muscles without overloading them.
Top Tips for Effective Weighted Vest Training
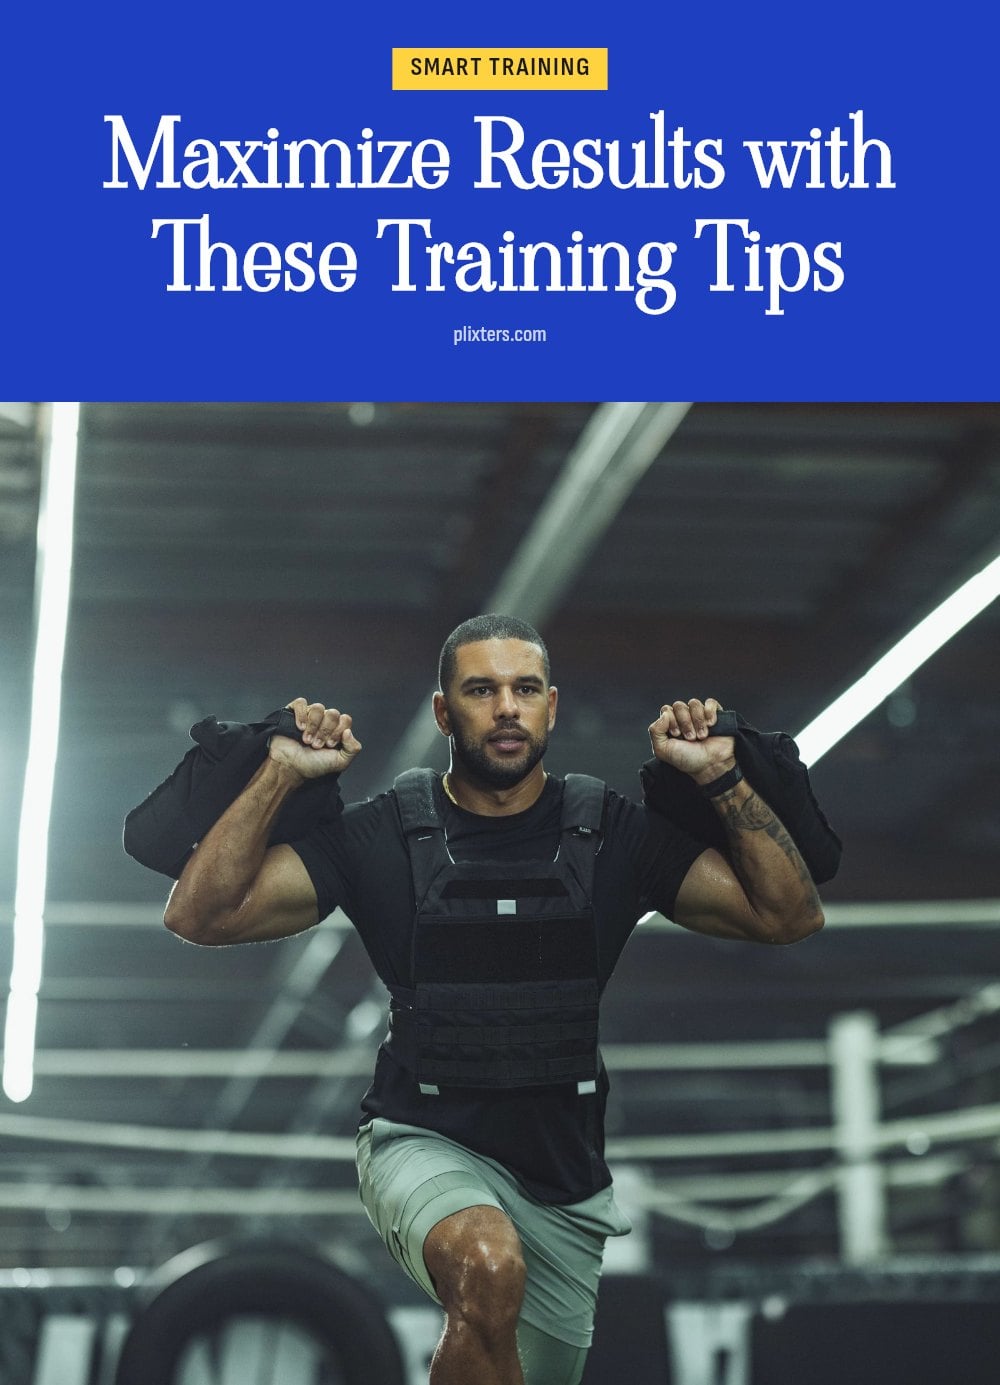
Vary your activities: You don’t have to limit the vest to one exercise. Wear it for brisk walks, hikes, squats, lunges, push-ups, or even household chores. Changing the movement pattern keeps your body adapting.
Prioritize proper form: The extra weight magnifies any postural flaw. Keep your chest lifted, shoulders back, and core engaged. If you notice your lower back arching or your shoulders rounding, reduce the load.
Stay hydrated: The added resistance makes you sweat more. Drink water before, during, and after your workout to prevent dehydration.
Listen to your body: Rest days are non-negotiable. If you feel unusual fatigue or soreness that doesn’t fade, take a break. Pain is a signal, not a challenge.
Consult a professional: If you have any pre-existing condition, back pain, joint issues, heart concerns, talk to a physical therapist or doctor before adding a weighted vest to your routine.
When to Expect Results and Vest Cost
With consistent use, three to four sessions per week, many people notice improved strength and endurance within 4 to 8 weeks. You may find yourself able to walk farther, do more reps, or feel less winded during cardio.
Weighted vests range from basic fixed-weight models to adjustable vests that allow you to add or remove weight plates. Adjustable vests cost more upfront but let you progress over years without buying a new vest. A fixed-weight vest is a cheaper entry point if you are certain you won’t need to increase the load.
When to Consult a Professional About Weighted Vest Use
Sharp or persistent pain: Stop immediately if you feel pain in your knees, hips, back, or any muscle that does not go away with rest. This is your body telling you something is wrong.
Pre-existing conditions: Consult a doctor before using a weighted vest if you have heart disease, high blood pressure, joint problems, or are pregnant. The added load can affect your cardiovascular system and joints.
Arthritis or osteoporosis: Exercise caution. Weighted vests can be beneficial for bone density, but improper use can worsen joint pain or increase fracture risk. A physical therapist can help you choose safe exercises.
Dizziness or excessive fatigue: If you feel lightheaded, nauseous, or unusually tired during or after wearing the vest, remove it and rest. These symptoms may indicate you are overdoing it or dehydrated.
Frequently Asked Questions
Can I run with a weighted vest?
Yes, but only after you have built up a base of strength and conditioning. Running adds impact to your joints, so beginners should stick to walking or light jogging. If you have any joint concerns, consult a professional before running with the vest.
How often should I use a weighted vest?
Aim for three to four sessions per week, with rest days in between to allow your body to recover. Using the vest every day can lead to overuse injuries, especially if you are new to the added load.
What exercises are best with a weighted vest?
Walking, hiking, squats, lunges, push-ups, and step-ups are all great choices. These exercises let you maintain good form while the extra weight increases the challenge. Avoid high-impact moves like sprinting or jumping until you are well conditioned.
Will a weighted vest help me lose weight?
It can support weight loss by increasing the calorie burn of your workouts, but it is not a magic solution. The vest adds to the metabolic demand of exercise, so you burn more calories than without it. Combine it with a balanced diet and consistent routine for the best results.
How do I clean my weighted vest?
Check the manufacturer’s instructions, but most vests can be spot-cleaned with a damp cloth and mild soap. Avoid machine washing unless the label specifically allows it, as water can damage the weight pockets or fabric. Let it air dry completely before using it again.
Final Thoughts
For most beginners, a weighted vest is a simple way to make everyday exercises more challenging without buying complicated equipment. My tip: commit to three to four sessions per week, start with a light load, and focus on proper form. Within four to eight weeks, you’ll likely notice you can walk farther or do more reps. Listen to your body, increase weight gradually, and you’ll build a solid foundation for long-term progress.
This article provides general fitness information and is not a substitute for professional medical or training advice. Always consult your doctor before starting a new exercise program, especially if you have pre-existing health conditions or joint issues. If you experience pain or discomfort, stop and seek guidance from a qualified professional.