 Save
Keeping your shower sparkling clean doesn’t have to be a chore. The secret is a simple routine that mixes daily habits with a deeper clean every now and then, targeting the usual suspects like soap scum, mildew, and hard water stains. This article walks you through the best methods and tools to make your shower look its best with less effort.
Key Takeaways
- Squeegee shower walls and doors after every use to prevent soap scum and hard water buildup.
- Ventilate your bathroom for at least 15-20 minutes after showering to stop mildew growth.
- Use a vinegar and water solution weekly for light cleaning, and deep clean monthly or bi-monthly.
- Tackle mildew with hydrogen peroxide or a baking soda paste, and scrub grout lines with a dedicated brush.
- Always test any cleaner on an inconspicuous area first and wear gloves to protect your hands.
15 ideas in this post
- Mastering Shower Cleaning for a Sparkling Bathroom
- 1. Squeegee After Every Shower
- 2. Ventilate Your Bathroom Well
- 3. Tackle Mildew Promptly
- 4. Conquer Soap Scum with Vinegar
- 5. Scrub Away Hard Water Stains
- 6. Don’t Forget Grout Lines
- 7. Clean Your Showerhead
- 8. Use Microfiber Cloths
- 9. Protect Your Hands
- 10. Weekly Light Cleaning
- 11. Deep Clean Monthly or Bi-Monthly
- Common Shower Cleaning Mistakes to Avoid
- Frequently Asked Questions
- Final Thoughts
Mastering Shower Cleaning for a Sparkling Bathroom
Effective shower cleaning blends regular maintenance with targeted deep cleaning to tackle soap scum, mildew, and hard water stains. The right tools and cleaning agents, from natural solutions like vinegar and baking soda to commercial products, make the job efficient. Consistency is key to preventing buildup and keeping your shower looking its best, ensuring a hygienic and sparkling bathroom.
1. Squeegee After Every Shower

My top tip for a clean shower is to squeegee the walls and door after every single use. It takes less than a minute and dramatically reduces soap scum and hard water buildup.
Why it works: the squeegee removes water droplets before they evaporate and leave mineral deposits behind. That means less scrubbing later.
- Keep a squeegee hanging in the shower so it’s always within reach.
- Do the glass door and tiles in vertical strokes, then wipe the squeegee blade with a towel occasionally to keep it streak-free.
2. Ventilate Your Bathroom Well

Proper ventilation is crucial for preventing mildew growth. Always run your exhaust fan for at least 15-20 minutes after showering, or open a window if you have one.
This helps dry out the shower area and reduces the damp environment mildew loves. Even if you can’t see moisture, the air is still humid.
- Turn on the fan before you start your shower to create airflow from the beginning.
- Leave the bathroom door open after you exit to encourage cross-ventilation.
3. Tackle Mildew Promptly
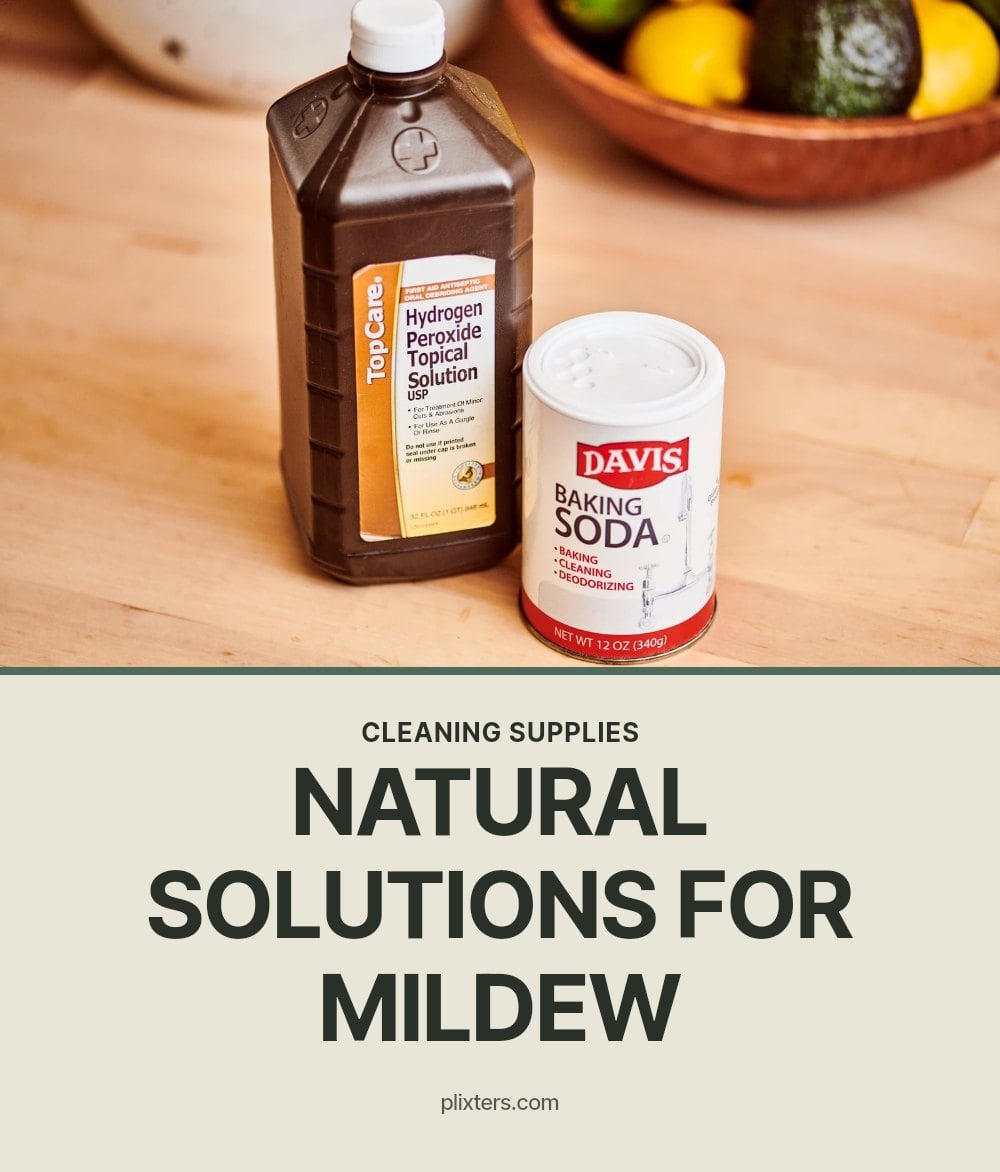
Mildew thrives in damp, warm environments and appears as black or gray spots. Don’t let it settle in. For early mildew, spray hydrogen peroxide directly on the spots and let it sit for 10-15 minutes, then rinse.
For tougher spots, make a paste of baking soda and hydrogen peroxide. Apply it, let it sit for 10-15 minutes, then scrub with a brush and rinse thoroughly.
- Test any solution on a small area first.
- Wear gloves to protect your hands.
4. Conquer Soap Scum with Vinegar
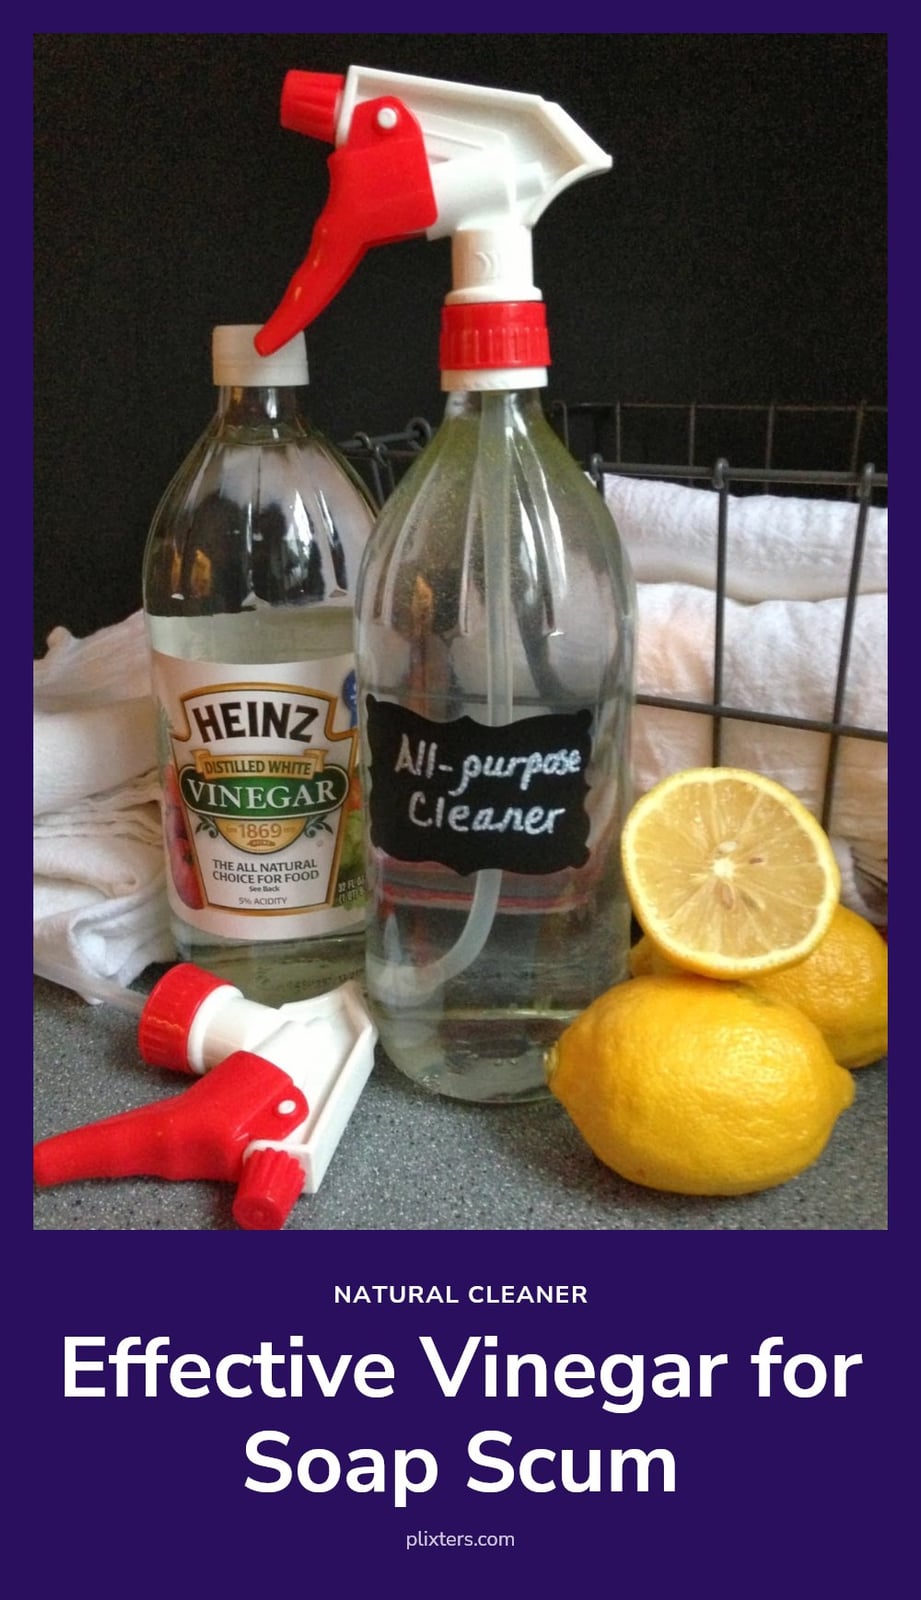
Soap scum is that chalky white residue left behind when soap meets hard water minerals. Acidity breaks it down, and my go-to is plain white vinegar. Mix equal parts vinegar and water in a spray bottle, spray the affected surfaces, and let it sit for 15 minutes. Then scrub with a soft brush and rinse thoroughly.
Tip: For extra cutting power, add a squirt of dish soap to the vinegar-and-water mix. The soap helps lift the scum while the vinegar dissolves the minerals. This combo works on glass doors, tile, and acrylic enclosures without harsh fumes.
5. Scrub Away Hard Water Stains
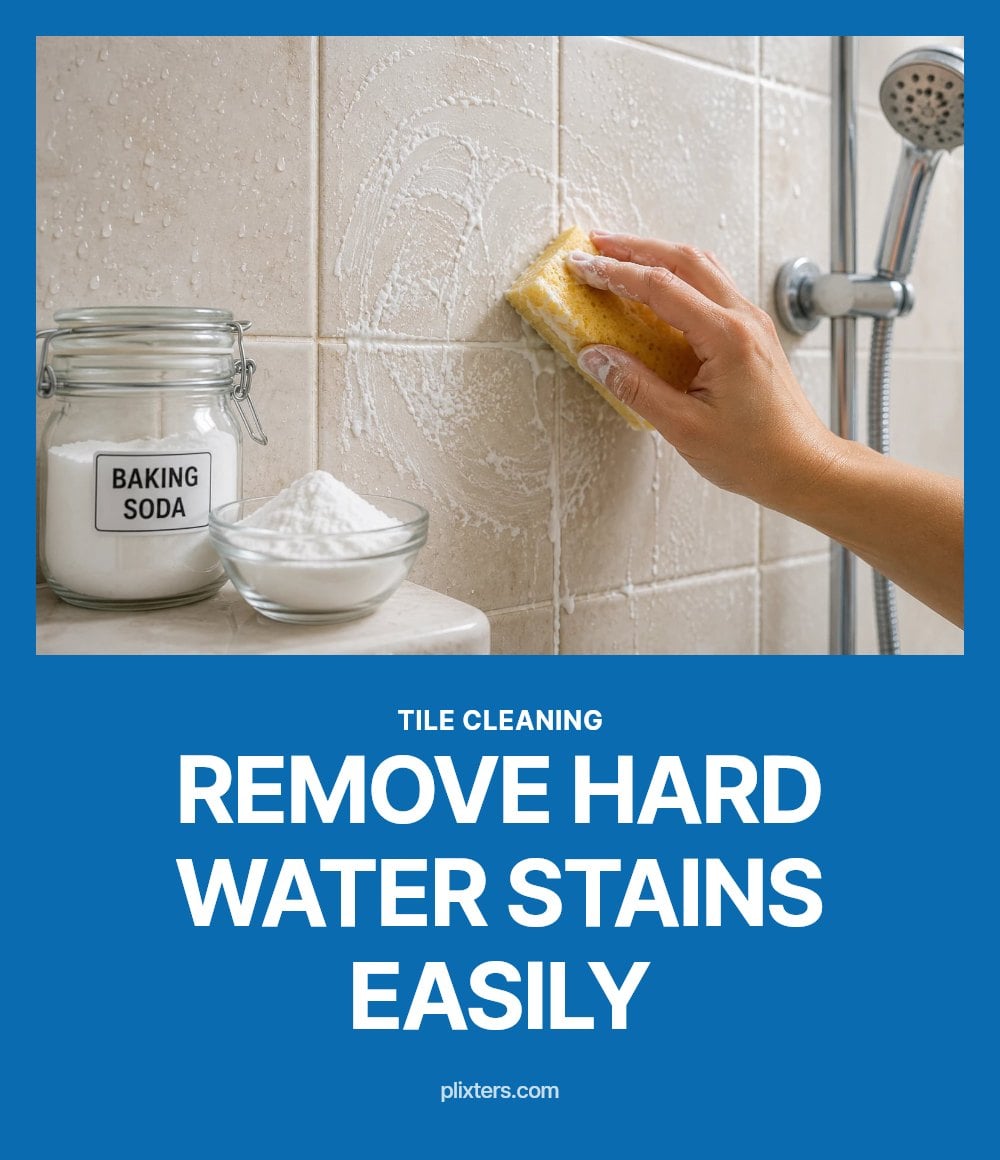
Hard water stains are those stubborn mineral deposits left when water evaporates, often appearing as white or gray spots on glass and fixtures. Vinegar works well here too, but for really tough stains, I make a paste of baking soda and a little water or lemon juice.
Apply the paste directly to the stains, let it sit for 20-30 minutes, then scrub with a non-abrasive brush and rinse thoroughly. The acidity in lemon juice helps break down minerals while the baking soda provides gentle scrubbing power.
6. Don’t Forget Grout Lines

Grout lines are porous, which makes them a prime spot for mold and mildew. A dedicated grout brush is essential here because it gets into those tiny crevices that a regular sponge can’t reach.
For cleaning, make a paste of baking soda and hydrogen peroxide, apply it to the grout, and let it sit for 10 minutes. Scrub gently but firmly with the grout brush, then rinse thoroughly. You can also use a commercial grout cleaner if you prefer.
Tip: Test any cleaner on an inconspicuous area first to make sure it won’t discolor the grout.
7. Clean Your Showerhead
Mineral deposits from hard water can clog the tiny nozzles on your showerhead, which reduces water pressure and makes the spray uneven. A simple overnight soak fixes it.
- Fill a bag: Pour white vinegar into a plastic bag, enough to fully submerge the showerhead when secured.
- Secure it: Wrap the bag around the showerhead and fasten it with a rubber band so it stays in place overnight.
- Scrub and rinse: In the morning, remove the bag, scrub away any loosened residue with an old toothbrush, then run the water for a minute to flush it out.
Do this every couple of months, or sooner if you notice weaker flow. It also helps prevent buildup from spreading to the pipes behind the wall.
8. Use Microfiber Cloths
When it comes to wiping down and polishing, microfiber cloths are your best friend. They’re super absorbent and leave surfaces streak-free, especially on glass.
Keep a few clean ones handy for drying after cleaning or for quick touch-ups between deep cleans.
9. Protect Your Hands
My tip: always wear rubber gloves when cleaning your shower, especially when you’re working with commercial products or acidic solutions like vinegar. The chemicals in cleaners can irritate and dry out your skin, and vinegar-based mixes can leave your hands feeling rough.
Gloves also keep your hands clean and prevent grime from getting under your nails. Pick a pair with a good grip so you don’t drop slippery bottles, and rinse them off after each use so they last longer.
10. Weekly Light Cleaning
Don’t wait for grime to build up. A quick weekly wipe-down with an all-purpose cleaner or your vinegar solution prevents major cleaning sessions later. It takes just a few minutes and stops soap scum and mildew from settling in.
Focus on the most used areas: the shower floor, lower walls, and door. Those spots collect the most residue and moisture. A light spray and a quick wipe with a microfiber cloth keep them fresh between deep cleans.
11. Deep Clean Monthly or Bi-Monthly
While daily and weekly maintenance are crucial, a thorough deep clean is needed every month or two. This is when you tackle hidden grime, scrub grout, and ensure everything is sparkling.
It prevents significant buildup and keeps your shower in top condition.
Common Shower Cleaning Mistakes to Avoid
Waiting Too Long Between Cleanings: Allowing soap scum and hard water stains to build up for weeks makes them far harder to remove. A quick weekly wipe-down prevents the need for heavy scrubbing later.
Using the Wrong Product: A general all-purpose cleaner won’t dissolve mineral deposits from hard water. Match your cleaner to the problem, so reach for vinegar or a dedicated shower cleaner for those stubborn spots.
Not Ventilating: Skipping the exhaust fan or open window after a shower leaves moisture in the air, which invites mildew to spread. Run the fan for 15-20 minutes every time.
Forgetting the Showerhead: Mineral deposits can clog the nozzles and reduce water pressure over time. Soak it in vinegar overnight once a month to keep the flow strong.
Using Abrasive Scrubbers: Steel wool or harsh scouring pads can scratch acrylic, fiberglass, and glass shower surfaces. Stick with soft sponges, microfiber cloths, or non-abrasive brushes to protect the finish.
Frequently Asked Questions
How often should I deep clean my shower?
Deep cleaning is recommended every month or two. This thorough session tackles hidden grime, scrubs grout lines, and ensures everything is sparkling, preventing significant buildup that can be hard to remove later.
Can I use bleach to clean shower grout?
Bleach can be effective for lightening mold on grout, but it’s harsh and can damage porous surfaces over time. A paste of baking soda and hydrogen peroxide is a gentler alternative that works well on mildew stains without the strong fumes.
What’s the best way to clean a clogged showerhead?
For a clogged showerhead, fill a plastic bag with white vinegar, submerge the head, and secure the bag with a rubber band. Let it soak overnight, then rinse and run the water for a few minutes to clear out loosened mineral deposits.
How do I prevent hard water spots on my shower door?
The most effective way is to squeegee the door after every shower. This removes water droplets before they evaporate and leave behind mineral deposits. For extra protection, you can polish the glass with a microfiber cloth after squeegeeing.
Are natural cleaners effective for tough shower grime?
Yes, natural cleaners like vinegar and baking soda can handle many tough stains. Vinegar dissolves mineral deposits and soap scum, while a baking soda paste provides gentle abrasion for scrubbing. For stubborn mildew, hydrogen peroxide is a good natural disinfectant option.
Final Thoughts
Stick with a routine that works for you: a quick squeegee and ventilation after each shower, plus a weekly wipe-down with vinegar or a gentle cleaner. For a deep clean, set aside an hour every month or two to scrub grout and soak the showerhead. With these habits, you’ll keep your shower looking fresh and save yourself from heavy scrubbing later.