 Save
Thinking about lightening your dark hair at home? It’s a bold move that can give you a gorgeous new look, but it’s also a serious chemical process that requires careful planning. This article walks you through what you need to know, from the science behind bleach to the step-by-step process and essential aftercare, so you can make an informed decision and minimize damage.
Key Takeaways
- Always perform a patch test 48 hours before bleaching to check for allergic reactions.
- Use a developer no higher than Volume 20 or 30 for at-home bleaching.
- Apply bleach to mid-lengths and ends first, then roots in the last 10-15 minutes.
- Don’t wash your hair for 1-2 days before bleaching to allow natural oils to protect your scalp.
- Expect multiple sessions, spaced weeks apart, for significant lightening on dark hair.
10 ideas in this post
- Can You Bleach Dark Hair at Home?
- How Hair Bleach Works to Lighten Your Hair
- Your Essential Bleaching Toolkit
- Step-by-Step: Bleaching Your Hair at Home
- Common Bleaching Mistakes to Avoid
- Expert Tips for a Successful Bleaching Session
- Essential Aftercare for Bleached Hair
- When to Seek Professional Help
- Frequently Asked Questions
- Final Thoughts
Can You Bleach Dark Hair at Home?
Yes, you can bleach dark hair at home, but it’s a permanent chemical process that demands careful preparation and execution to minimize damage. Always perform a patch test 48 hours before to check for allergic reactions and a strand test on a hidden section to predict processing time and final color. Dark hair typically reveals warm undertones like red, orange, or yellow during lightening. Use a low volume developer (10 or 20) and plan for multiple sessions spaced weeks apart to achieve significant lightening safely.
How Hair Bleach Works to Lighten Your Hair
How Hair Bleach Works to Lighten Your Hair
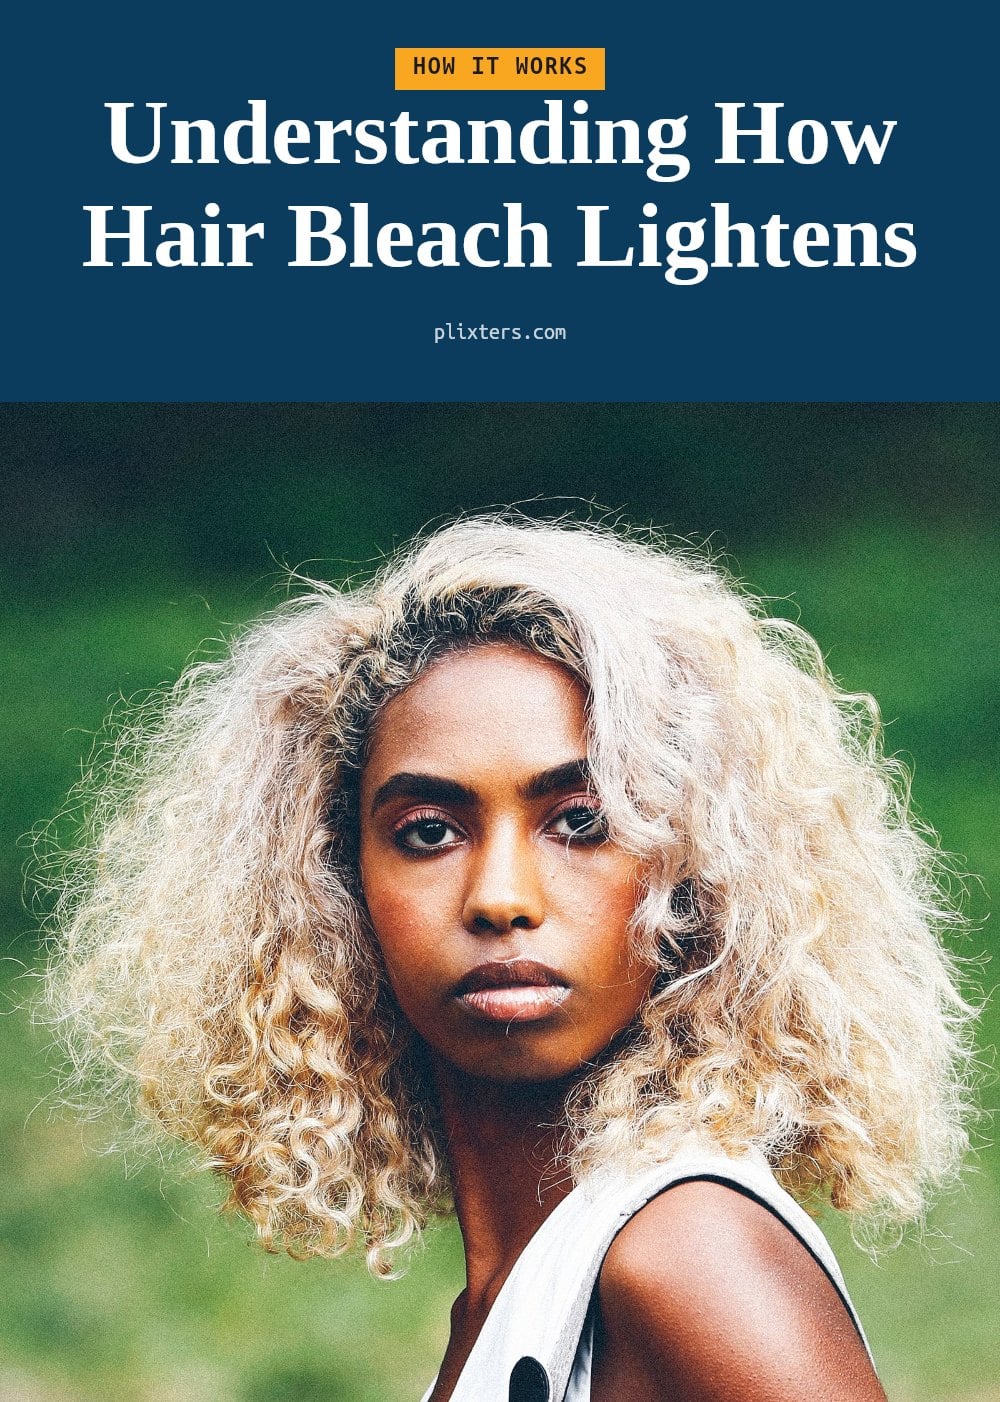
Bleach uses an alkaline agent, such as ammonia, to open the hair cuticle. This allows an oxidative agent, hydrogen peroxide, to enter the hair shaft and break down melanin pigments. Darker hair contains more eumelanin, the black or brown pigment, so it requires more processing to lighten. As the darker pigments are removed, underlying warm tones like red, orange, or yellow become visible.
Developer volume indicates the strength of hydrogen peroxide in the mixture.
- Volume 10: For slight lightening or toning, minimal damage.
- Volume 20: Standard for most at-home bleaching, good balance of lift and safety.
- Volume 30: More lightening but higher damage risk, not recommended for beginners.
- Volume 40: Too strong and damaging for at-home use, can cause severe breakage.
Your Essential Bleaching Toolkit
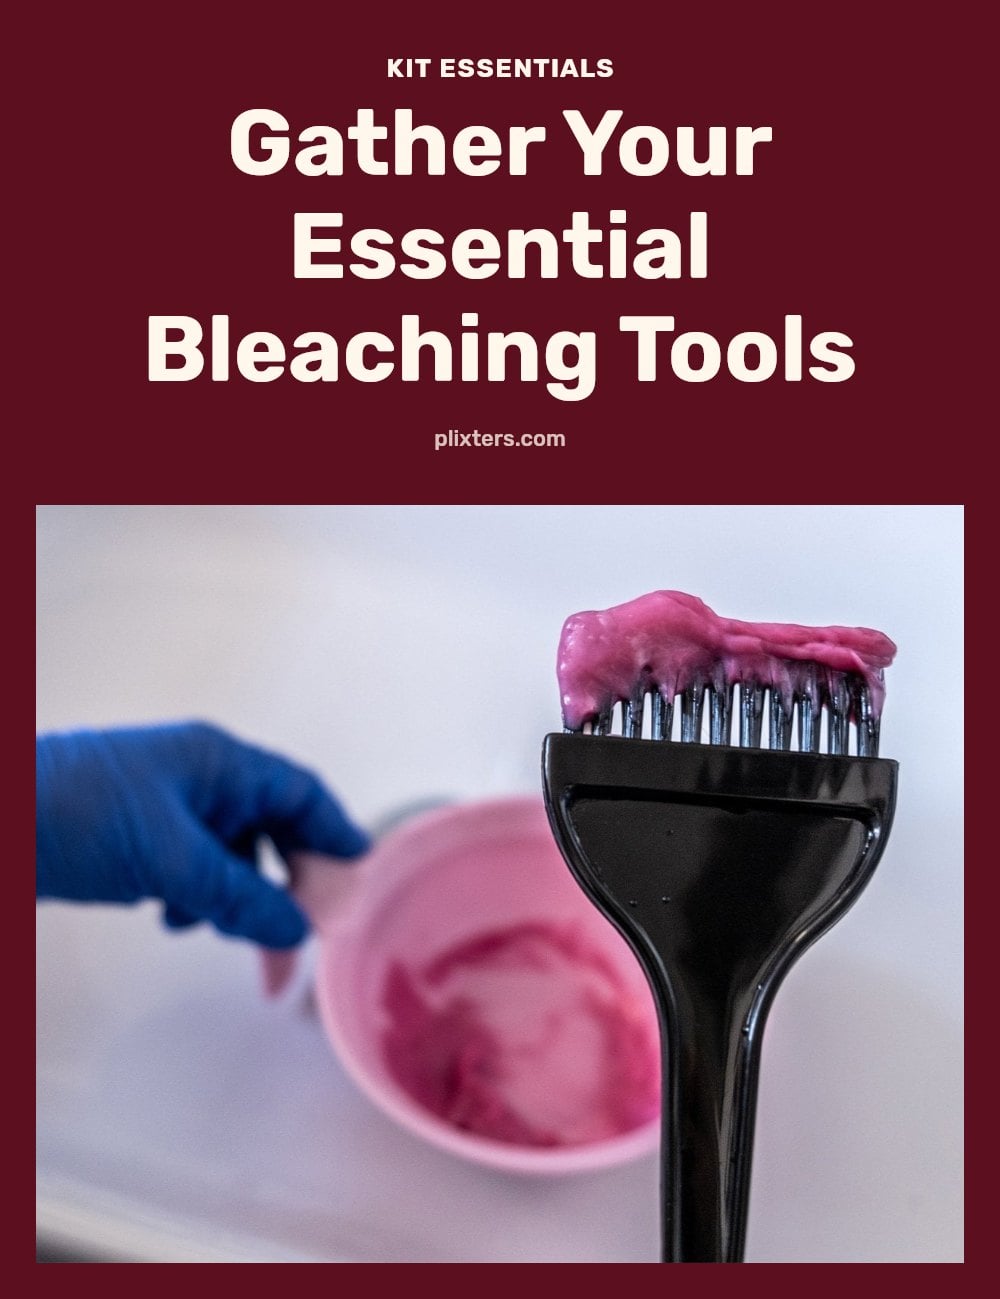
Before you start, gather your full bleaching toolkit. You need bleach powder and a developer, ideally Volume 10 or 20 for at-home use. Use a non-metallic mixing bowl and an applicator brush. Protect yourself with gloves, old towels, and a barrier cream like petroleum jelly for your hairline, ears, and neck. Hair clips or ties help you section your hair thoroughly. A timer is essential for precise processing. For aftercare, have a sulfate-free shampoo, a deep conditioner, and a toner ready to neutralize unwanted undertones.
Step-by-Step: Bleaching Your Hair at Home
- Prepare for safety: Perform a patch test 48 hours before to check for allergies and a strand test to predict results. Work in a well-ventilated area. Wear gloves and old clothes. Apply barrier cream around your hairline, ears, and neck.
- Mix the bleach: Follow the manufacturer’s instructions for mixing ratios precisely. Use a non-metallic bowl and applicator brush. Mix only what you need for one application.
- Section your hair: Divide dry, unwashed hair into four or more sections using clips or ties. This ensures even application.
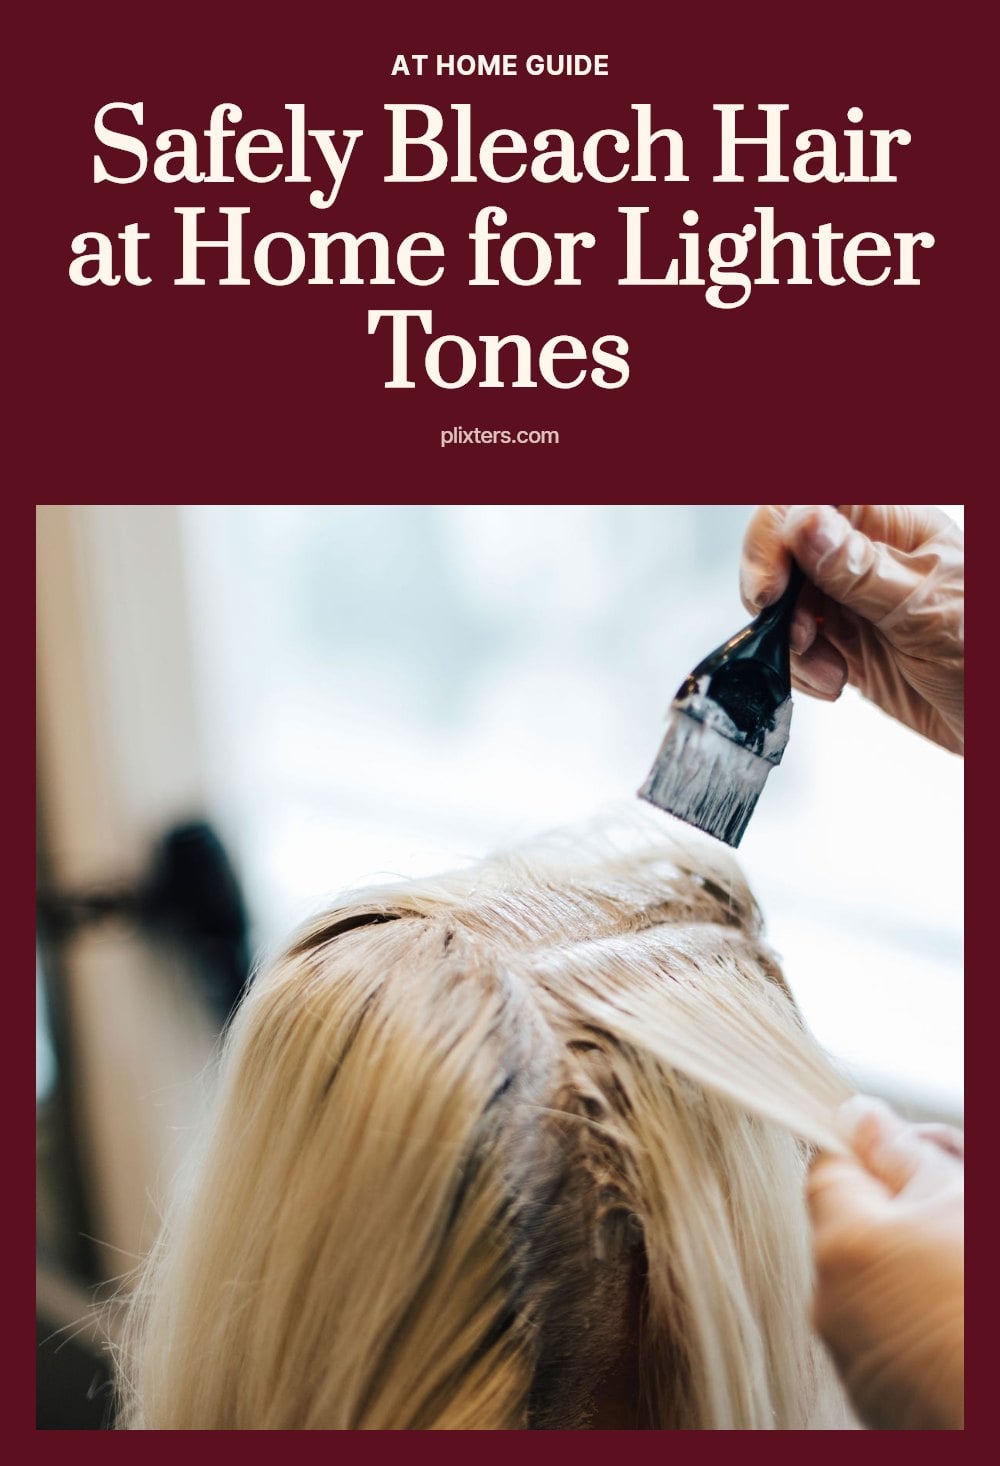
- Apply the bleach: Start with the mid-lengths and ends, applying quickly and evenly. Apply to roots in the last 10-15 minutes, as they lighten faster due to scalp heat.
- Monitor processing: Check your hair every 5-10 minutes. Do not leave bleach on longer than the maximum recommended time, even if it’s not light enough.
- Rinse and care: Rinse thoroughly with cool water until all bleach is removed. Shampoo with a sulfate-free shampoo and follow with a deep conditioning treatment.
Common Bleaching Mistakes to Avoid
Skipping tests: A patch test 48 hours before prevents allergic reactions, and a strand test shows how your hair will lighten and how long it needs. Without these, you risk scalp irritation or a color you didn’t expect.
- Using high volume developer: Volume 30 or 40 is too strong for at-home bleaching. It can cause severe damage, breakage, and chemical burns. Stick to Volume 10 or 20.
- Uneven application: Section your hair into four or more parts and apply bleach quickly. Patchy results happen when you rush or miss sections.
- Bleaching damaged hair: Never apply bleach to hair that is brittle, broken, or recently permed, relaxed, or colored. It can cause the hair to disintegrate.
- Over-processing: Do not leave bleach on longer than the manufacturer’s maximum time, even if it isn’t light enough. You can always bleach again in a few weeks.
- Forgetting to tone: Bleach often reveals warm yellow or orange undertones. A purple or blue toner neutralizes these and gives a more natural blonde result.
Expert Tips for a Successful Bleaching Session

Prep unwashed hair: Don’t wash your hair for 1-2 days before bleaching. Natural oils help protect your scalp from irritation.
- Work quickly: Bleach starts processing the moment it’s mixed. Apply it as fast and evenly as you can to avoid uneven lightening.
- Mind your roots: Scalp heat makes roots process faster. Apply bleach to your mid-lengths and ends first, then add it to your roots in the last 10-15 minutes.
- Avoid heat: Do not use a hair dryer or hooded dryer to speed up processing. External heat drastically increases the risk of damage and breakage.
- Rinse thoroughly: Rinse with cool water until every trace of bleach is gone. Leftover chemicals can continue processing and irritate your scalp.
- Consider multiple sessions: Going from dark brown to light blonde in one go is risky. Space sessions 2-4 weeks apart to give your hair time to recover.
Essential Aftercare for Bleached Hair
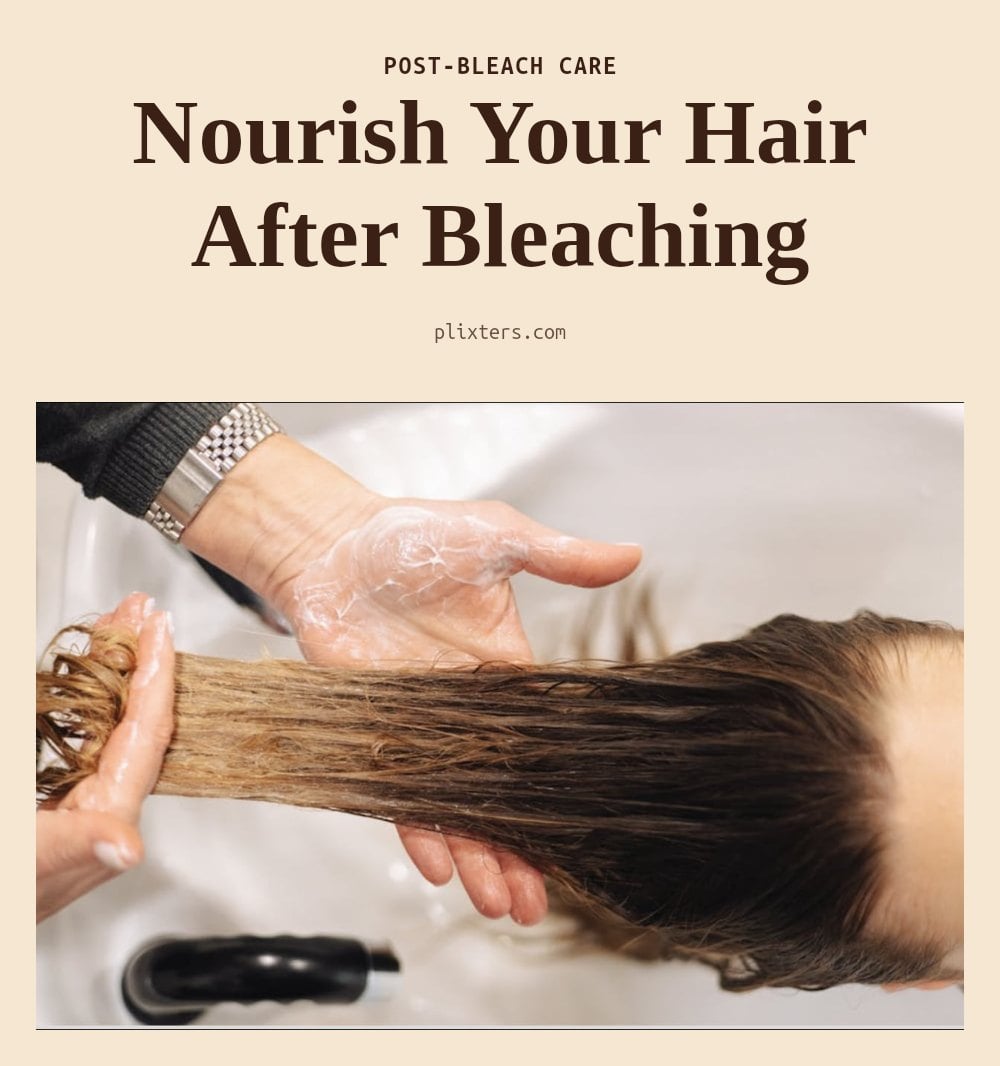
Right after rinsing out the bleach, apply a deep conditioning treatment to restore moisture. Then use a toner (purple for yellow tones, blue for orange) to neutralize any unwanted warmth. Switch to sulfate-free shampoos and conditioners; they are gentler and help your color last longer. Incorporate a weekly hair mask or bond-repairing treatment to strengthen the compromised hair shaft. Minimize heat styling, and when you do use heat, always apply a heat protectant. Protect your hair from sun exposure and chlorine, which can cause further damage and alter your color.
When to Seek Professional Help
If you experience severe burning, itching, or blistering on your scalp, rinse the bleach out immediately and seek medical attention. If your hair feels gummy, overly elastic, or starts breaking off, stop the process and rinse. These signs indicate the hair structure is being destroyed. If your hair is already damaged, brittle, or has a history of chemical treatments like perms or relaxers, consult a professional stylist before bleaching. For dramatic lightening, such as from very dark to platinum blonde, a professional can assess your hair’s condition and achieve the result safely. When in doubt about mixing ratios or your hair’s reaction, a salon visit is the safest option.
Frequently Asked Questions
How long should I wait between bleaching sessions?
It’s generally recommended to wait at least 2 to 4 weeks between bleaching sessions. This gives your hair time to recover and rebuild some strength. If your hair feels dry or brittle, wait longer. Your strand test can help you gauge how your hair responds, and if it’s already damaged, consider seeing a professional instead.
Can I bleach my hair if it’s already dyed?
Bleaching over dyed hair is risky because the existing dye can react unpredictably with the bleach, and your hair may already be weakened from the previous chemical process. If your hair is recently colored, permed, or relaxed, it’s best to avoid bleaching at home. Consult a professional who can assess your hair’s condition and recommend a safe approach.
What if my hair turns orange after bleaching?
Orange tones are a normal intermediate stage when lightening dark hair, especially if you’re going for a very light shade. After bleaching, use a toner to neutralize the warmth: purple toner for yellow tones and blue toner for orange tones. If the orange is very strong, you may need to bleach again, but only after waiting and doing a strand test.
Is it normal for my scalp to tingle while bleaching?
A mild tingling can be normal as the bleach works, but intense burning, itching, or pain is not. If you experience severe discomfort, rinse the bleach out immediately and seek medical attention if needed. Always do a patch test 48 hours before to check for allergies, and apply a barrier cream around your hairline to protect your skin.
Final Thoughts
Bleaching dark hair at home can be rewarding, but it’s not a quick fix. My tip: start with a strand test and a conservative developer like Volume 20, and be prepared for the process to take time. If your hair is already damaged or you want a dramatic change, a professional is the safer route. Realistically, you’ll need several weeks between sessions to let your hair recover, and you’ll need to commit to deep conditioning and toning to keep the color looking fresh.
This article provides general information about at-home hair bleaching and is not a substitute for professional advice. Bleaching is a chemical process that can cause damage or allergic reactions. Always follow the manufacturer’s instructions and do patch and strand tests. If you have a scalp condition, or if you experience severe irritation or hair damage, consult a dermatologist or professional stylist.