 Save
Push-ups are one of the most effective exercises for building upper body strength, but they can be tough to master. If you’ve ever felt like a full push-up is out of reach, you’re not alone. This article covers a step-by-step progression from wall push-ups to full push-ups, along with common mistakes to avoid and tips to maximize your progress.
Key Takeaways
- Start with the easiest push-up variation you can perform with good form for 8-12 reps.
- Progress to a harder variation only when you can comfortably complete 10-12 reps of the current one.
- Keep your body in a straight line from head to heels and elbows at a 45-degree angle.
- Practice push-ups 2-3 times per week for noticeable strength gains within 4-8 weeks.
- Stop immediately if you feel sharp pain in your wrists, elbows, or shoulders.
9 ideas in this post
- Start Your Push Up Journey With These Progressive Steps
- Essential Tools for Your Push Up Practice
- Mastering Push Ups: A Step-by-Step Progression
- Common Push Up Mistakes and How to Fix Them
- Pro Tips for Maximizing Your Push Up Progress
- What to Expect: Your Push Up Timeline and Investment
- When to Consult a Professional
- Frequently Asked Questions
- Final Thoughts
Start Your Push Up Journey With These Progressive Steps
Push-ups are a fantastic full-body exercise, especially for building upper body strength, but a full push-up can feel impossible at first. I’ve been there. The secret is a smart progression, starting with easier modifications and gradually building the strength needed for a full push-up. You’ll learn how to properly engage your muscles and maintain good form, ensuring safe and effective progress. It’s completely normal to begin with wall or incline push-ups, and every rep brings you closer to your goal.
Essential Tools for Your Push Up Practice
You don’t need much to start, but a few items make the process more comfortable and effective.
- Yoga mat: Provides cushioning for your knees during knee push-ups and for your hands on harder surfaces.
- Sturdy wall: Perfect for the easiest modification, wall push-ups, which let you build foundational strength with minimal load.
- Elevated surface: A bench, chair, or even stairs work for incline push-ups. As you lower the height, the challenge increases.
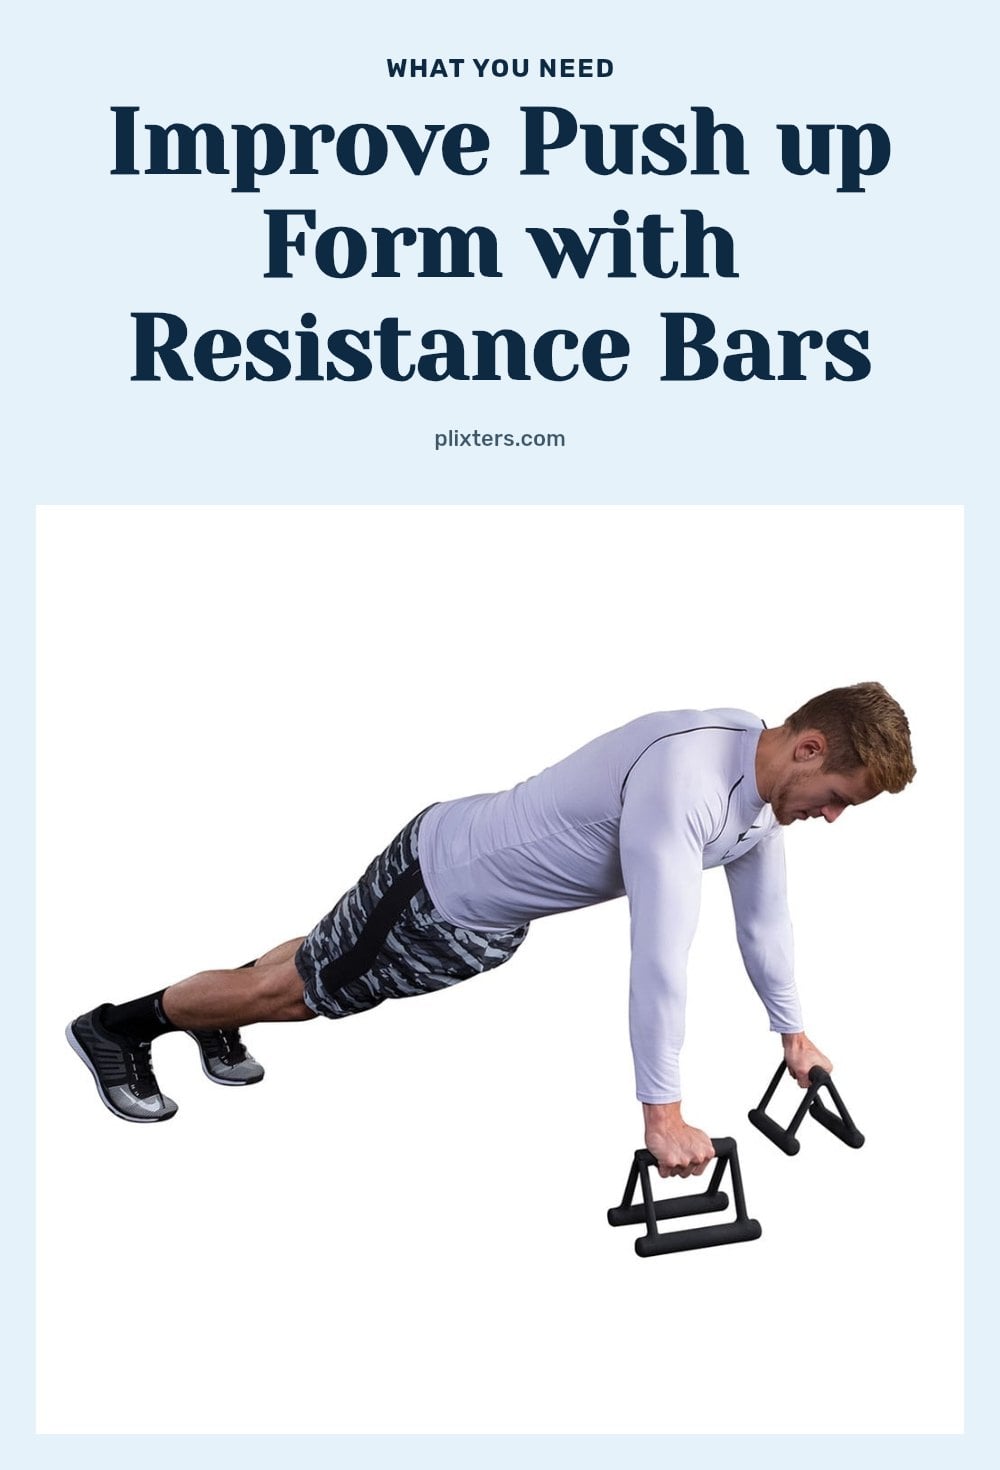
- Push-up bars (optional): These can significantly improve wrist comfort and allow a greater range of motion, but they aren’t required.
Mastering Push Ups: A Step-by-Step Progression
Follow this progression in order, and only move to the next step when you can comfortably complete 10-12 reps of the current variation with excellent form.
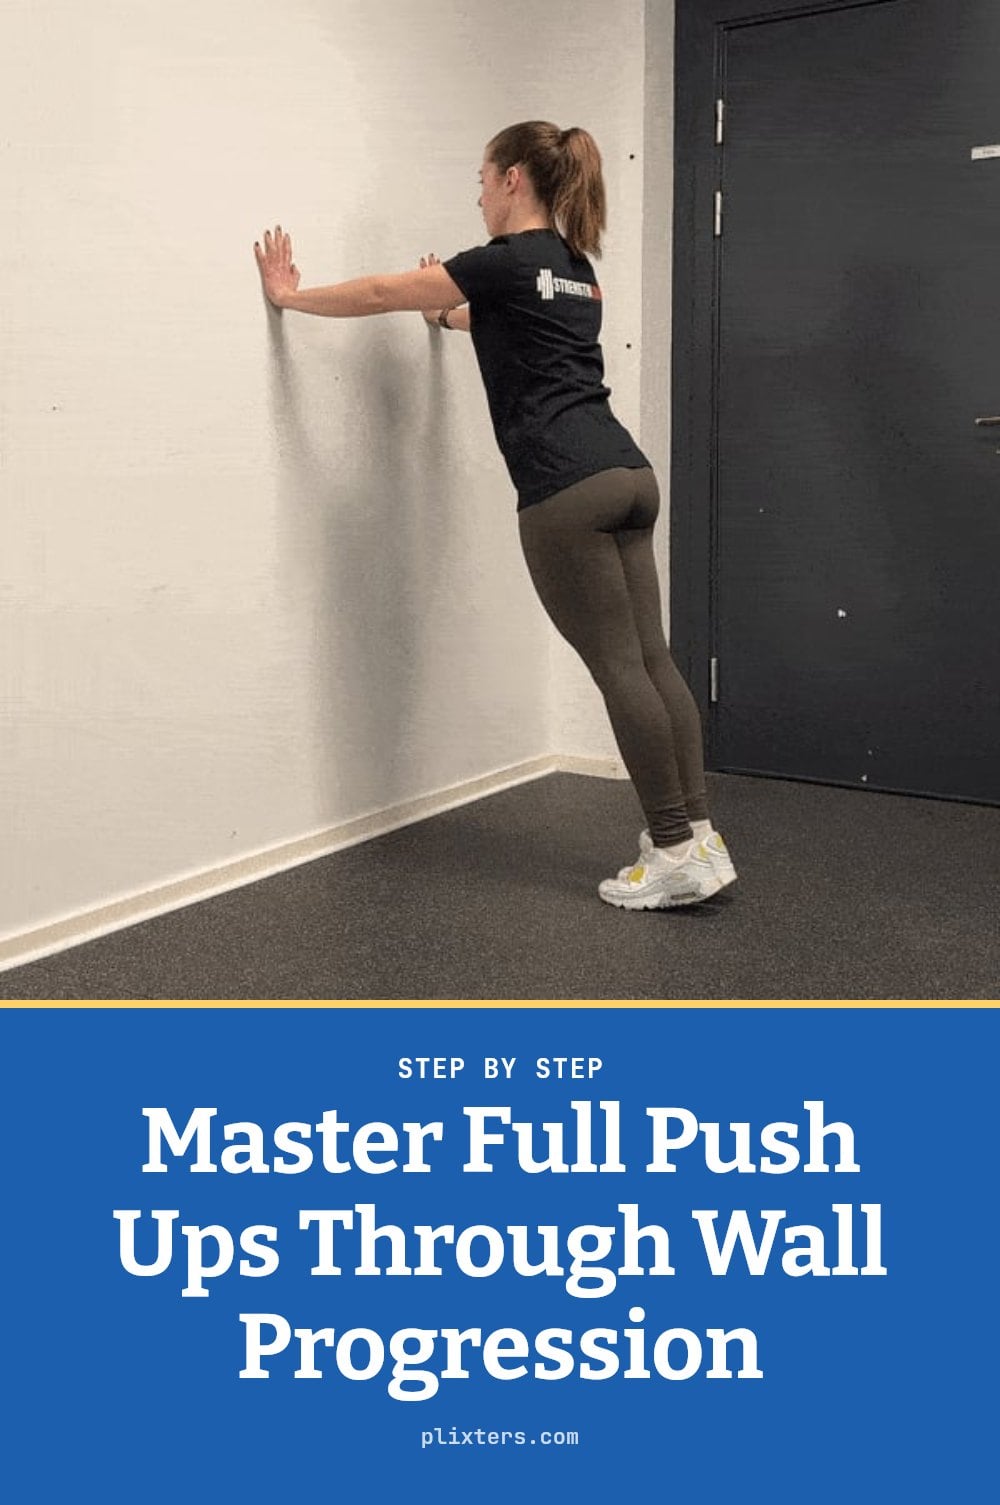
- Wall push-ups: Stand facing a wall, place your hands on it at shoulder height and slightly wider than shoulder-width. Walk your feet back until your body forms a straight line from head to heels. Keeping your core braced, bend your elbows and lower your chest toward the wall, then push back. Inhale on the way down, exhale on the way up.
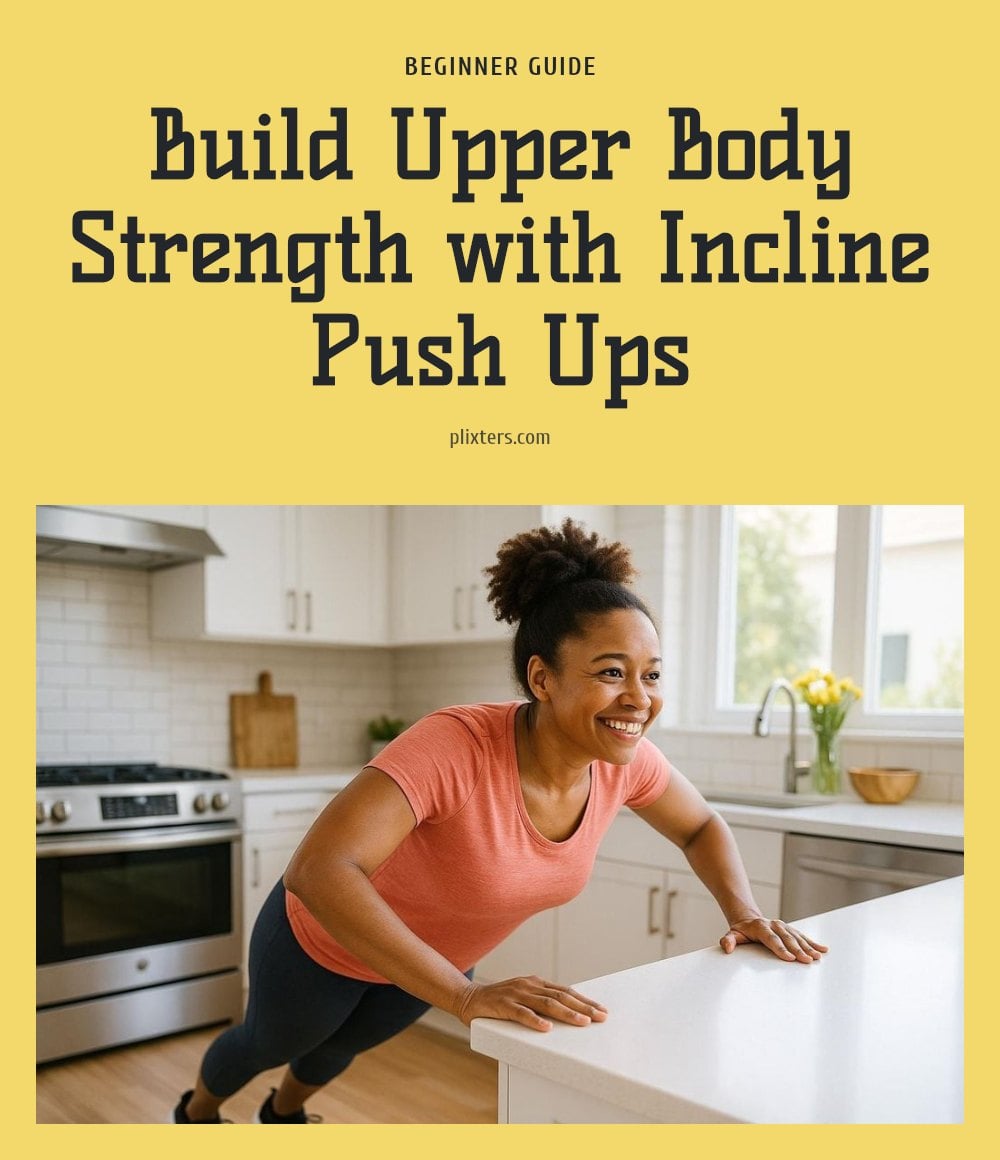
- Incline push-ups: Place your hands on a sturdy elevated surface like a bench or a low table. The higher the surface, the easier the move. Keep your body in a straight line, elbows tucked at about 45 degrees. Lower your chest toward the surface, then push up. Gradually use lower surfaces over weeks to increase difficulty.
- Knee push-ups: Start on all fours, then walk your hands forward until your body is in a straight line from your knees to your head. Keep your core tight and your hips from sagging. Lower your chest toward the floor, then push back up. This reduces the lever arm and supports more of your body weight.
- Negative push-ups: Start in a full push-up position (plank). Slowly lower yourself to the floor over 3-5 seconds, keeping your body rigid and elbows at 45 degrees. Once your chest touches the ground, reset and repeat. This builds the eccentric strength needed for the lowering phase of a full push-up.
- Full push-ups: From a plank position with hands slightly wider than shoulder-width, lower your chest close to the floor while maintaining a straight line from head to heels. Push up explosively but with control. Breathe in as you lower, out as you push.
Practice your current variation 2-3 times per week, allowing at least a day of rest between sessions. Consistency is what drives progress.
Common Push Up Mistakes and How to Fix Them
Even small form errors can limit your progress or cause discomfort. Here are the most common ones and how to fix them.
- Sagging hips or piking butt: This means your core isn’t engaged. Brace your abs as if you’re about to be punched, and keep your body in a straight line from head to heels.
- Flaring elbows out wide: This puts unnecessary stress on your shoulder joints. Instead, tuck your elbows back at about a 45-degree angle to your body.
- Not lowering enough: Many people only move a short distance. Aim to lower your chest until it’s close to the floor, or as far as you can while maintaining good form.
- Holding your breath: Controlled breathing is crucial. Inhale as you lower, exhale as you push up.
- Rushing the movement: Don’t rely on momentum. Control both the lowering and pushing phases to maximize muscle engagement and avoid injury.
Pro Tips for Maximizing Your Push Up Progress
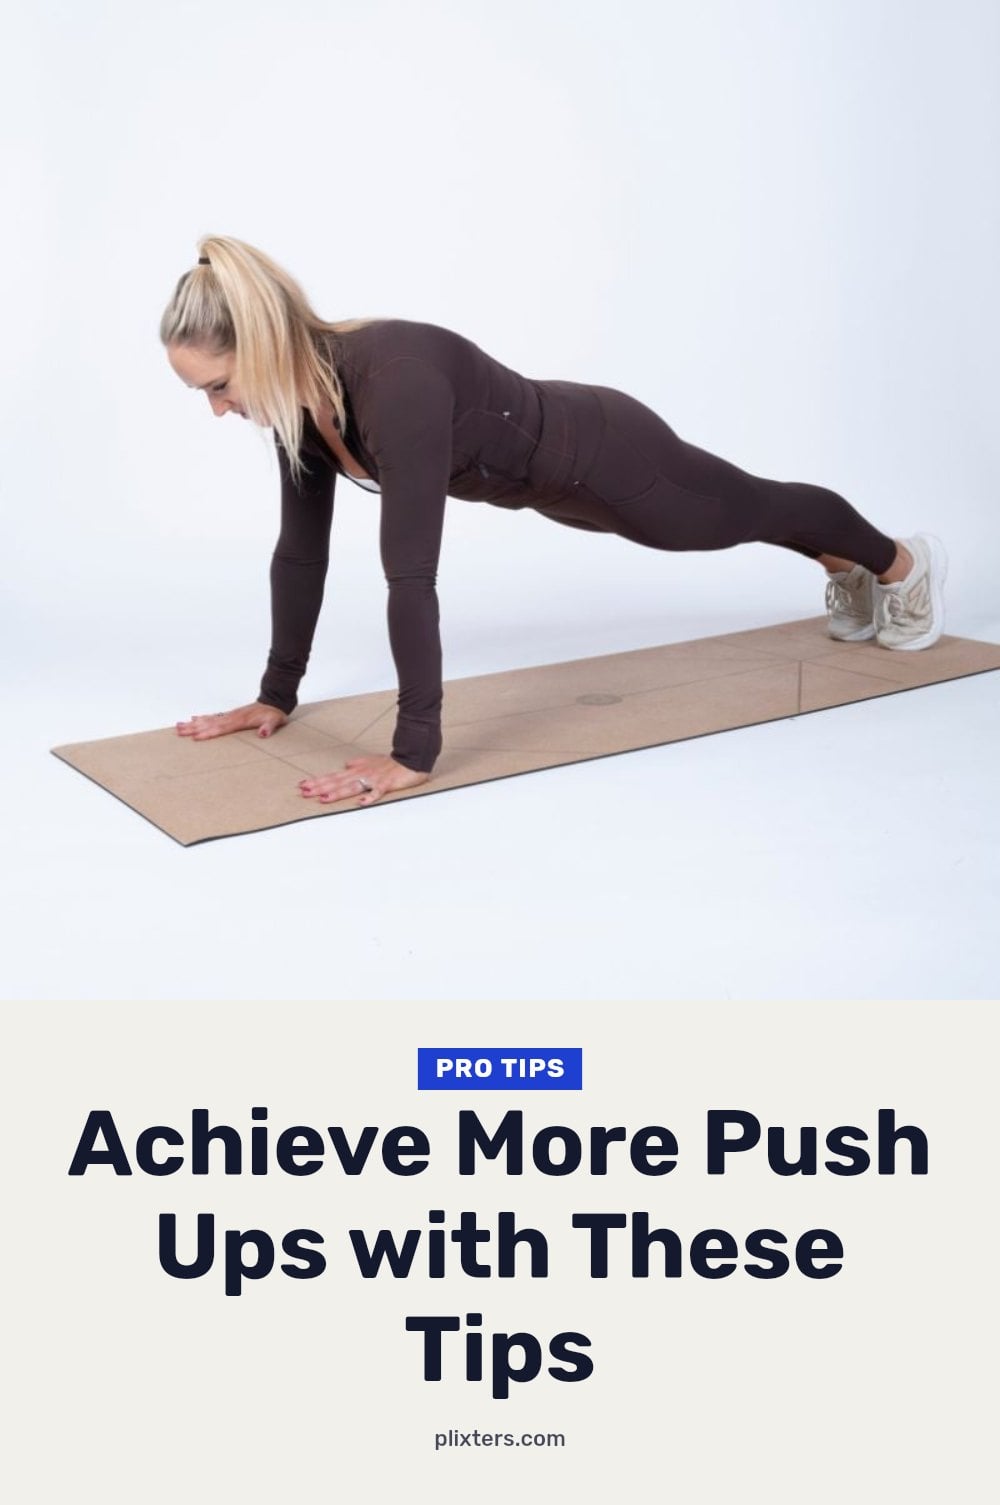
Before you start, brace your abdominal muscles as if you’re about to be punched. This core engagement keeps your body in a straight line from head to heels, which is the foundation of every good push-up.
Place your hands slightly wider than shoulder-width apart with fingers pointing forward. This stable hand position supports your shoulders and wrists throughout the movement.
Keep your neck neutral by looking a few inches in front of your hands, not straight down or up. This prevents neck strain and helps maintain proper alignment.
Consistency matters more than intensity. Practice your chosen variation 2-3 times per week, with rest days in between to let your muscles recover and grow stronger. I usually schedule push-ups on non-consecutive days.
Listen to your body. If you feel sharp pain in your wrists, elbows, or shoulders, stop immediately. If the pain persists, consult a healthcare professional or a certified personal trainer for guidance.
What to Expect: Your Push Up Timeline and Investment
With consistent practice 2-3 times per week, you can expect to see noticeable strength improvements within 4-8 weeks. That timeline holds for most people, though individual results vary based on your starting point and how strictly you stick to the plan. The ability to move to more challenging variations develops gradually, and from a true beginner level, achieving a full push-up often takes several months. That is normal, so do not rush the process.
Financially, push-ups are about as cheap as exercise gets. They are a bodyweight movement, so the only real cost is your time and effort. A yoga mat is inexpensive if you want knee comfort, and push-up bars are an optional one-time purchase, typically ranging from $15 to $40. That is the entire investment, which makes this one of the most accessible strength routines you can start.
When to Consult a Professional
Persistent sharp pain in your wrists, elbows, or shoulders that doesn’t ease with rest is a clear sign to stop and check in with a healthcare professional. Pushing through pain can make things worse, so don’t ignore it.
If you have pre-existing conditions affecting your shoulders, wrists, or elbows, it’s wise to consult a physical therapist or doctor before starting any push-up program. They can help you modify the exercise to your specific needs.
And if you’ve tried the modifications and tips but still can’t maintain a straight body line or feel unstable, a certified personal trainer can offer personalized guidance. They’ll spot form issues you might not notice and adjust your progression.
Frequently Asked Questions
How often should I do push-ups to see results?
Aim for 2-3 sessions per week with at least one rest day in between. This frequency allows your muscles to recover and grow stronger. Consistency over several weeks is what leads to noticeable improvements in strength and endurance.
Can push-ups help me lose weight?
Push-ups are a strength exercise, not a calorie-burning workout on their own. They build muscle, which can boost your metabolism over time, but for weight loss you’ll need to combine them with a balanced diet and regular cardiovascular activity.
What if I can’t even do a wall push-up?
Start with an even easier option: place your hands on a higher surface, like a countertop or table, and lean in at a gentler angle. You can also try standing push-ups against a wall with your feet closer to the wall to reduce the load. Build up from there.
Is it okay to do push-ups every day?
Doing push-ups daily without rest can lead to overuse injuries and stalled progress. Your muscles need time to repair and grow stronger. Stick to 2-3 times per week and take rest days in between for the best results.
Do push-ups work my biceps?
Push-ups primarily target your chest, shoulders, and triceps. Your biceps act as stabilizers but are not the main movers. If you want to strengthen your biceps directly, you’ll need to add pulling exercises like rows or curls to your routine.
What’s the best way to warm up for push-ups?
A good warm-up includes arm circles, shoulder rolls, and wrist stretches. You can also do a few slow, controlled wall push-ups to get blood flowing to the muscles without straining them. Keep the warm-up light and focus on mobility.
Final Thoughts
My tip: Start with wall push-ups if you’re brand new, and don’t rush the progression. Stick with a variation until you can do 10-12 clean reps, then move to the next harder one. With consistent practice 2-3 times per week, you can expect to see real strength improvements within 4-8 weeks. Remember, good form always beats pushing for a harder variation too soon.
This article is for general informational purposes only and does not constitute medical or professional advice. Always consult a qualified healthcare provider or physical therapist before starting a new exercise program, especially if you have pre-existing conditions or experience pain.