 Save
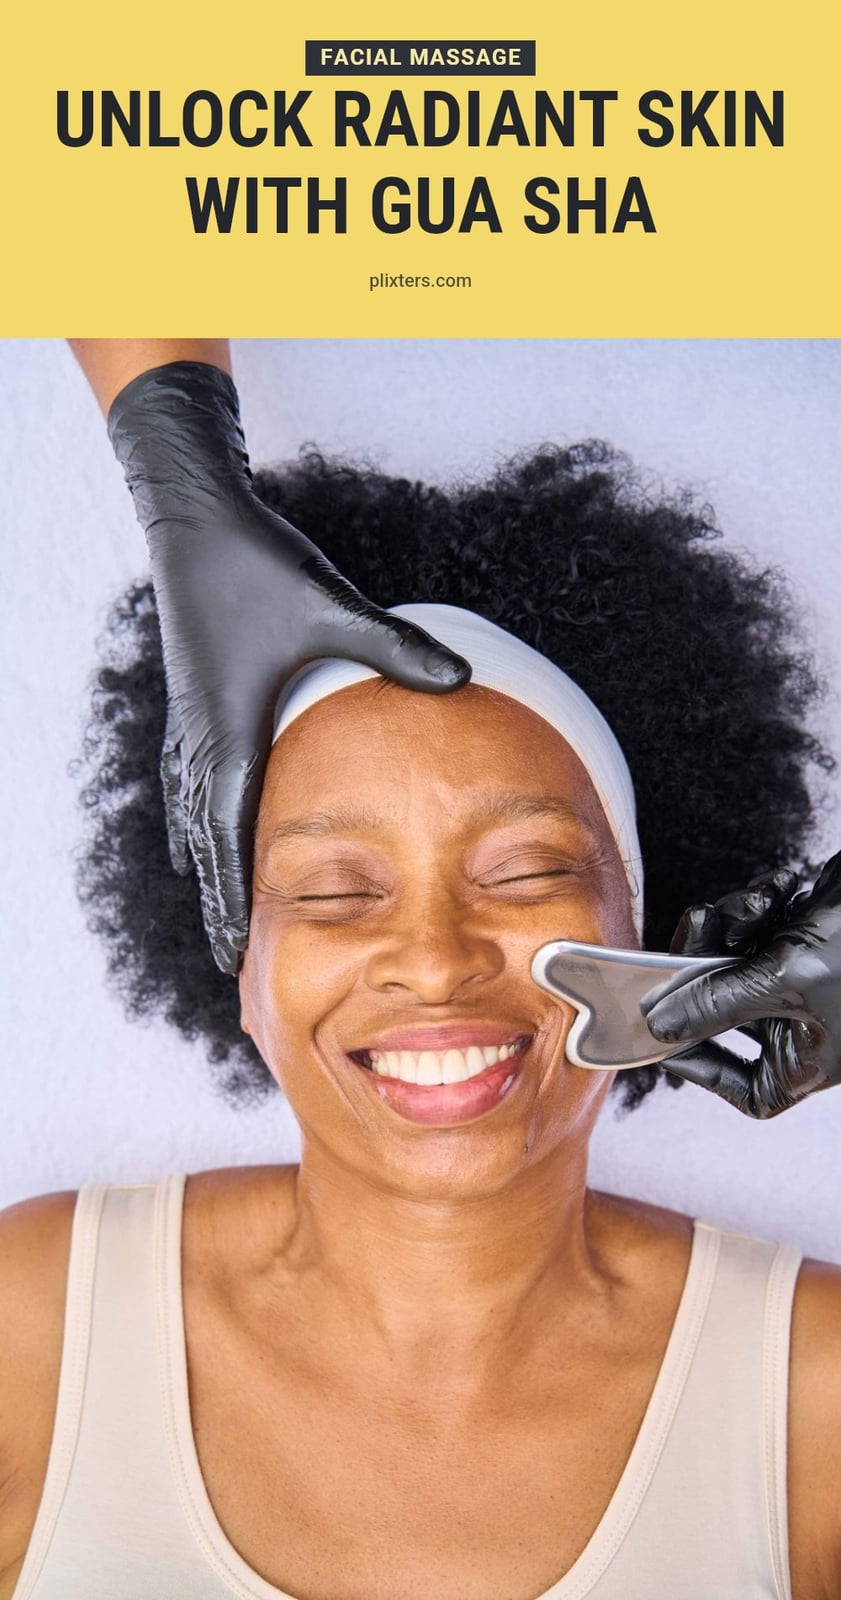
You’ve probably seen those smooth stones gliding across faces on social media, but gua sha is much more than a trend. It’s a traditional Chinese medicine technique that, when done right, can boost circulation, reduce puffiness, and help your skin look more radiant. In this article, I’ll walk you through the essentials, from choosing a tool to mastering the strokes, so you can start your own gua sha routine with confidence.
Key Takeaways
- Use gua sha on clean skin with a hydrating mist and 1 pump of facial oil.
- Hold the tool flat at a 15-45 degree angle, using light to medium pressure.
- Stroke upward and outward, focusing on jawline, cheeks, forehead, and neck.
- Perform gua sha daily or 2-3 times a week for best results.
- Clean your tool after each use to prevent bacteria buildup.
9 ideas in this post
- What is Gua Sha and How Does It Benefit Your Skin?
- Essential Tools for Your Gua Sha Routine
- Step-by-Step Guide to Facial Gua Sha
- Expert Tips for Effective Gua Sha
- Common Gua Sha Mistakes to Avoid
- Post-Gua Sha Care and Tool Maintenance
- When to Consult a Professional About Gua Sha
- Frequently Asked Questions
- Final Thoughts
What is Gua Sha and How Does It Benefit Your Skin?
Gua sha is a traditional Chinese medicine technique that has been adapted for facial massage. It uses a smooth, flat stone to gently scrape the skin in upward and outward strokes. When done correctly, this practice improves circulation, reduces puffiness, and promotes lymphatic drainage. The result is a more radiant and toned complexion without any harsh treatments.
Essential Tools for Your Gua Sha Routine
Before you start, gather a few key items. Here is what you need for a smooth and effective routine.
- Gua sha tool: Typically made from jade, rose quartz, or amethyst. Choose one with a smooth surface and specific shapes to fit facial contours.
- Hydrating mist: Used after cleansing to dampen the skin, ensuring deep hydration before oil application.
- Facial oil: Provides necessary slip for the gua sha tool to glide smoothly without pulling or irritating the skin.
- Gentle cleanser: Used to prepare the skin and clean the gua sha tool after use.
Step-by-Step Guide to Facial Gua Sha

Follow this step-by-step routine from a Chinese medical skincare professional. The order and technique matter for the best results.
- Cleanse your face: Start with a clean, freshly washed face to remove any makeup or impurities.
- Apply hydrating mist: Generously spray your entire face and neck with a hydrating mist, then gently press the water into your skin.
- Apply facial oil: While your skin is still damp, apply one pump or 4-5 drops of facial oil. Rub the oil in your palms to ensure even application, then press it into your face and neck using upward massage strokes to create lift.
- Back of the neck: Use the notched edge of the tool to sandwich your spine where your neck meets your back. Keep the tool flat and use light to medium pressure. Slowly stroke up your neck until you reach the bone.
- Side of the neck: Use the long edge of the tool, placing it flat on your shoulder where it meets your arm. Pull the tool up the side of your shoulder and neck until you hit bone. Wiggle the tool at the end.
- Front of the neck: Place one hand under your collarbone for support. Take the long side of the tool and meet your fingers. Roll over your collarbone, pulling up with light to medium pressure.
- Front center of the neck: Place one hand on your sternum between your collarbones. Using the notched edge, meet it to your fingers. Lightly stroke up your neck until you meet your chin.
- Jawline: Place a finger on the center of your chin for support. Use the notched edge of the tool, placing either side of the notch on either side of your jaw. Keep the tool flat and glide along your jaw towards your ear. Wiggle at the end.
- Cheek: Place a finger next to your nose. Use the long edge of the tool, touching it to your finger. Pull the tool outward towards your ear with a slight upward angle.
- Under-eye area: Use extremely light pressure. Place your ring finger under the inner corner of your eye. Use one of the notches to gently stroke outwards with feather-light pressure.
Repeat steps 8-13 on the other side of your face for a complete session.
If you learn better by watching, this 20-minute video from LANSHIN shows every step. The how-to part starts at 2:32.
Expert Tips for Effective Gua Sha

These tips from a professional will help you get the most out of your gua sha routine.
- Consistency is Key: Aim for daily use or 2-3 times a week for best results. Consistent practice yields visible improvements in puffiness and radiance within a few weeks.
- Hold the Tool Flat: Always keep the gua sha tool flat against your skin, maintaining a 15-45 degree angle. Avoid using the sharp or pointy edges.
- Mindful Pressure: Use light to medium pressure for most areas of the face and neck. Apply feather-light pressure around the delicate under-eye area to prevent irritation.
- Slow and Steady Strokes: Perform each stroke slowly and mindfully to encourage relaxation and help calm your nervous system.
- Wiggle at the End: At the end of each stroke, especially when you reach a bone or your hairline, gently wiggle the tool to provide an extra massage to the area.
Common Gua Sha Mistakes to Avoid
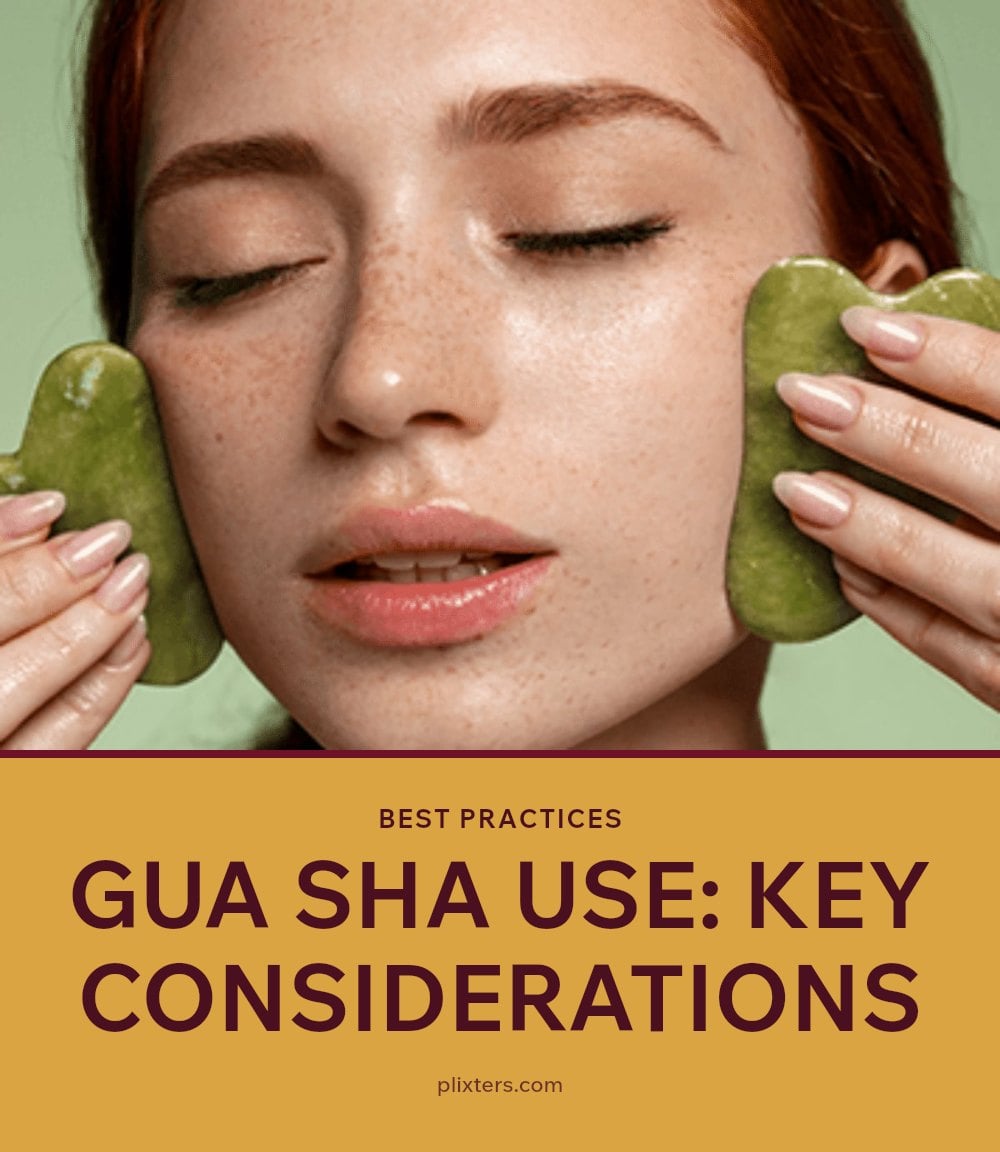
Using on Dry Skin: Never use your gua sha tool on dry skin. It causes pulling, friction, and irritation. Always apply a generous amount of facial oil or serum first to ensure smooth gliding.
Applying Too Much Pressure: Excessive pressure, especially on delicate facial skin, can lead to bruising, broken capillaries, or discomfort. Use light to medium pressure, and feather-light around the eyes.
Incorrect Tool Angle: Holding the tool at a 90-degree angle or using the sharp edge makes the technique less effective and may cause discomfort. Keep the tool flat against the skin at a 15-45 degree angle.
Ignoring the Neck: Neglecting the neck is a common mistake because it is crucial for proper lymphatic drainage. Always include neck strokes in your routine.
Expecting Immediate Results: While some benefits like reduced puffiness can be immediate, significant improvements in skin tone and radiance require consistent use over several weeks.
Post-Gua Sha Care and Tool Maintenance
Clean Your Tool: After each use, cleanse your gua sha tool with a gentle soap and warm water. This prevents bacteria buildup and ensures it is ready for your next session.
Hydrate Your Skin: After your gua sha routine, your skin may be more receptive to products. Continue with your regular skincare, focusing on hydrating serums and moisturizers.
Observe Your Skin: Pay attention to how your skin reacts. A temporary flush is normal due to increased blood flow, but persistent redness, bruising, or discomfort indicates you might be using too much pressure or an incorrect technique.
When to Consult a Professional About Gua Sha
Persistent Irritation: If you experience persistent redness, bruising, broken capillaries, or discomfort after using gua sha, discontinue use and consult a dermatologist.
Existing Skin Conditions: Avoid using gua sha on areas with active acne, rosacea flare-ups, eczema, sunburn, or any open wounds. If you have chronic skin conditions, consult a dermatologist before starting.
Medical Conditions: If you have blood clotting disorders, are on blood-thinning medication, or have recently undergone facial procedures (like Botox or fillers), consult a doctor before incorporating gua sha into your routine.
Frequently Asked Questions
How often should I use gua sha for my face?
For best results, use gua sha daily or 2-3 times a week. Each session should last about 5-10 minutes. Regular practice helps maintain lymphatic drainage and promotes a relaxed, toned appearance. If you’re new to gua sha, start with 2-3 times a week and gradually increase as your skin adjusts.
What kind of oil is best for facial gua sha?
Any facial oil or serum that provides good slip works well. The key is to use a generous amount so the tool glides smoothly without pulling your skin. Look for oils with nourishing ingredients like jojoba, rosehip, or squalane. Avoid heavy oils that might clog pores if you have acne-prone skin.
Can gua sha help with acne?
Gua sha is not a treatment for acne, and you should avoid using it on active breakouts or open wounds. However, it may help reduce puffiness and promote relaxation, which could indirectly support skin health. For acne concerns, consult a dermatologist for appropriate treatments.
How do I clean my gua sha tool?
Clean your gua sha tool after each use with gentle soap and warm water. Dry it thoroughly with a soft cloth. This prevents bacteria buildup and keeps your tool hygienic for your next session. Avoid using harsh chemicals or abrasive scrubbers that could damage the stone.
Is it normal for my face to be red after gua sha?
A temporary flush or redness right after gua sha is normal and usually due to increased blood flow. It should fade within a short time. However, if you experience persistent redness, bruising, or broken capillaries, stop using gua sha and consult a dermatologist.
Final Thoughts
For a radiant complexion, make gua sha a regular part of your skincare routine. Aim for 3-5 sessions per week, spending 5-10 minutes each time. You might notice reduced puffiness and a healthier glow within a few weeks, but remember that consistency matters more than intensity. Always listen to your skin, use gentle pressure, and enjoy the ritual.
This article is for general informational purposes only and is not a substitute for professional medical or skincare advice. Always consult a dermatologist or healthcare provider before starting a new skincare routine, especially if you have underlying health conditions or skin concerns. If you experience persistent irritation or discomfort, seek professional guidance.