 Save
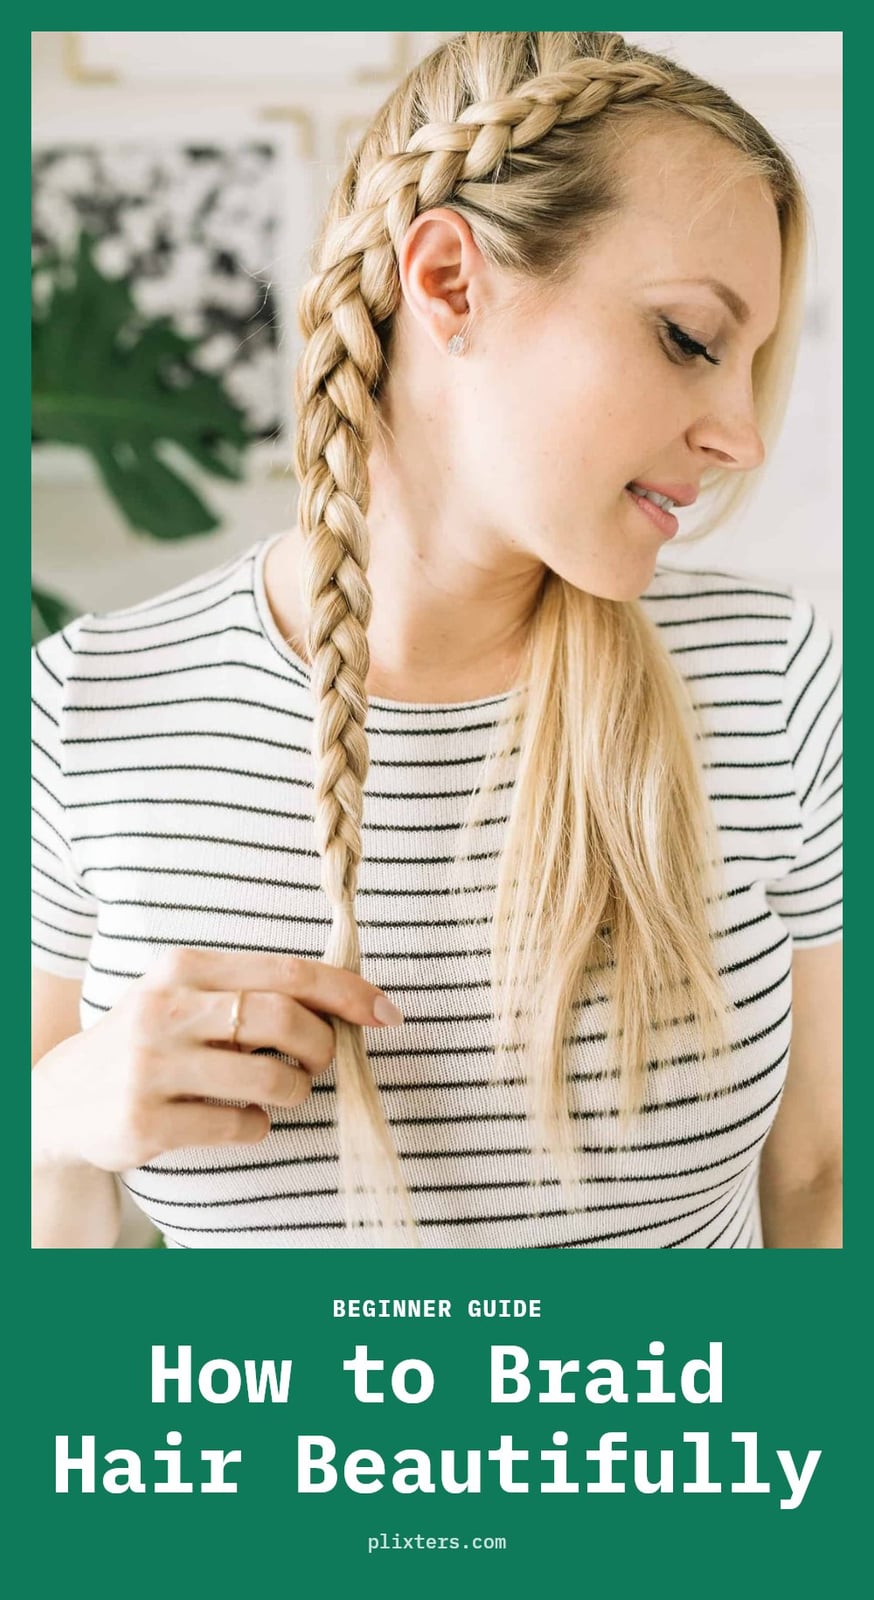
If you have ever wanted to create a simple braid but felt overwhelmed by the steps, you are not alone. The classic three-strand braid is the foundation for almost every other style, from French to fishtail, and it is easier to learn than you might think. This guide covers the basic technique, common mistakes to avoid, and a few pro tips to help you braid with confidence.
Key Takeaways
- Start with a basic three-strand braid, crossing right over middle, then left over middle.
- Always detangle hair thoroughly before braiding to prevent knots and breakage.
- Use a light styling product like mousse or cream for better grip and frizz control.
- Keep consistent tension throughout the braid for a neat, long-lasting finish.
- Secure the end with a hair elastic to prevent the braid from unraveling quickly.
9 ideas in this post
- Start Braiding Hair with Confidence
- Essential Tools for Perfect Braids
- Step-by-Step: Mastering the Basic Three-Strand Braid
- Beyond the Basic: French and Dutch Braids
- Common Braiding Mistakes and How to Fix Them
- Pro Tips for Beautiful Braids Every Time
- How Long Does It Take to Learn Braiding?
- Frequently Asked Questions
- Final Thoughts
Start Braiding Hair with Confidence
Braiding is simply interlacing three or more sections of hair into a woven pattern. The classic three-strand braid is the foundation for almost every other style, from French to fishtail. I’ve found that the real secret is practice. Once the basic pattern clicks, you can create casual everyday looks or more polished styles for any occasion.
Essential Tools for Perfect Braids
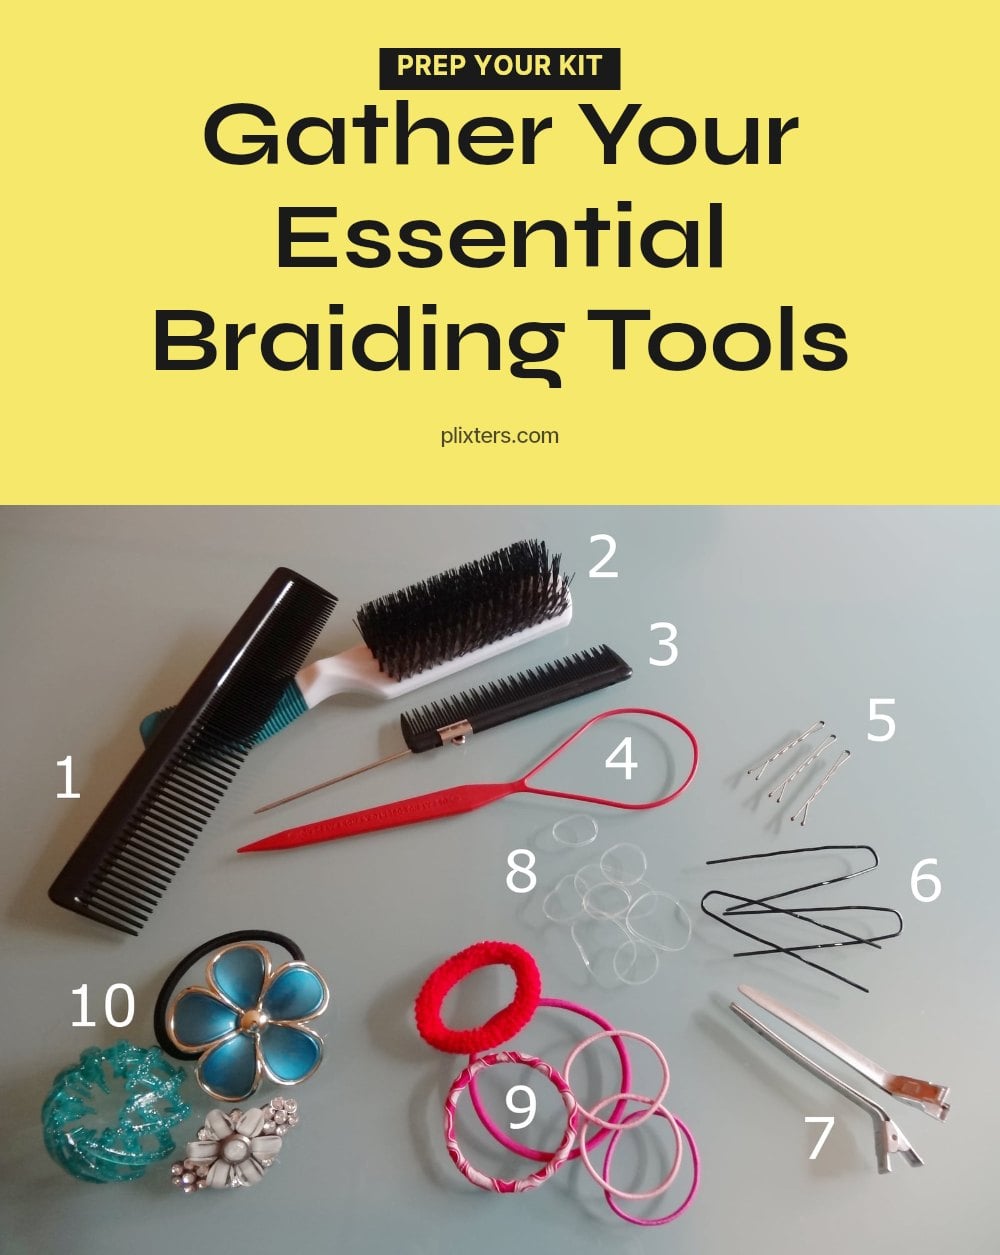
You don’t need much to get started, but the right tools make a real difference.
- Hairbrush or comb: A paddle brush detangles quickly, and a fine-tooth comb creates clean, even sections.
- Hair elastics: Clear or fabric-covered bands hold the end without slipping.
- Styling cream, mousse, or gel: A light product adds grip and tames frizz, especially on slippery or fine hair.
- Sectioning clips: They keep hair out of the way while you work on one section.
My tip: A hand mirror is essential for self-braiding. Hold it behind your head while facing a large mirror so you can see exactly what your hands are doing.
Step-by-Step: Mastering the Basic Three-Strand Braid
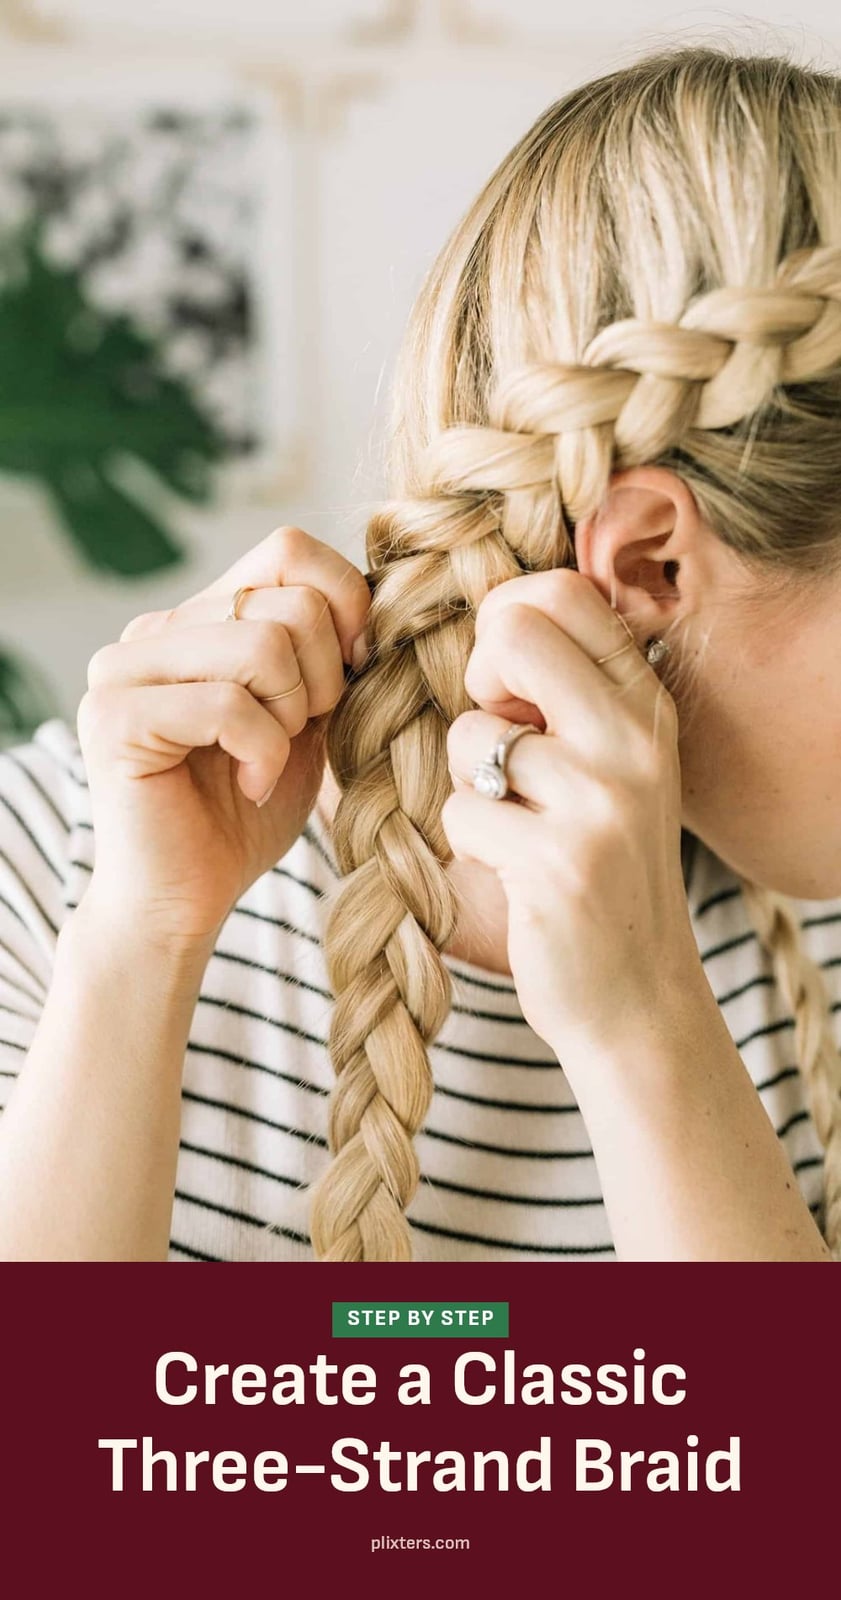
- Detangle your hair: Brush thoroughly from ends to roots. Tangles cause knots and breakage as you braid.
- Apply a light styling product: Work a pea-size amount of mousse or cream through damp or dry hair. It gives the strands grip so they stay in place.
- Divide into three equal sections: Use a comb to part the hair cleanly. Hold one section in each hand and let the middle section hang.
- Cross the right strand over the middle: Bring the right section to the center. The old right section becomes the new middle.
- Cross the left strand over the new middle: Bring the left section to the center. That’s one full cycle.
- Repeat the pattern: Keep alternating right-over-middle, left-over-middle. Maintain even tension, not too loose or too tight, so the braid looks uniform.
- Secure the end: Wrap a hair elastic around the tip. I wrap mine three times for a snug hold that won’t slip.
Beyond the Basic: French and Dutch Braids
French Braid
A French braid starts at the crown and adds hair to each strand as you move down. Divide the top section into three. Cross right over middle, then left over middle. On the next pass, scoop a small piece of hair from the right side and add it to the right strand before crossing it over. Repeat on the left. Tip: Keep the added sections even in size for a smooth, uniform braid.
Dutch Braid
A Dutch braid is the reverse of a French braid. You cross each strand under the middle instead of over. This pushes the braid up, creating a raised, 3-D effect. Start the same way, but bring the right strand under the middle, then the left under the new middle. Add hair from each side on every pass, always crossing underneath. Tip: Hold the strands taut so the raised sections stay defined.
Fishtail Braid
A fishtail uses only two sections. Split the hair in half. Take a thin piece from the outer edge of the right section and cross it over to the inside of the left section. Then take a thin piece from the outer edge of the left section and cross it to the inside of the right. Repeat. Tip: Use very small pieces. The thinner they are, the more detailed the braid looks.
Common Braiding Mistakes and How to Fix Them
Even after you’ve got the basic motion down, a few common slip-ups can undo your work. The fix is usually simple once you know what to look for.
- Not detangling hair sufficiently: Always brush thoroughly from ends to roots first. A single knot can make the whole braid lumpy or cause breakage.
- Using uneven sections of hair: Use a fine-tooth comb to create three equal parts. Uneven sections make the braid look lopsided no matter how clean your crosses are.
- Losing tension as you braid: Keep a firm, consistent grip with both hands. If the braid feels loose, try holding each strand tighter against your palm.
- Crossing strands incorrectly: Pay close attention to which strand goes over or under. A common mistake is switching from over to under mid-braid, which breaks the pattern.
- Not securing the end properly: Use a strong hair elastic, preferably one with a small grip. A loose elastic lets the braid unravel within minutes.
Pro Tips for Beautiful Braids Every Time
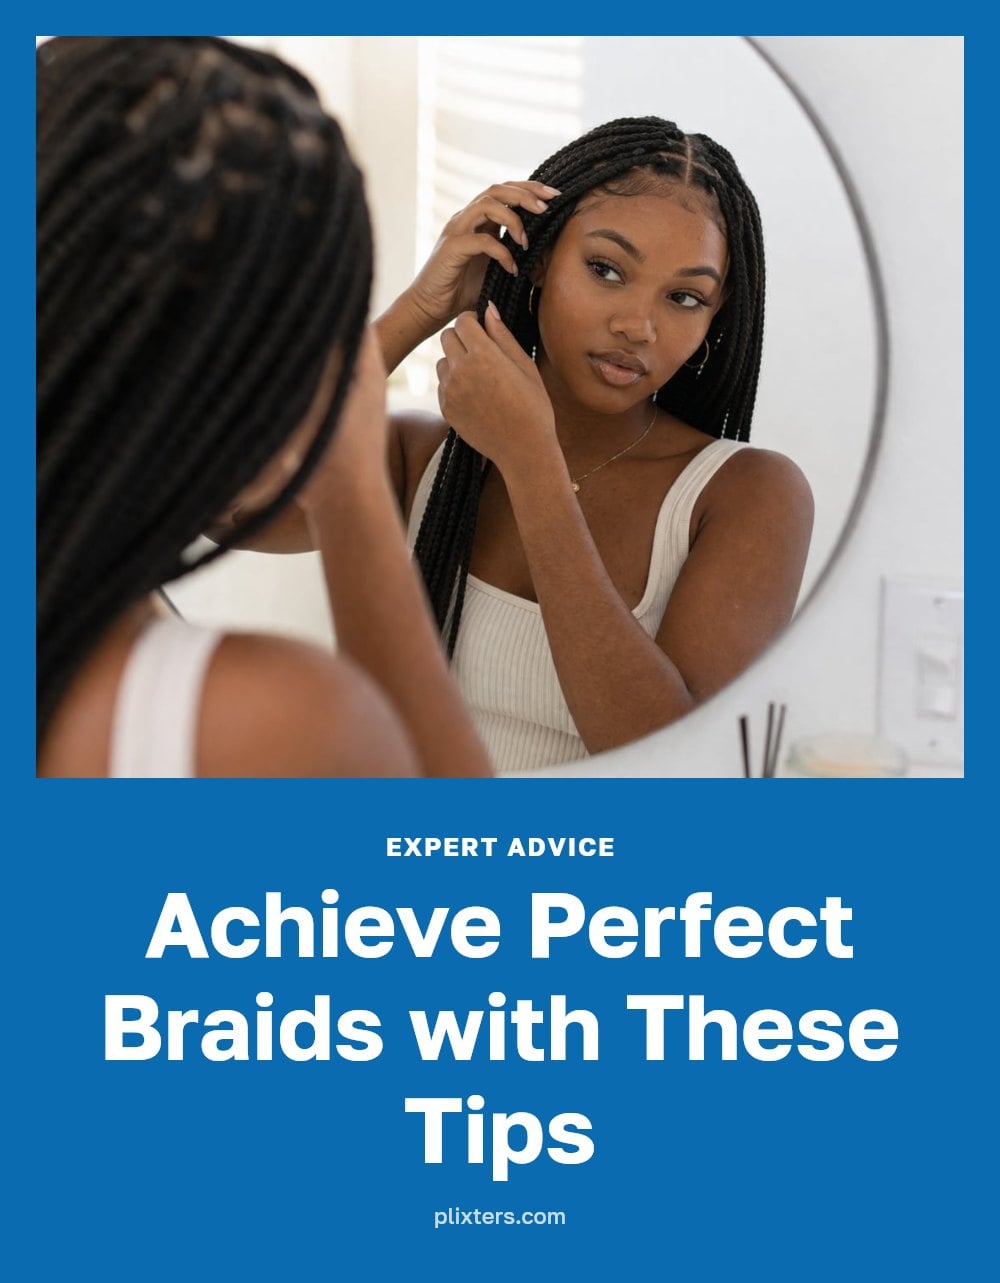
Once you’re comfortable with the basics, these small tweaks take your braids from okay to something you actually want to wear all day.
- Practice makes perfect: For self-braiding, sit in front of a mirror or use a hand mirror to see the back of your head. It makes a huge difference.
- Hair texture matters: Braiding works best on slightly damp hair or hair with a bit of product for grip. Dry, slippery hair is harder to control.
- Section size: Smaller sections create a more intricate, detailed braid. For a chunky, casual look, use larger sections.
- Leave face-framing pieces: Pull out a few strands around your face before you start. It softens the overall style and keeps it from looking too severe.
- Braids as heatless waves: My tip: braid damp hair loosely before bed and sleep on it. In the morning, undo the braids for soft, heatless curls.
How Long Does It Take to Learn Braiding?
Learning to braid doesn’t take years, but the timeline depends on the style you want to master. Here’s what you can expect.
- Basic three-strand braiding: Most people nail this within an hour of dedicated practice. A few attempts and it starts to feel natural.
- French and Dutch braids: These may take days or weeks of consistent practice before they feel smooth. Don’t get discouraged if the first few are messy.
- Fishtail and more intricate styles: Can require several weeks to months of practice to get the tension and sectioning right.
- Cost: Minimal. You only need a brush, a comb, and a pack of hair elastics. No special tools or classes required.
Frequently Asked Questions
What is the easiest braid for beginners?
The easiest braid for beginners is the classic three-strand braid. It uses just three sections of hair and a simple repeating pattern of crossing the right strand over the middle, then the left strand over the new middle. Once you feel comfortable with this foundation, you can try more advanced styles like French or fishtail braids.
Can I braid my hair when it is wet?
Yes, you can braid damp hair, and it often works well because the moisture gives the strands more grip. Just be gentle, as wet hair is more fragile and prone to breakage. If your hair is soaking wet, it is better to towel dry it slightly first to avoid excess water weighing down the braid.
How do I make my braid last longer?
To make your braid last longer, keep consistent tension while braiding and secure the end tightly with a hair elastic. Applying a light styling product like mousse or cream before you start also helps the strands hold their shape. For extra staying power, you can lightly spritz the finished braid with hairspray.
What is the difference between a French and Dutch braid?
The main difference is how the strands are crossed. In a French braid, you cross each strand over the middle section, which creates a braid that sits flat against the head. In a Dutch braid, you cross each strand under the middle section, which creates a raised, three-dimensional effect that pops out from the head.
Can braiding cause hair damage?
Braiding can actually help protect hair by keeping it contained and reducing daily manipulation. However, pulling the braid too tightly can lead to discomfort or even traction alopecia over time. To avoid damage, always detangle gently, use hair elastics that are not too tight, and never braid hair that is severely tangled.
Final Thoughts
My tip is to start with the basic three-strand braid and practice it until the motion feels natural before moving on to French or Dutch styles. Most people can master the basic braid within an hour of dedicated practice, so do not get discouraged if your first attempt is a little uneven. With a little patience, you will be able to create braids that look polished and stay in place all day.