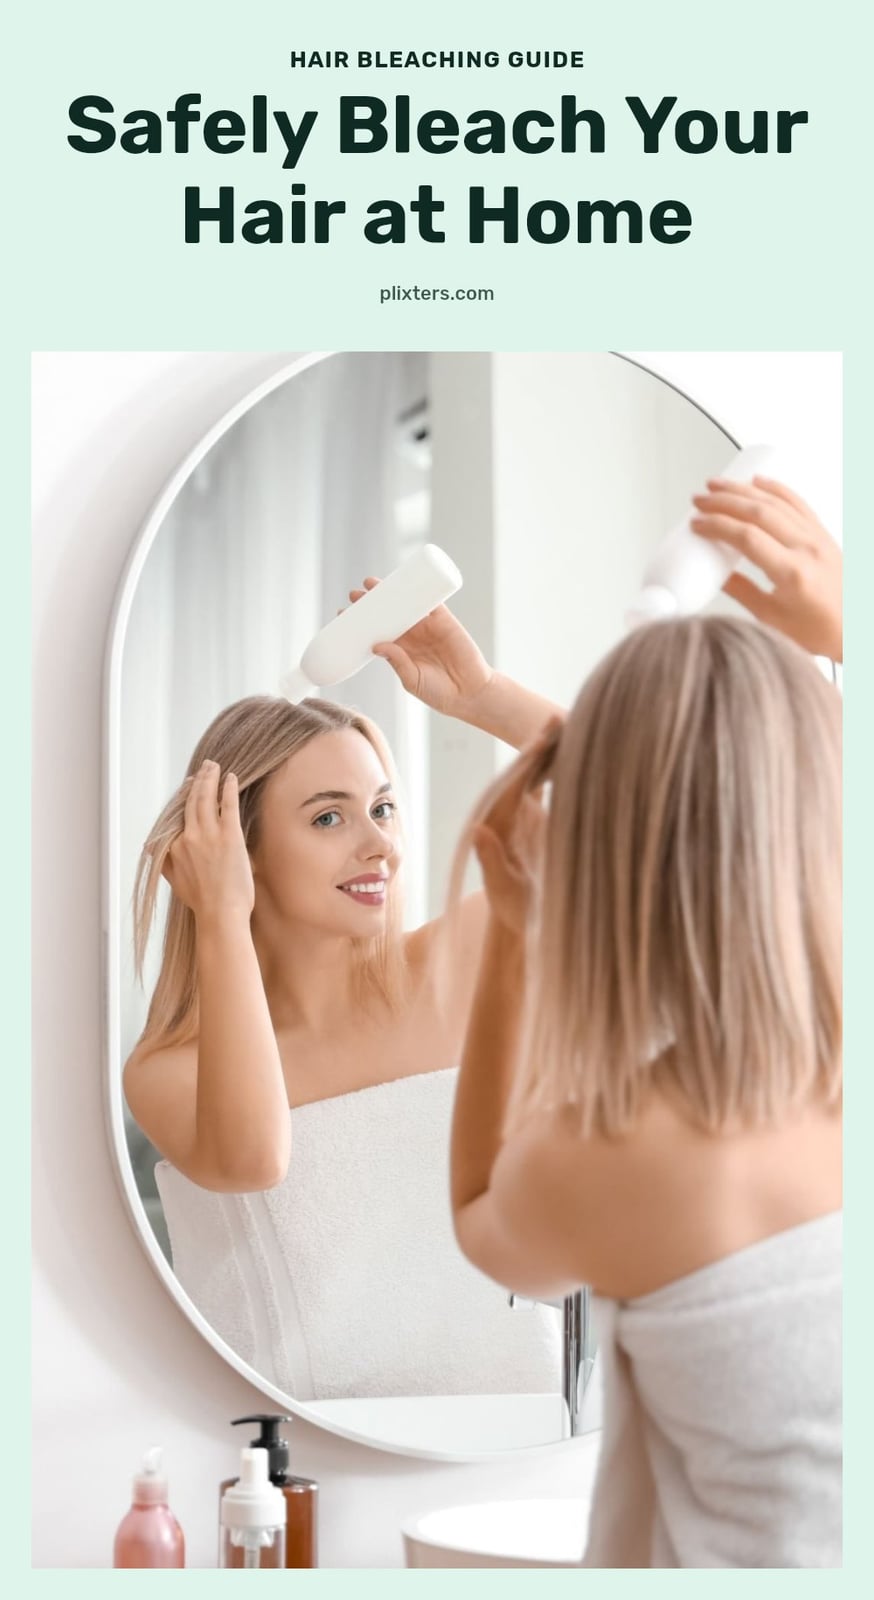
 Save
So you’re thinking about bleaching your hair at home. It’s a big step, and honestly, it can go beautifully or terribly wrong. I’ve seen it all, and my tip is to treat this like a science experiment, not a quick fix. This article walks you through the exact steps, the right products, and the common mistakes so you can lighten your hair with less damage.
Key Takeaways
- Always perform a patch test 48 hours before and a strand test before the full application.
- Use Volume 20 developer for home bleaching; avoid Volume 30 or higher.
- Apply bleach to mid-lengths and ends first, then roots, to prevent uneven lift.
- Rinse with cool water and follow up with a deep conditioning treatment immediately.
- Wait at least 4-6 weeks between bleaching sessions to let hair recover.
10 ideas in this post
- Is Bleaching Your Hair at Home a Good Idea?
- Your Hair Bleaching Arsenal: What You’ll Need
- How Hair Bleach Works and Why It’s Risky
- Step-by-Step: Bleaching Your Hair Safely at Home
- Common Bleaching Mistakes to Avoid
- Post-Bleach Care: Keeping Your Hair Healthy
- Bleaching Timeline and When to Re-Bleach
- When to Call in a Professional Hair Stylist
- Frequently Asked Questions
- Final Thoughts
Is Bleaching Your Hair at Home a Good Idea?
Bleaching your hair at home can save you money and give you full control over the process, but it is a high-risk chemical procedure. Success depends on understanding your products, applying them precisely, and sticking to a diligent aftercare routine. My tip: always perform a patch test 48 hours before and a strand test on a hidden section to prevent allergic reactions and unexpected damage.
Your Hair Bleaching Arsenal: What You’ll Need

Before you start, gather everything you need. The right tools and products make a huge difference.
- Bleach powder and developer: Use a high-quality bleach powder and stick to Volume 10 or 20 developer for home use; avoid Volume 30 or higher. Volume 20 is the standard for moderate lift.
- Non-metallic tools: A glass or plastic mixing bowl and an applicator brush prevent unwanted chemical reactions with metal.
- Protective gear: Wear gloves, an old towel or cape, and use sectioning clips to keep hair organized.
- Aftercare products: Have a deep conditioner or hair mask ready. A purple or blue toner is optional but helps neutralize yellow or orange tones.
How Hair Bleach Works and Why It’s Risky
Bleach works by opening the hair cuticle and oxidizing melanin, the pigment molecules that give hair its color, making them colorless. The developer’s volume determines how aggressively it lifts color and how much damage it can cause.
What to expect based on your hair
- Darker hair: As pigment is removed, you will see red and orange undertones first. This is normal and part of the process.
- Virgin hair: Hair that has never been chemically treated lifts more easily and evenly than previously colored hair, which can be unpredictable.
Understanding these factors helps you set realistic expectations and avoid over-processing.
Step-by-Step: Bleaching Your Hair Safely at Home
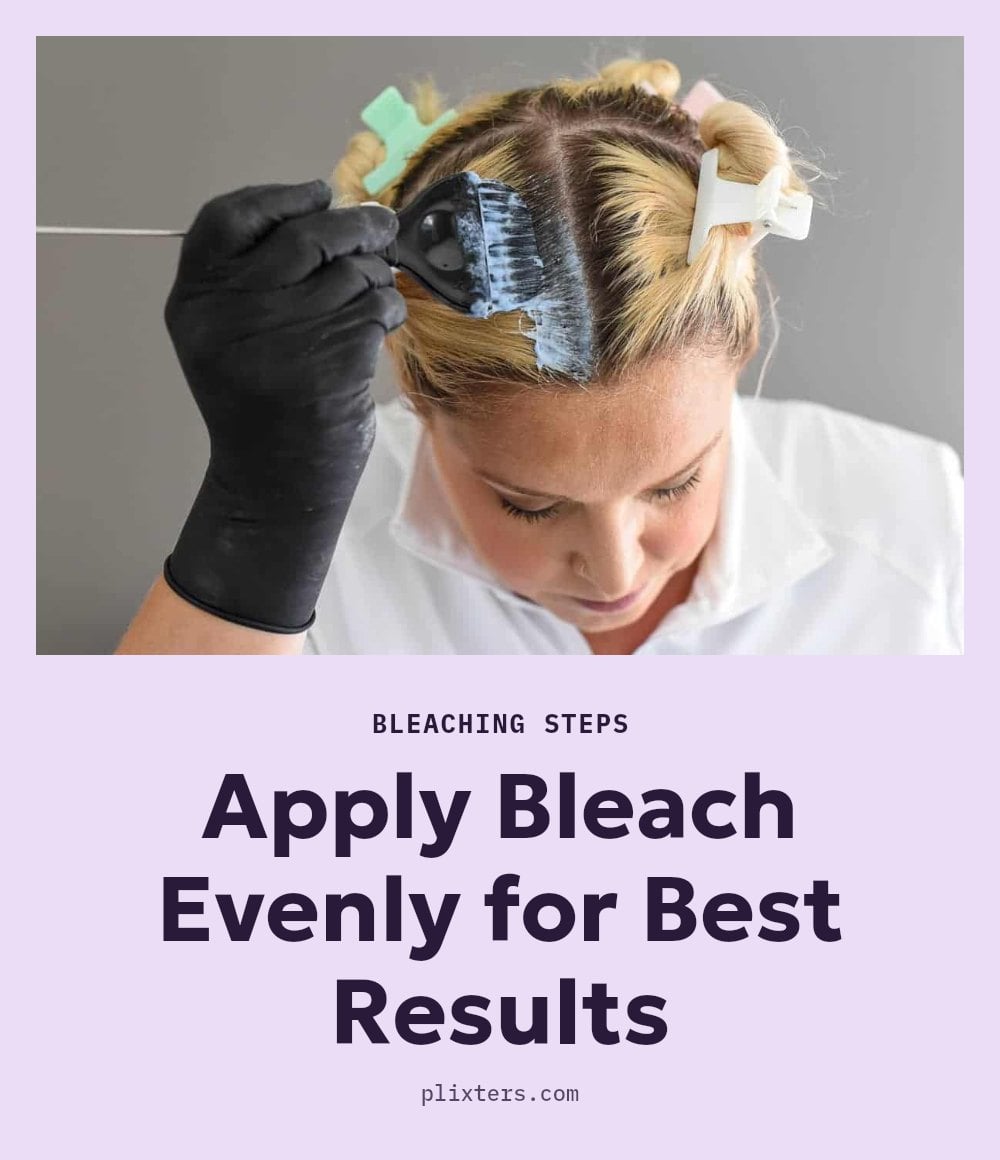
- Patch and strand test: Perform a patch test 48 hours before bleaching to check for allergies. Do a strand test on a small, hidden section to determine how long the bleach needs to process on your hair.
- Prepare your hair: Make sure your hair is dry and unwashed for 1-2 days. The natural oils help protect your scalp and hair during the process.
- Mix the bleach: Combine bleach powder and developer in a non-metallic bowl until smooth. Work quickly because the mixture loses potency over time.
- Apply strategically: Start with the roots, then apply to the mid-lengths and ends last. Roots process faster due to body heat, so doing them last helps achieve even lift. Work in small sections for full coverage.
- Monitor with a timer: Check your hair every 5-10 minutes for lift and damage. If hair feels gummy or stretchy, rinse immediately.
- Rinse and treat: Rinse thoroughly with cool water to stop the chemical process. Follow with a deep conditioning treatment or hair mask to restore moisture.
Common Bleaching Mistakes to Avoid
Mistake 1: Skipping the strand test. Without it, you won’t know how your hair reacts or how long to process. Always test a small hidden section first.
Mistake 2: Using too high a developer volume. Volume 30 or 40 lifts fast but causes serious damage. Stick with Volume 10 or 20 for home bleaching; avoid Volume 30 or higher.
Mistake 3: Uneven application. Apply bleach in small, neat sections with clips. Patchy coverage leads to splotchy color.
Mistake 4: Leaving bleach on too long. Over-processing makes hair gummy and brittle. Rinse immediately if your hair feels stretchy or breaks.
Mistake 5: Bleaching damaged hair. Wait until your hair is healthy and strong. Bleaching compromised hair causes breakage and uneven results.
Post-Bleach Care: Keeping Your Hair Healthy

Deep condition your hair at least once a week to restore moisture and repair damage. Use a bond-building treatment (like Olaplex or a similar product) to strengthen compromised strands.
To neutralize unwanted yellow or orange tones, apply a purple or blue toner after bleaching. Avoid heat styling and harsh chemicals for several weeks to prevent further stress.
Wait at least 4-6 weeks before re-bleaching. If your hair is still damaged, extend the waiting period longer to allow recovery.
Bleaching Timeline and When to Re-Bleach
The initial bleaching process takes 30-60 minutes for processing, plus preparation and rinsing time. Realistically, expect the whole process to take about two hours, and understand that you might not reach your goal shade in one session.
Wait at least 4-6 weeks between bleaching sessions to let your hair recover. For severely damaged hair, extend the waiting period significantly.
Home bleaching kits generally cost less than salon services, but quality varies. Invest in a reliable kit to reduce damage.
When to Call in a Professional Hair Stylist
Call a professional if your hair is severely damaged, brittle, or has uneven color. A stylist can assess and correct the problem safely.
For a drastic color change, like going from very dark to platinum, professional help prevents excessive damage. If you experience an allergic reaction or chemical burn during the process, stop and seek medical advice.
For complex color corrections or if you are unsure about any step, a stylist ensures the best outcome.
Frequently Asked Questions
How many levels can I lift my hair in one session?
In a single session, you can typically lift your hair about 2 to 4 levels, depending on your starting color and the developer volume used. Trying to go from dark brown to platinum in one go will cause severe damage. It’s safer to do multiple sessions spaced weeks apart.
Can I bleach my hair if it’s already colored?
Yes, but it’s riskier. Previously colored hair is more porous and may lift unevenly or break. You’ll need a strand test to see how it reacts. If your hair has been dyed with a dark color, you might need to remove the old color first or see a professional.
What if my hair turns orange after bleaching?
That’s normal for darker hair. Orange tones appear when the bleach lifts the natural pigment. A purple or blue toner can neutralize them, turning the hair a cooler, more natural blonde. Apply the toner after rinsing and conditioning, following the product instructions.
How often can I bleach my hair?
Wait at least 4 to 6 weeks between bleaching sessions. This gives your hair time to recover and rebuild strength. If your hair feels brittle or damaged, extend the wait to 8 weeks or longer. Over-bleaching too soon leads to breakage and gummy texture.
Is it okay to bleach my hair if my scalp is sensitive?
If your scalp is irritated, has open sores, or is generally sensitive, it’s best to avoid bleaching until it heals. Bleach can cause chemical burns. Always do a patch test on your skin 48 hours before. If you have a reaction, do not proceed.
Final Thoughts
Bleaching your hair at home is doable, but it demands patience and precision. My one rule: never skip the strand test, even if you’re tempted. Realistically, expect the whole process to take about two hours, and understand that you might not reach your goal shade in one session. If you treat your hair with care during and after, you’ll get the best results without sacrificing its health.
This article provides general information about at-home hair bleaching and is not a substitute for professional advice. Hair bleaching carries risks of damage, allergic reactions, and burns. Always perform patch and strand tests, and consult a dermatologist or professional stylist for persistent issues or severe reactions.