 Save
If your skin feels dull, dry, or breakout-prone, a DIY face mask might be the gentle reset it needs. I’ve rounded up the best ingredient pairings for every skin type, from soothing oatmeal for sensitivity to oil-absorbing clay for shine. This article walks you through essential tools, step-by-step application, common mistakes to skip, and how often to mask for real results.
Key Takeaways
- Choose ingredients based on your skin type: avocado for dry, clay for oily, oatmeal for sensitive.
- Always patch test a new mask on your inner arm or behind your ear first.
- Leave most DIY masks on for 10-20 minutes, no longer, to avoid irritation.
- Use DIY masks 1-2 times per week for subtle, gradual improvements.
- Stop immediately if you feel stinging or burning, and rinse with lukewarm water.
9 ideas in this post
- Why Try DIY Face Masks?
- Essential Ingredients and Tools for DIY Face Masks
- DIY Face Mask Recipes for Different Skin Concerns
- How to Apply Your Homemade Face Mask Safely
- Common DIY Face Mask Mistakes to Avoid
- Frequency and Expectations for DIY Face Masks
- When to Consult a Dermatologist
- Frequently Asked Questions
- Final Thoughts
Why Try DIY Face Masks?
DIY face masks are a low-cost way to give your skin a boost with ingredients you probably already own. Honey draws moisture in, oatmeal calms irritation, yogurt’s lactic acid gently exfoliates, and clay soaks up excess oil. The catch: match ingredients to your skin type and treat anything new as a possible irritant. Tip: patch test on your inner arm first, and start with gentle formulations before you get adventurous.
Essential Ingredients and Tools for DIY Face Masks
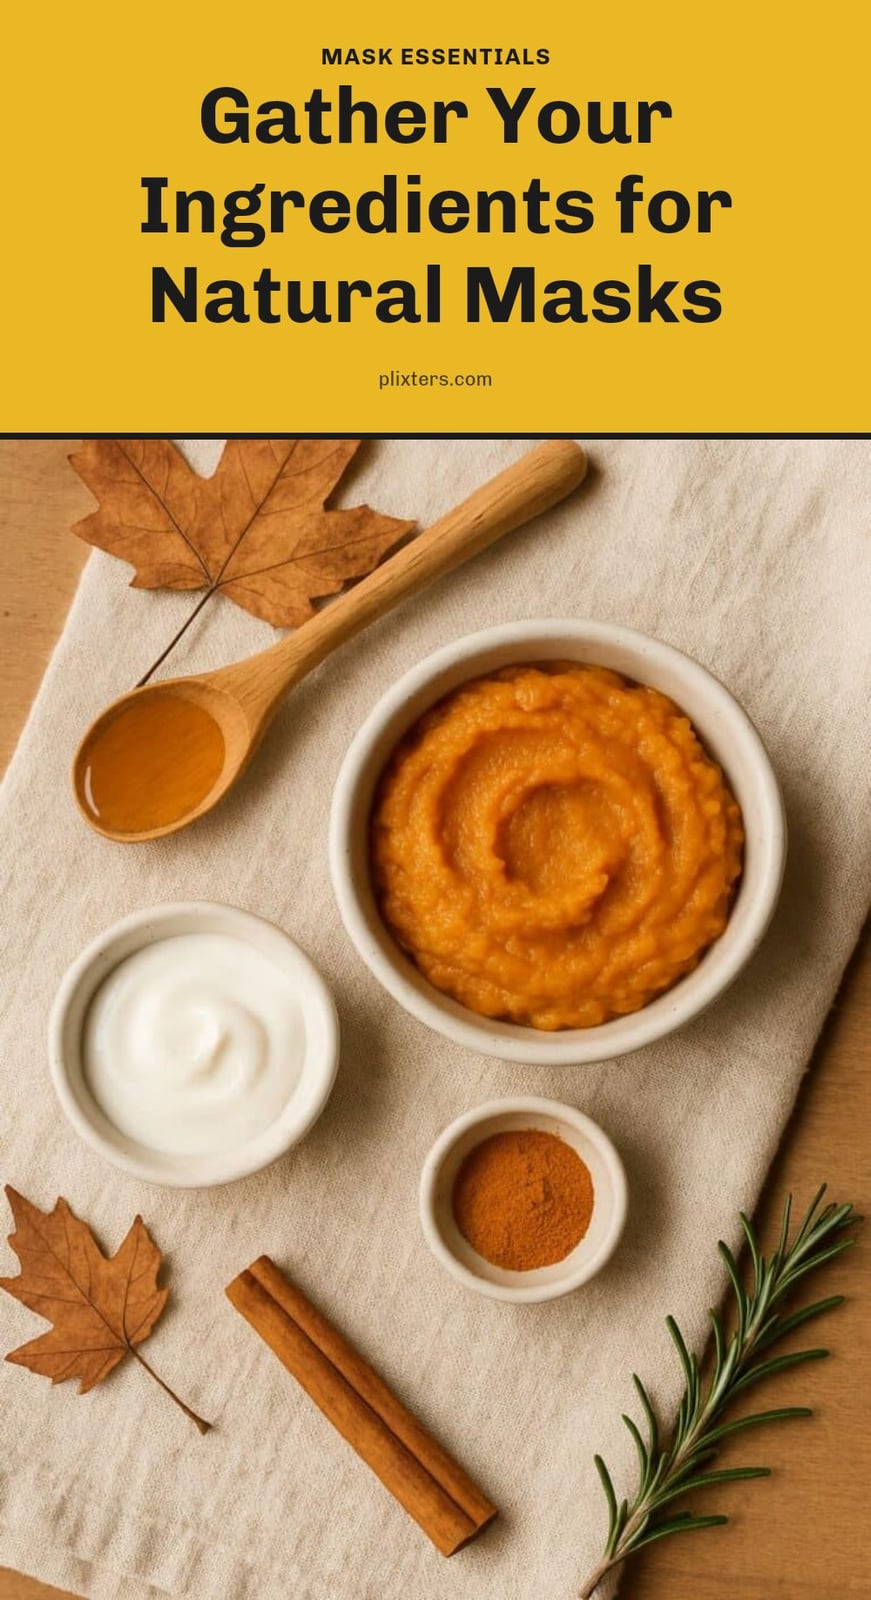
You don’t need special equipment. A small mixing bowl, a spoon or spatula, measuring spoons, and an applicator brush if you want less mess cover almost every recipe. For ingredients, stick to plain, food-grade staples: honey, unflavored oatmeal, plain yogurt, avocado, pure aloe vera gel, brewed and cooled green tea, and bentonite or kaolin clay.
- Freshness: use ingredients you’d eat and skip anything expired or stored poorly, since bacteria can transfer to your skin.
- Match your concern: avocado and honey for dry skin, clay for oily skin, oatmeal for sensitive skin.
- Keep it simple: three to four ingredients per mask is plenty.
DIY Face Mask Recipes for Different Skin Concerns
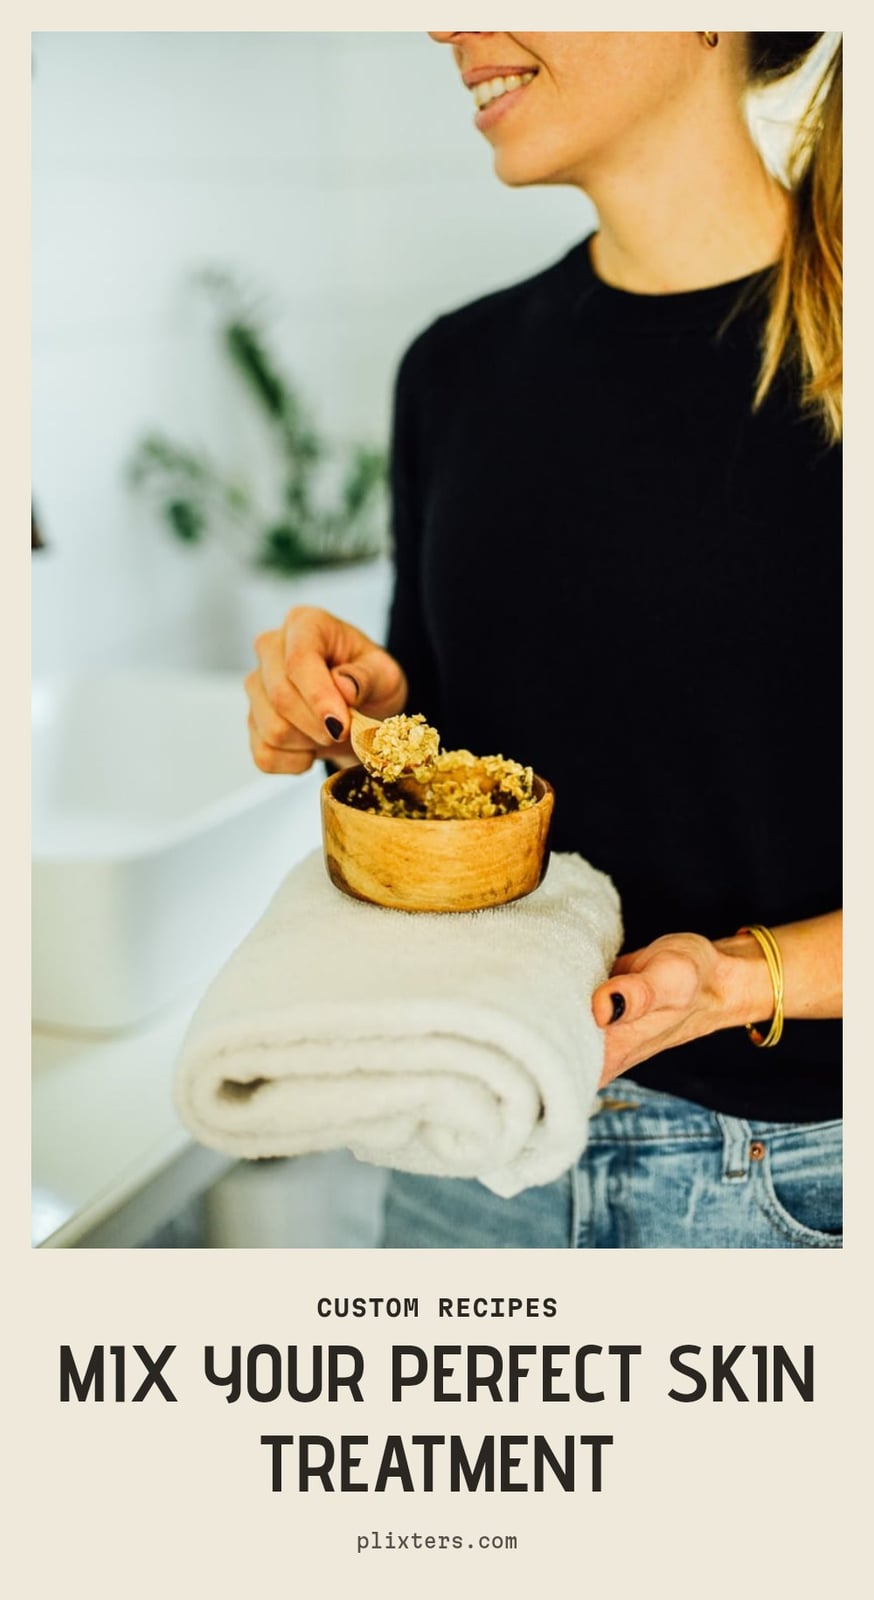
Build each mask around one goal and keep the ratio simple, roughly two parts base to one part active ingredient.
Dry or tight skin: honey and oatmeal
Mix 2 tablespoons of plain rolled oats with 1 tablespoon of honey and a splash of warm water until it forms a paste. Honey is a humectant that pulls moisture into the skin, and colloidal oats help soothe tightness.
- Tip: grind the oats finer if you have sensitive skin, so the texture doesn’t tug.
Dull skin: yogurt and avocado
Mash a quarter of a ripe avocado with 1 tablespoon of plain yogurt. The lactic acid in yogurt offers gentle exfoliation while avocado’s fats and vitamins E and C add moisture.
- Caution: skip this one if your skin stings easily, since AHAs can irritate reactive skin. If you have a known condition like rosacea or eczema, consult a dermatologist before trying this mask.
Oily skin: green tea and clay
Mix 1 tablespoon of bentonite or kaolin clay with brewed, cooled green tea until you get a spreadable paste. The clay draws out excess oil and the green tea adds antioxidants.
- Good to know: a pinch of turmeric adds anti-inflammatory properties, but it can temporarily stain skin and fabric yellow, so use very little.
How to Apply Your Homemade Face Mask Safely

Order matters as much as the recipe. Work through these steps and keep the whole process gentle.
- Cleanse first: wash with your regular cleanser and pat dry, so the mask sits on clean skin instead of trapping dirt and oil.
- Patch test: apply a small amount behind your ear or on your inner arm, and check for redness or itching before going near your face. You don’t need to wait a full day; a few minutes can reveal immediate sensitivity.
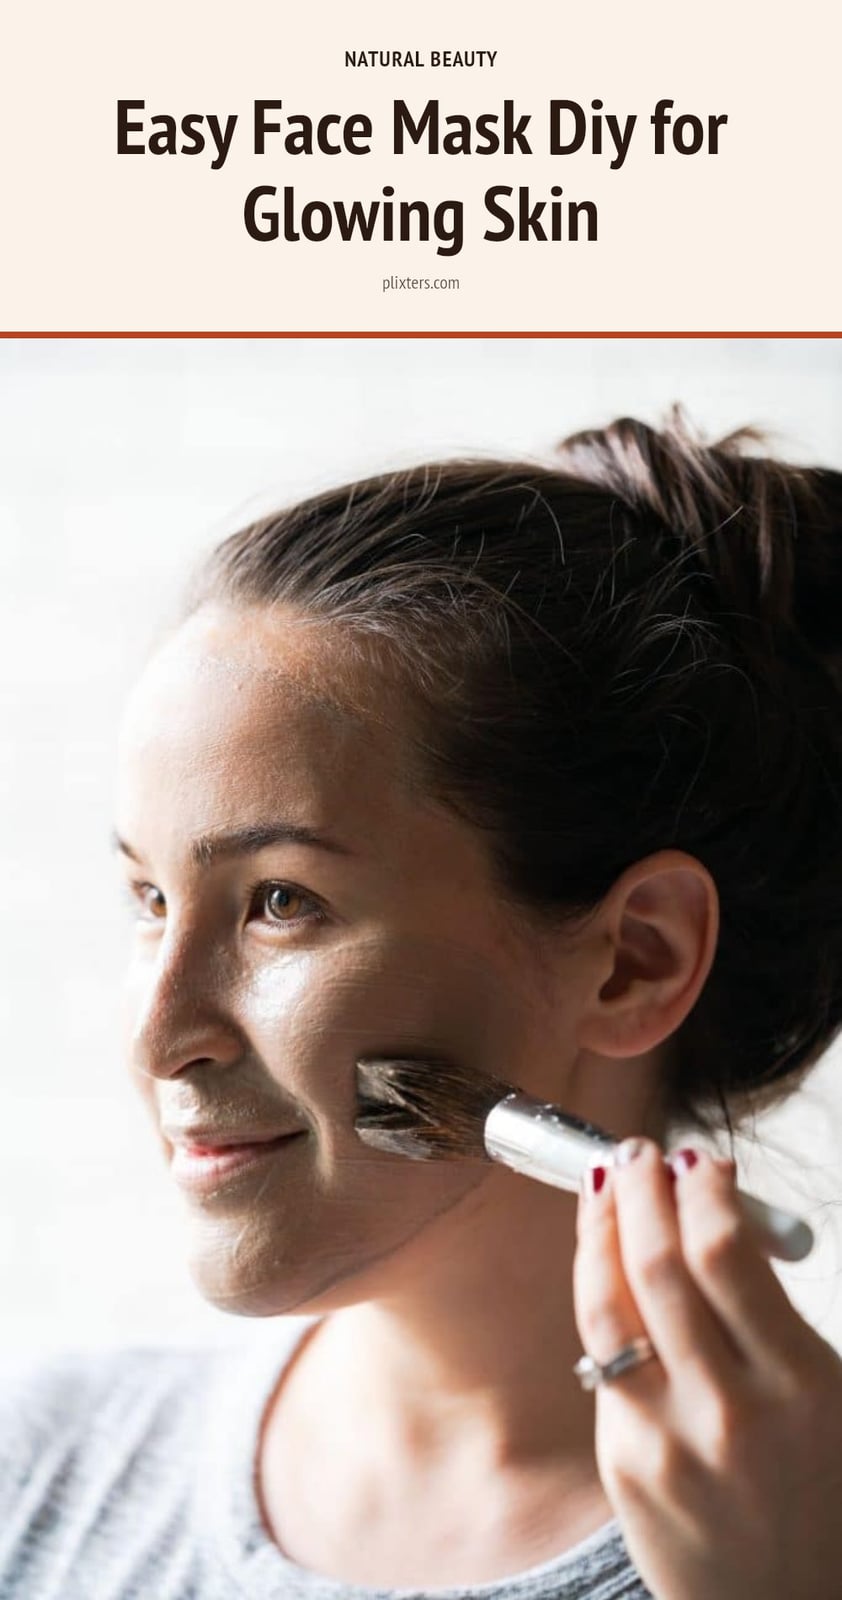
- Apply evenly: spread a thin, even layer with clean fingers or a brush, and leave the eye and mouth areas clear.
- Watch the clock: most masks stay on for 10 to 20 minutes. Take it off sooner if you feel stinging or burning.
- Rinse gently: use lukewarm water and your fingertips, no scrubbing, then pat dry.
- Moisturize: follow with your regular moisturizer to lock in hydration.
Common DIY Face Mask Mistakes to Avoid
Using pure lemon juice: Its high acidity can cause chemical burns and make your skin more sensitive to the sun. Stick to gentler brightening options like yogurt or a pinch of turmeric.
Leaving masks on too long: Most DIY masks need 10-20 minutes max. Going over that can dry out your skin or cause irritation instead of helping it.
Skipping the patch test: Test a small amount on your inner arm or behind your ear before applying to your whole face. This catches reactions before they cover your skin.
Applying to broken or irritated skin: If you have sunburn, active breakouts, or any open areas, wait until your skin has healed. A mask can trap bacteria or worsen the irritation.
Frequency and Expectations for DIY Face Masks
Use DIY masks 1-2 times per week, not every day. Overdoing it can strip your skin or cause sensitivity.
Expect subtle changes over several weeks of consistent use, not an overnight transformation. Homemade ingredients are gentle and work gradually.
Good to know: These masks cost very little since you likely already have the ingredients in your kitchen. A single avocado or jar of honey lasts for multiple masks.
When to Consult a Dermatologist
Stop using a mask immediately if you feel stinging, burning, redness, or itching. Rinse with lukewarm water and apply a gentle moisturizer.
If irritation continues or you have a known skin condition like eczema, rosacea, or acne, consult a dermatologist before trying any new DIY mask. Professional guidance helps you avoid making the problem worse.
Frequently Asked Questions
How often can I use a DIY face mask?
Most DIY face masks are safe to use 1-2 times per week. Using them more often can strip your skin of natural oils or cause irritation. Stick to that schedule and watch how your skin responds before increasing frequency.
Can I use store-bought ingredients for DIY masks?
Yes, store-bought ingredients like plain yogurt, pure aloe vera gel, and unflavored oatmeal work well. Just check the label for additives, preservatives, or fragrances that might irritate your skin. Fresh, food-grade ingredients are generally the safest choice.
What should I do if my skin reacts negatively to a mask?
Rinse the mask off immediately with lukewarm water and apply a gentle moisturizer. If stinging, burning, or redness continues, stop using that ingredient and consult a dermatologist, especially if you have a known skin condition like eczema or rosacea.
Are DIY face masks as effective as commercial ones?
DIY masks can hydrate, soothe, and gently exfoliate, but they work more subtly than professional treatments. They lack the concentrated active ingredients and preservatives of commercial products. For mild concerns, they are a great low-cost option, but not a substitute for prescribed or clinical care.
Final Thoughts
My tip: stick with one or two masks that match your skin’s current needs and use them consistently once a week. You won’t see a dramatic change after one use, but after several weeks of gentle care, your skin may feel smoother, more hydrated, or less oily. Keep it simple, stay patient, and let your skin tell you what works.
This article is for general informational purposes only and does not constitute medical or dermatological advice. Skin reactions vary by individual. If you have a persistent skin concern or a known condition such as eczema, rosacea, or acne, please consult a dermatologist before trying any new DIY mask.