 Save
If your hair feels dry, brittle, and looks dull, you don’t need to spend a fortune on salon treatments. A simple DIY hair mask made from kitchen staples can deeply condition and nourish your strands, improving shine and reducing frizz. This article walks you through a proven avocado, banana, and honey mask recipe, plus tips to get the most out of it.
Key Takeaways
- Apply the mask once or twice a week for best results.
- Leave the mask on for 20-30 minutes, not overnight.
- Focus application on mid-lengths and ends, not roots.
- Rinse thoroughly with lukewarm water to avoid greasy residue.
- Expect noticeable softness and shine after 2-4 applications.
10 ideas in this post
- Why This DIY Hair Mask Works Wonders
- Ingredients for Your Revitalizing Hair Mask
- Step-by-Step: Crafting and Applying Your Hair Mask
- Top Tips for Maximizing Your Hair Mask Results
- Common Mistakes to Avoid When Using Hair Masks
- Customizing Your Mask: Variations for Different Hair Needs
- Storing Your DIY Hair Mask and Maintaining Results
- When to Consult a Professional for Hair Concerns
- Frequently Asked Questions
- Final Thoughts
Why This DIY Hair Mask Works Wonders
This DIY hair mask is a powerful, natural treatment for dry and damaged hair, using common kitchen ingredients. It deeply conditions, improves shine, reduces frizz, and strengthens hair strands by penetrating deeper than regular conditioners. Ingredients like avocado, banana, honey, and oils provide essential moisture, vitamins, and proteins to repair and nourish. The combination works because each ingredient targets a specific need: avocado supplies fatty acids, banana adds silica, honey locks in moisture, and oils seal the cuticle.
Ingredients for Your Revitalizing Hair Mask
Prep time: 5 minutes. Set time: 20-30 minutes. Yield: 1 application.
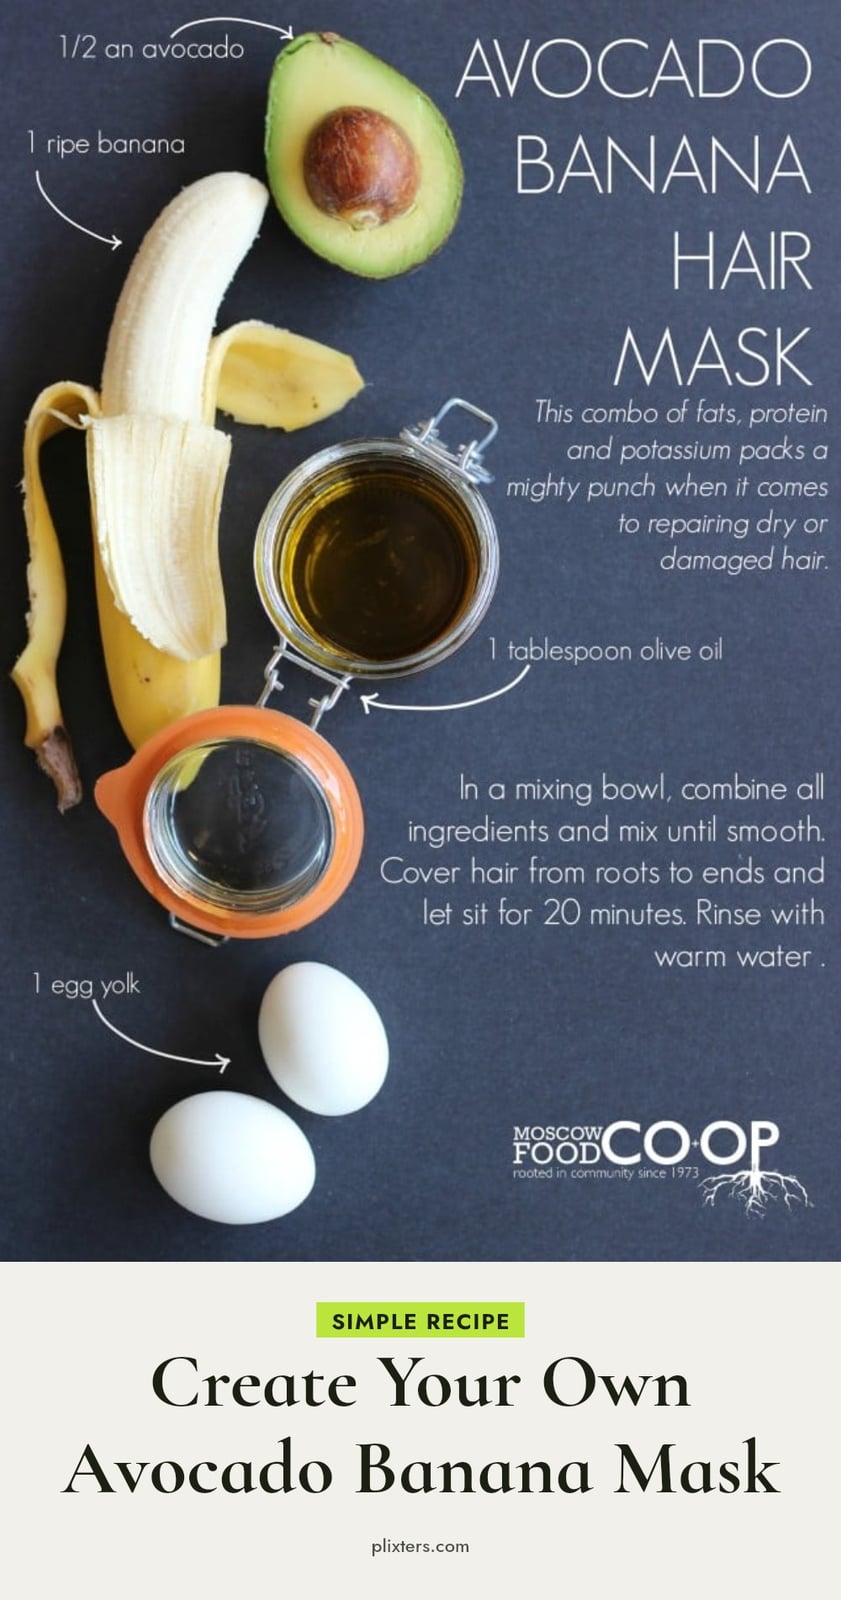
- 1 ripe avocado, mashed: rich in fatty acids and vitamins E and B for moisture and strength.
- 1 ripe banana, mashed: contains silica for softness and shine.
- 2 tablespoons honey: a humectant that attracts and retains moisture.
- 1 tablespoon coconut oil, melted: penetrates hair shaft to reduce protein loss and deeply condition.
- 1 tablespoon olive oil: rich in antioxidants and vitamins to protect and add shine.
- 1 egg yolk: provides protein to strengthen hair strands and repair damage.
Step-by-Step: Crafting and Applying Your Hair Mask
Follow these steps to get the most from your mask.
- Combine ingredients: Mash the avocado and banana together in a bowl until smooth, then stir in the honey, melted coconut oil, olive oil, and egg yolk. Mix until you have a lump-free paste.
- Prep your hair: Towel-dry your hair so it’s damp but not dripping wet. This helps the mask adhere and absorb better.
- Apply the mask: Section your hair and apply the mask with your fingers or a brush, focusing on the mid-lengths and ends. If your scalp is also dry, massage it in gently.
- Cover your hair: Put on a shower cap or wrap your hair in a warm, damp towel. The heat helps open the cuticle and allows ingredients to penetrate deeper.
- Wait 20-30 minutes: Leave the mask on for optimal conditioning. Set a timer so you don’t forget.
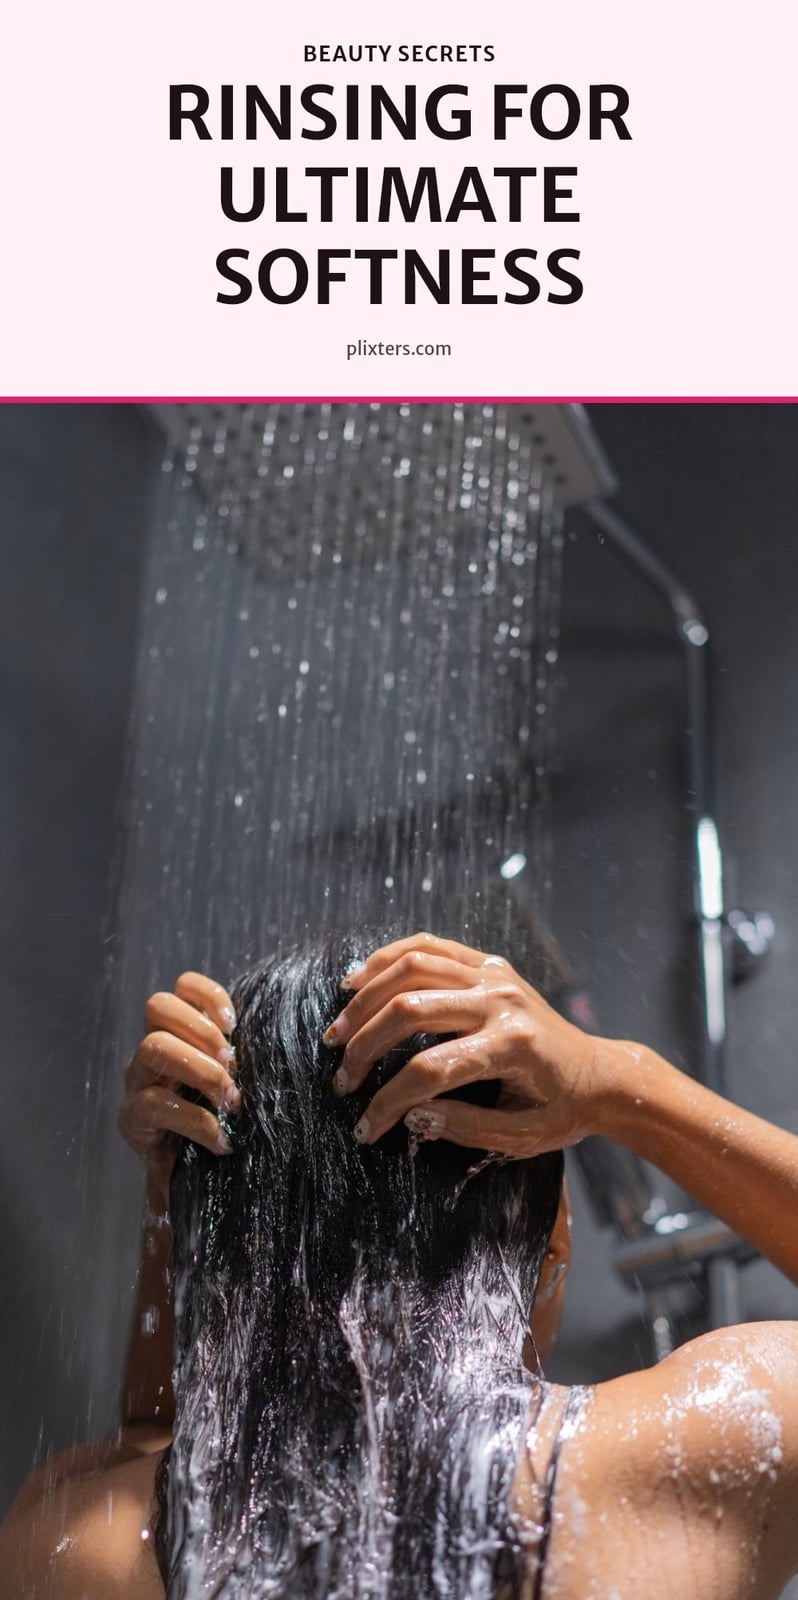
- Rinse thoroughly: Rinse with lukewarm water until the water runs clear and no residue remains. Hot water can strip natural oils.
- Detangle gently: After rinsing, use a wide-tooth comb to detangle your hair while it’s still damp. Start from the ends and work upward to avoid breakage.
Top Tips for Maximizing Your Hair Mask Results
These tips help you get the best results from your DIY mask.
- Patch test first: Apply a small amount of the mask to your inner arm or behind your ear and wait 24 hours to check for any allergic reaction before using it on your scalp.
- Warm it up: Gently heat the coconut and olive oils before mixing. Warmer oils blend more easily and may penetrate the hair shaft more effectively.
- Focus on damage: Concentrate the mask on the driest and most damaged parts of your hair, usually the mid-lengths and ends, where damage is most prevalent.
- Don’t overdo it: Use just enough to coat each strand. Applying too much product can weigh hair down and make it look greasy.
- Lukewarm rinse is key: Always rinse with lukewarm water, not hot, to avoid stripping natural oils and causing frizz.
- Be consistent: For noticeable improvements in softness and shine, aim to use this mask once or twice a week consistently. Results typically appear after 2-4 applications.
Common Mistakes to Avoid When Using Hair Masks
Incomplete Rinsing: Not rinsing the mask out completely leaves hair greasy or heavy. Rinse until the water runs clear and your hair feels clean.
Applying to Dirty Hair: Dirty hair blocks ingredient absorption. Always start with clean, damp hair.
Leaving it on Too Long: Leaving the mask on overnight or for hours can over-condition or cause build-up. Stick to 20-30 minutes.
Ignoring Hair Type: Heavy oils on fine hair weigh it down. Adjust oil amounts for your specific hair type.
Expecting Instant Miracles: One application won’t reverse years of damage. Consistency over 2-4 weeks is key for visible results.
Customizing Your Mask: Variations for Different Hair Needs
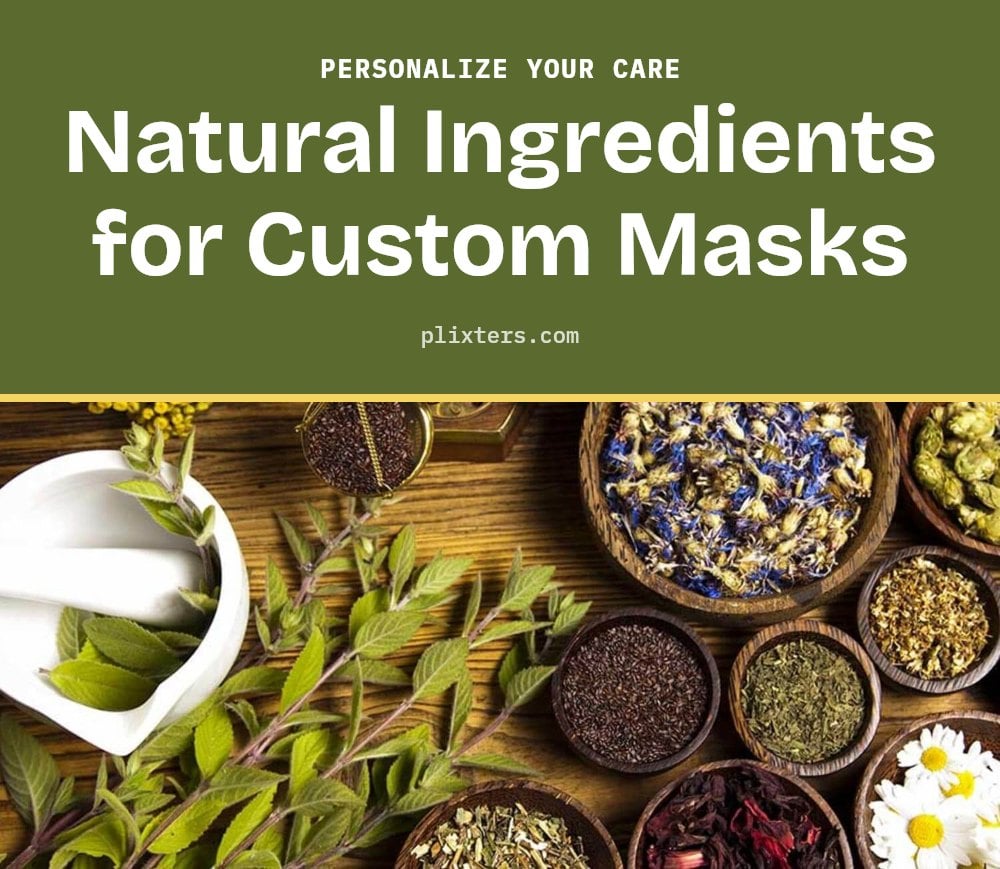
This base recipe is flexible. If you have an oily scalp but dry ends, skip the scalp and focus the mask on mid-lengths and ends. For extra protein, add a tablespoon of plain yogurt to the mix for a soothing boost.
My tip: If the egg smell bothers you, add a few drops of lavender or rosemary essential oil. These oils also support scalp health. Always research essential oils before adding them to your hair routine.
Storing Your DIY Hair Mask and Maintaining Results
Immediate Use is Best: Prepare and apply this mask right away. Fresh avocado, banana, and egg lose their potency quickly, so mixing a fresh batch each time ensures you get the full benefits.
Refrigeration (Short-Term): If you have a small amount left, you can store it in an airtight container in the fridge for up to 24 hours. However, the texture and effectiveness may decline, so it’s best to use it as soon as possible.
Discard After 24 Hours: Throw away any unused mask after 24 hours, especially because of the egg. This prevents bacterial growth and ensures safety.
Follow Up: After rinsing, apply your regular conditioner if your hair still feels dry, or simply proceed with your usual styling routine.
Gentle Drying: Pat your hair dry with a microfiber towel instead of rubbing. This reduces frizz and minimizes damage to the hair cuticle.
When to Consult a Professional for Hair Concerns
If you have persistent hair loss, excessive breakage, or scalp irritation that home treatments don’t fix, see a dermatologist or trichologist.
For severe chemical damage, major texture changes, or concerns about underlying health issues, a professional stylist or doctor can provide tailored advice.
DIY masks are great for maintenance but not a substitute for professional diagnosis or treatment of serious hair and scalp conditions.
Frequently Asked Questions
How often should I use a DIY hair mask?
For best results, apply the mask once or twice a week. This frequency allows the nourishing ingredients to work without over-conditioning or causing buildup. Consistency is key, so try to stick to a regular schedule for a few weeks to see noticeable changes in softness and shine.
Can I leave a DIY hair mask on overnight?
It’s not recommended. Leaving the mask on for longer than the suggested 20-30 minutes can lead to over-conditioning or product buildup, making hair feel heavy or greasy. If you want to enhance penetration, use a warm towel or shower cap during the treatment instead of extending the time.
Will a DIY hair mask make my hair greasy?
If you rinse thoroughly with lukewarm water and avoid applying heavy oils to the roots, greasiness shouldn’t be an issue. The mask is designed to absorb into the hair, but leftover residue can weigh hair down. Focus on mid-lengths and ends, and rinse until the water runs clear.
What if I don’t have all the ingredients?
You can still make an effective mask with what you have. For example, use just avocado and honey, or banana and olive oil. Each ingredient contributes moisture and nutrients, so even a simplified version can help. Just ensure the consistency is smooth enough to apply evenly.
Can I use a DIY hair mask on color-treated hair?
Yes, this mask is generally safe for color-treated hair. The natural ingredients like avocado and honey are gentle and moisturizing, which can actually help maintain color by improving hair health. However, always do a patch test first and avoid leaving the mask on too long to prevent any potential dulling.
Final Thoughts
For a real improvement in dry, damaged hair, commit to this mask once or twice a week for at least a month. You’ll likely notice softer, shinier strands after two to four applications, but remember that consistency matters more than any single treatment. My tip: keep a small notebook to track your hair’s progress, and adjust the ingredients to suit your hair’s needs.
This article is for general information only and is not a substitute for professional medical or hair care advice. If you have persistent scalp irritation, hair loss, or severe damage, consult a dermatologist or trichologist. Always patch test new ingredients and discontinue use if irritation occurs.