 Save
There’s nothing quite like a warm, fragrant bath to melt away the stress of the day. Homemade bath salts let you tailor that experience exactly to your preferences, from the mineral base to the scent and even the color. This guide covers everything you need to create your own relaxing bath salts at home, with three easy recipes and tips for getting the best results.
Key Takeaways
- Mix Epsom salt and sea salt in a 1:1 ratio for a balanced base that soothes muscles.
- Add 5-10 drops of essential oil per cup of salt to avoid skin irritation and overpowering scents.
- Store finished bath salts in an airtight container in a cool, dry place to prevent clumping.
- Use 1/2 to 1 cup of bath salts per standard tub for the best relaxation and muscle relief.
- Soak for 15-30 minutes in water around 98-102°F to maximize benefits.
8 ideas in this post
- What Are Bath Salts and Why Make Your Own?
- Essential Ingredients and Tools for DIY Bath Salts
- Step-by-Step: Crafting Three Unique Bath Salt Recipes
- Pro Tips for Perfecting Your Homemade Bath Salts
- Common Mistakes to Avoid When Making and Using Bath Salts
- How Long Does It Take and How Often to Enjoy?
- Frequently Asked Questions
- Final Thoughts
What Are Bath Salts and Why Make Your Own?
Bath salts are mineral salts added to bathwater to help you relax and soothe tired muscles. Making your own gives you complete control over the ingredients, so you can choose essential oils and botanicals that match your needs. Whether you want stress relief, muscle relaxation, or softer skin, a DIY blend delivers exactly that without any synthetic extras.
Essential Ingredients and Tools for DIY Bath Salts
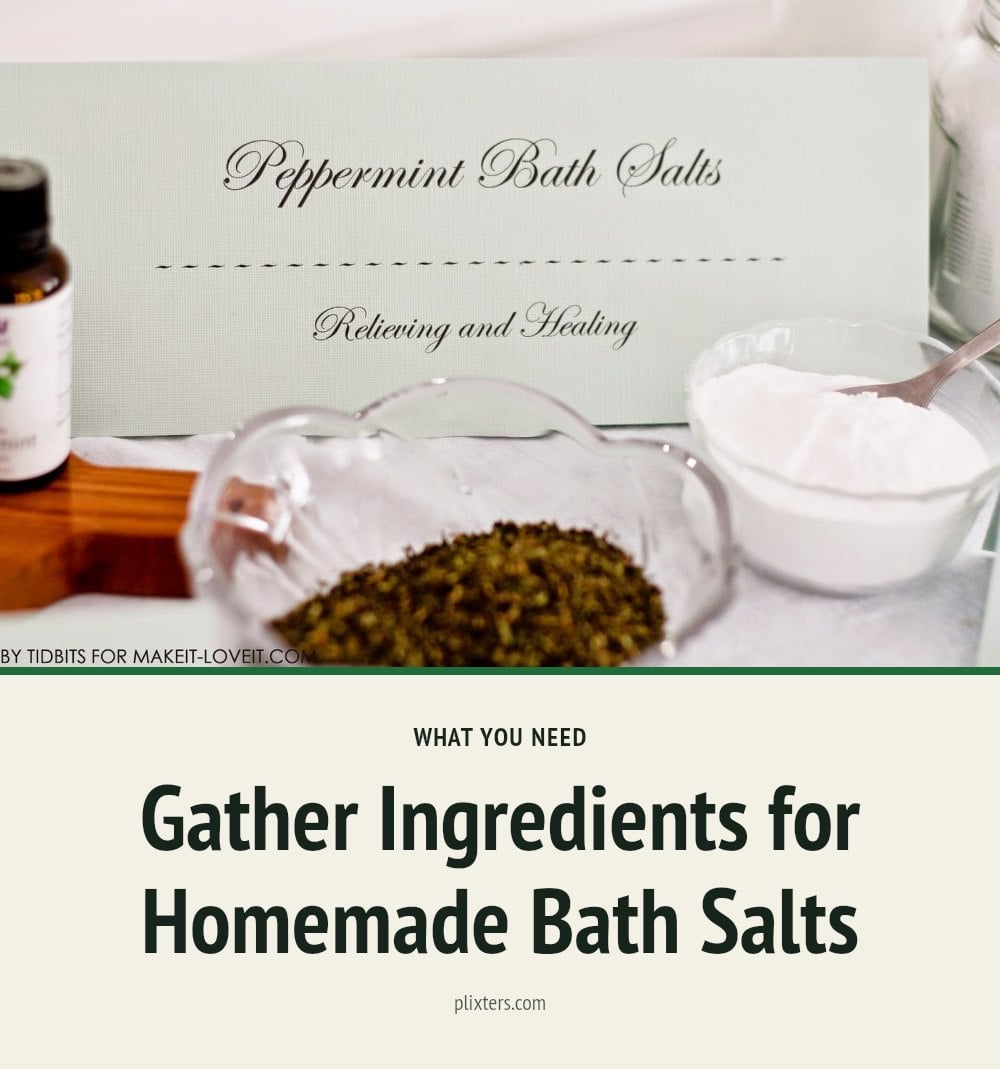
You only need a few basics to get started. Here is what to have on hand:
- Epsom salt and sea salts The base. Epsom salt is known for muscle relief; Himalayan pink, Dead Sea, and regular sea salt add variety.
- Essential oils For aromatherapy and natural fragrance. Use pure oils for real benefits.
- Dried botanicals Rose petals, lavender buds, or calendula flowers add color and a light scent.
- Carrier oil A few drops of jojoba or almond oil help disperse essential oils and moisturize skin.
- Airtight containers Glass jars with tight lids keep your salts dry and fragrant.
Step-by-Step: Crafting Three Unique Bath Salt Recipes
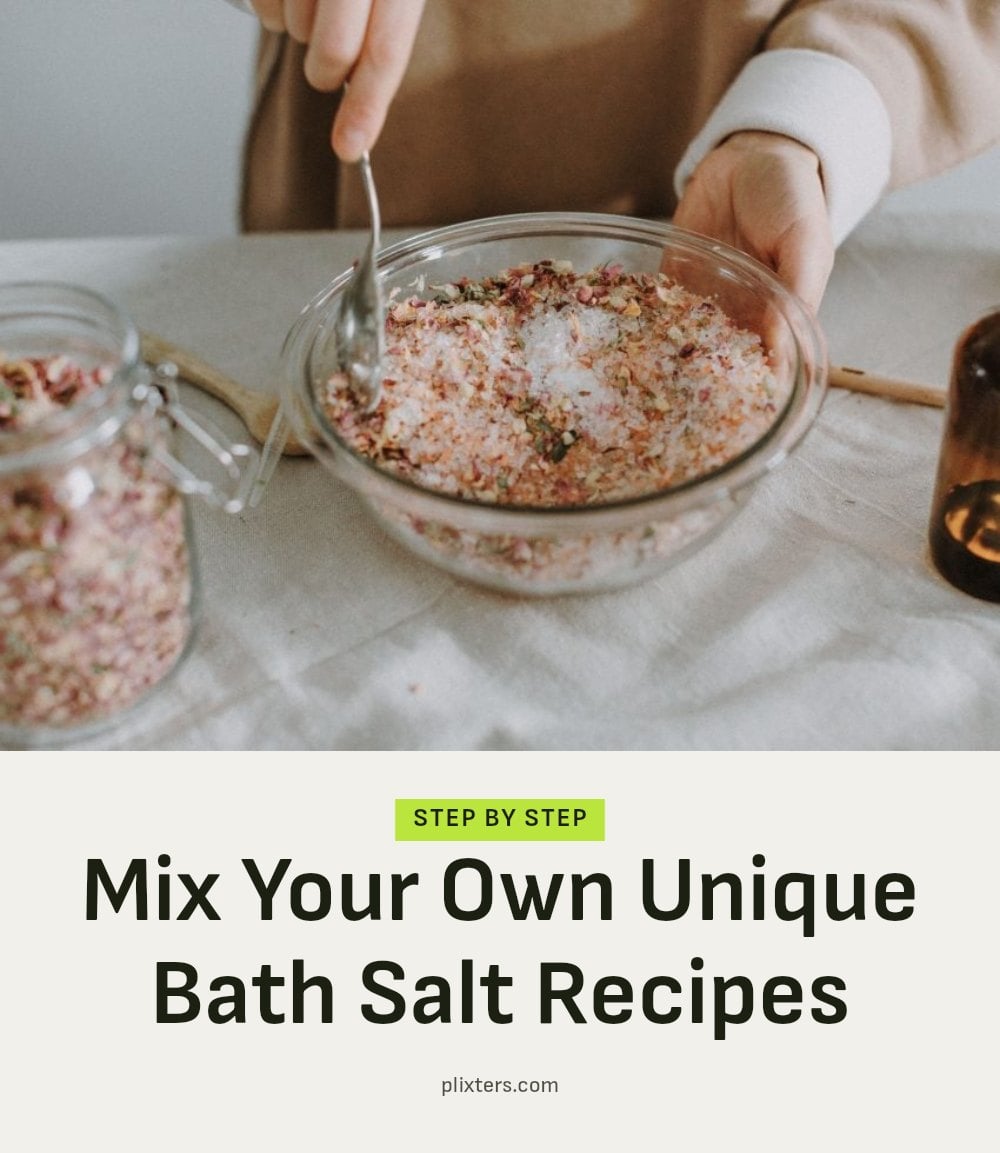
These three recipes layer color, scent, and texture for a beautiful bath salt collection. Wear gloves if mixing colors or fragrances with your hands.
- Mix pink Himalayan salt: Combine coarse pink Himalayan sea salt and Epsom salt in a 1:1 ratio. Stir well.
- Add rose petals: Break up dried rose petals and stir them into the salt mixture for color and a subtle floral note.
- Make blue Dead Sea salt: Place 1 cup of mineral Dead Sea salt in a separate bowl. Add blue mica powder and mix it with a small amount of carrier oil first to help it bind. Add more mica until you reach the desired shade.
- Add calendula: Sprinkle calendula flowers into the blue salt and stir.
- Layer the salts: In a 4-ounce jar, alternate layers of the blue calendula salt and the pink Himalayan salt. Top with extra calendula flowers.
- Create lilac bath salt: In another bowl, combine Epsom salt and Dead Sea salt. Add water-soluble lilac color and stir until the color is even.
- Add essential oils: Mix in lavender and lilac essential oils. Stir to combine.
- Add texture and color: Stir in coarse Dead Sea salt, lavender flowers, and orange lily flowers for visual interest.
- Store: Transfer each finished bath salt into an airtight jar.
If you learn better by watching, this 8-minute video from Renee Barnett DIY shows every step. The how-to part starts at 0:39.
Pro Tips for Perfecting Your Homemade Bath Salts
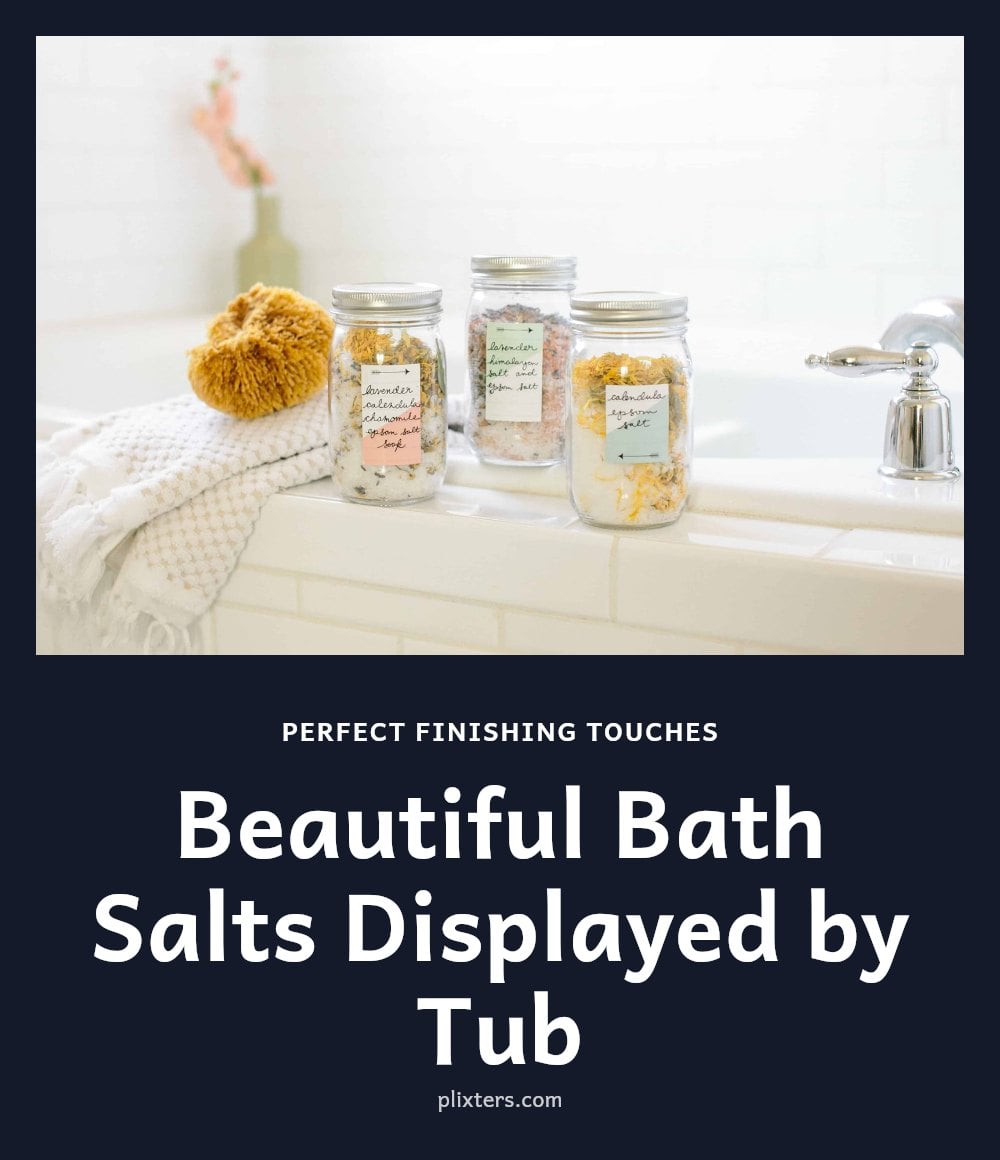
Small adjustments make a big difference in how your bath salts perform and feel. Keep these tips in mind:
- Start light with essential oils: Add 5-10 drops per cup of salt, then increase if you want a stronger scent. Too much can irritate skin.
- Use a carrier oil: A teaspoon of jojoba or almond oil helps the essential oils mix evenly into the water and leaves your skin softer.
- Store properly: Keep your salts in an airtight container in a cool, dry place. Moisture causes clumping and fades the fragrance.
- Clean the tub after use: Botanicals and oils can leave residue and make surfaces slippery. Rinse thoroughly after each soak.
- Choose pure essential oils: For actual aromatherapy benefits, avoid synthetic fragrance oils. High-quality oils give you the real effect.
Common Mistakes to Avoid When Making and Using Bath Salts
A few common mistakes can turn a relaxing soak into a hassle. Using too much essential oil is the top one, start with 5 drops per cup of salt and add more only after testing, since an overpowering scent or skin irritation is hard to fix afterward. Not letting the salts fully dissolve in warm water (around 98-102°F) leaves a gritty film on your tub and skin; stir well before getting in. Storing your batch in an open container lets moisture in, causing clumps and fading fragrance, always seal in an airtight jar. Adding loose botanicals straight into the bath can clog your drain; place them in a muslin bag or sachet instead. And never use bath salts on broken or irritated skin, as the minerals and oils can sting and worsen the area.
How Long Does It Take and How Often to Enjoy?
Mixing a batch of bath salts takes just 5 to 10 minutes, so you can whip up a new jar whenever you want. For each soak, plan to sit in the tub for 15 to 30 minutes. That is the sweet spot for muscle relief and mental calm. You can repeat this 2 to 3 times a week without overdoing it. One cost advantage: buying Epsom salt, sea salt, and essential oils in bulk makes homemade salts far cheaper than store-bought luxury blends, especially since a single batch uses only a few tablespoons of each ingredient.
Frequently Asked Questions
How much bath salt should I add to my bath?
For a standard-sized bathtub, use 1/2 to 1 cup of your homemade bath salts. Start with the smaller amount if you have sensitive skin or are trying a new blend, and adjust based on your preference for scent and mineral concentration.
Can I use food coloring for bath salts?
It is not recommended. Food coloring can stain both your tub and your skin. Instead, use water-soluble colorants made specifically for bath products, or mica powder (sprayed with rubbing alcohol to help it bind) for a safe, vibrant hue.
How long should I soak in a bath salt bath?
Plan to soak for 15 to 30 minutes. This is the ideal window for your muscles to relax and for the minerals and essential oils to absorb into your skin. Soaking much longer may dry out your skin or cause dizziness.
Are bath salts safe for sensitive skin?
They can be, if you take a few precautions. Use fewer essential oils (or none at all), stick to unscented salts, and always do a patch test on a small area of skin before your first full bath. If any redness or irritation occurs, discontinue use.
What are the best salts for a relaxing bath?
Epsom salt is the top choice for muscle relaxation because of its magnesium content. Dead Sea salt and Himalayan pink salt are also excellent for their mineral profiles and skin-softening effects. You can mix them in equal parts for a well-rounded soak.
Final Thoughts
For a truly personalized bath, start with a simple 1:1 mix of Epsom and sea salt, then add a few drops of your favorite essential oil. Expect your first batch to take about 10 minutes to make, and plan on soaking for 15 to 30 minutes per bath for the best results. Once you see how easy it is, you’ll never go back to store-bought.
This information is for general informational purposes only and is not a substitute for professional medical advice. If you have a skin condition, are pregnant, or have any health concerns, consult a doctor or dermatologist before using bath salts or essential oils.