 Save
You’ve probably heard that clay masks can transform your skin, but using them the right way is the real secret. Whether you’re dealing with oily, acne-prone skin or just want a deeper clean, the correct technique makes all the difference between glowing results and a dry, irritated mess. In this article, I’ll walk you through choosing the right clay, applying it properly, and what to do afterward to keep your skin happy and radiant.
Key Takeaways
- Choose bentonite clay for oily or acne-prone skin, kaolin for sensitive or dry types.
- Apply a thin, even layer to clean, slightly damp skin, avoiding the eye and lip areas.
- Leave the mask on for 10-15 minutes, never letting it dry completely and crack.
- Rinse with lukewarm water using gentle circular motions for mild exfoliation.
- Always follow with a hydrating serum or moisturizer to lock in moisture.
10 ideas in this post
- How to Use a Clay Mask for Best Results
- Choosing the Right Clay Mask for Your Skin Type
- What You’ll Need for Your Clay Mask Routine
- Step-by-Step: Applying and Removing Your Clay Mask
- Common Clay Mask Mistakes to Avoid
- Expert Tips for an Even Better Clay Mask Experience
- After Your Clay Mask: Rehydrating and Protecting Your Skin
- How Often and How Long to Use a Clay Mask
- Frequently Asked Questions
- Final Thoughts
How to Use a Clay Mask for Best Results
To get the most out of a clay mask, start by picking the right clay for your skin. Bentonite works best for oily and acne-prone skin, while kaolin is gentler for sensitive or dry types. Apply a thin, even layer to clean, slightly damp skin, steering clear of your eyes and lips. Let it sit for 10-15 minutes, but don’t let it dry completely or crack. Rinse with lukewarm water and always follow with a moisturizer to rehydrate.
Choosing the Right Clay Mask for Your Skin Type
Not all clays are the same, and matching the right one to your skin type makes all the difference. Here is a quick guide to the most common options.
| Clay Type | Best For | Key Benefit |
|---|---|---|
| Bentonite | Very oily, acne-prone skin | Highly absorbent, draws out impurities |
| Kaolin | Sensitive, dry skin | Gentle, mild exfoliation |
| French green | Normal to oily skin | Tones and tightens pores |
| Rhassoul | Most skin types | Rich in minerals, improves texture |
Choose based on your skin’s needs, and you will see better results with less risk of irritation.
What You’ll Need for Your Clay Mask Routine

Before you start, gather everything you need. The core item is your clay mask, either pre-made or powdered. If you are mixing powdered clay, grab a non-metallic bowl and spoon to avoid chemical reactions. You will also want a soft towel for patting your face dry and a hydrating serum or moisturizer to apply afterward.
Step-by-Step: Applying and Removing Your Clay Mask
Start with a clean face. Wash with your regular cleanser to remove makeup, sunscreen, and the day’s grime, then pat your skin dry. If you skip this step, the mask can’t reach your pores properly, and you’re just sealing in the dirt.
- Cleanse your face: Use a gentle cleanser and lukewarm water. Avoid hot water, which can strip natural oils and irritate skin before the mask even goes on.
- Prep your skin: Leave your face slightly damp after cleansing. This helps the mask spread evenly and improves absorption. If your skin is dry, mist it lightly with water.
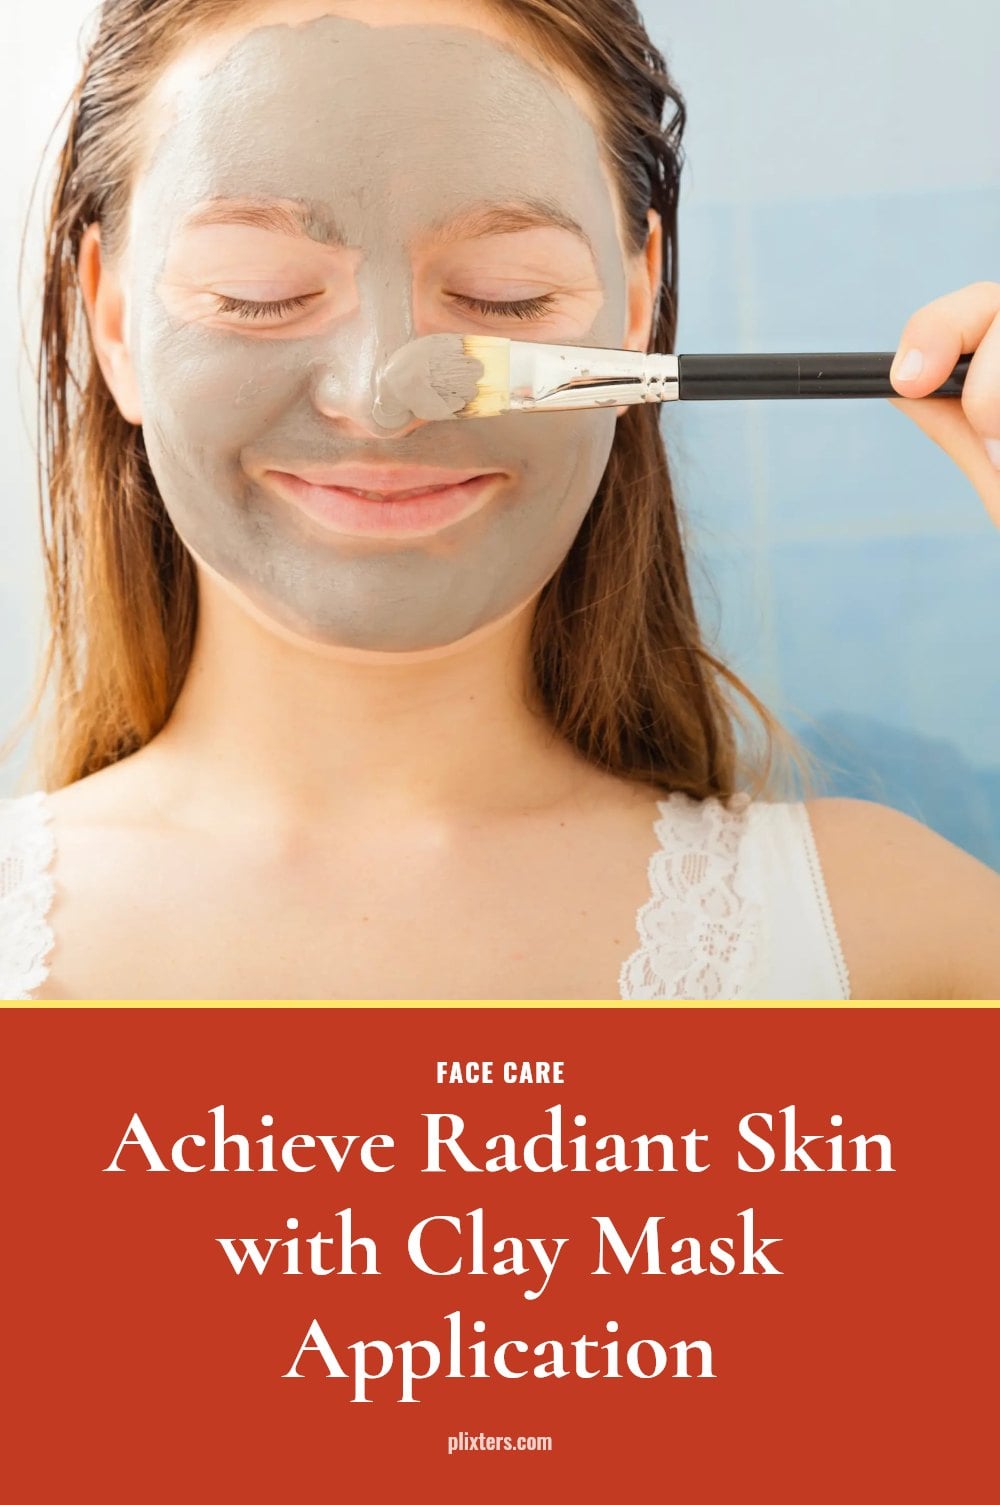
- Apply the mask: Use your fingers or a clean brush to spread a thin, even layer over your face, avoiding the eye and lip areas. A thin layer dries evenly and rinses off easily, so resist the urge to cake it on.
- Wait 10-15 minutes: Set a timer. If the mask starts to feel tight or looks dry, spritz your face with water or a facial mist to keep it slightly damp. Never let it crack, as that pulls moisture out of your skin.
- Rinse gently: Use lukewarm water and soft, circular motions with your fingertips to lift the mask away. This provides mild exfoliation without scrubbing. Avoid hot water, which can strip your skin’s natural oils.
- Moisturize immediately: While your skin is still damp, apply a hydrating serum or moisturizer. Clay masks draw out oil and impurities, so you need to replenish moisture right away to prevent tightness.
If you feel any stinging or burning beyond a mild tingling, rinse off right away and skip the mask that day. Also, take care not to get the mask near your eyes, and rinse immediately if any gets in.
Common Clay Mask Mistakes to Avoid
Even a good clay mask can backfire if you make these common mistakes. The biggest one is leaving the mask on until it cracks. Stick to 10-15 minutes, because over-drying pulls moisture out and irritates your skin.
Another frequent error is slathering on a thick layer. A thin, even coat dries uniformly and rinses off easily, while a heavy one stays tacky underneath and is hard to remove. Skipping moisturizer afterward leaves your face tight and dry, so always rehydrate right after rinsing.
Using the wrong clay for your skin type can cause ineffective results or irritation. Check the guide above and match the clay to your skin. Finally, never scrub the dried mask off aggressively. Use gentle, circular motions with lukewarm water to avoid damaging your skin.
Expert Tips for an Even Better Clay Mask Experience
These small adjustments make a clay mask session safer and more effective.
- Patch test: If your skin is extremely dry or sensitive, test the mask on a small area first to check for reactions.
- Misting: Keep the mask slightly damp with a facial mist or water spray so it never dries out completely.
- Consistency is key: Use your clay mask 1-2 times per week for the best results.
- Non-metallic tools: Always mix powdered clay with a non-metallic bowl and spoon to prevent chemical reactions.
After Your Clay Mask: Rehydrating and Protecting Your Skin
What you do after rinsing matters as much as the mask itself. Gently pat your face dry with a soft towel, don’t rub. Then apply a hydrating serum or facial oil to replenish moisture and soothe your skin.
Follow with your regular moisturizer to lock in hydration and create a protective barrier. If you are masking during the day, add a broad-spectrum SPF, since freshly exfoliated skin is more sensitive to the sun.
How Often and How Long to Use a Clay Mask
Frequency: Most skin types benefit from a clay mask 1-2 times per week. Duration: Leave it on for 10-15 minutes and never let it dry completely and crack.
Visible results: You may notice reduced oiliness and clearer pores after just a few uses. Cost: Clay masks range from affordable drugstore options to high-end formulations, with powdered clays often being more budget-friendly.
Frequently Asked Questions
How often should I use a clay mask?
Most skin types benefit from using a clay mask one to two times per week. If your skin is very oily, you might lean toward two times, but start with once to see how your skin reacts. Overusing can strip moisture and cause irritation, so stick to the recommended frequency.
Can I use a clay mask if I have dry skin?
Yes, but choose a gentler clay like kaolin, which is suited for drier or sensitive skin. Apply a thin layer and keep the mask slightly damp by misting with water if it dries too quickly. Always follow up with a rich moisturizer to rehydrate your skin.
What should I do if my skin feels tight after a clay mask?
A tight feeling usually means the mask was left on too long or your skin needs more moisture. Immediately apply a hydrating serum or facial oil, then follow with your regular moisturizer. If tightness persists, reduce the mask time next use or switch to a gentler clay.
Is it normal for a clay mask to tingle?
A mild tingling or slight redness can be normal, as clay masks increase blood circulation. However, if you experience severe redness, itching, or burning, rinse off the mask right away and discontinue use. Always do a patch test if you have sensitive skin.
Can I make my own clay mask at home?
Yes, you can mix powdered clay with water or other ingredients like honey or yogurt. Use a non-metallic bowl and spoon, as metal can react with the clay. Just be sure to choose a clay type that suits your skin, and follow the same application and removal steps.
Final Thoughts
To get the most from your clay mask, stick to the basics: pick the right clay for your skin, apply a thin layer to clean, damp skin, and rinse before it fully dries. Use it one to two times a week, and you can expect to see reduced oiliness and clearer pores after a few uses. Remember, the mask is just one step, so always finish with a moisturizer to keep your skin balanced and comfortable.