 Save
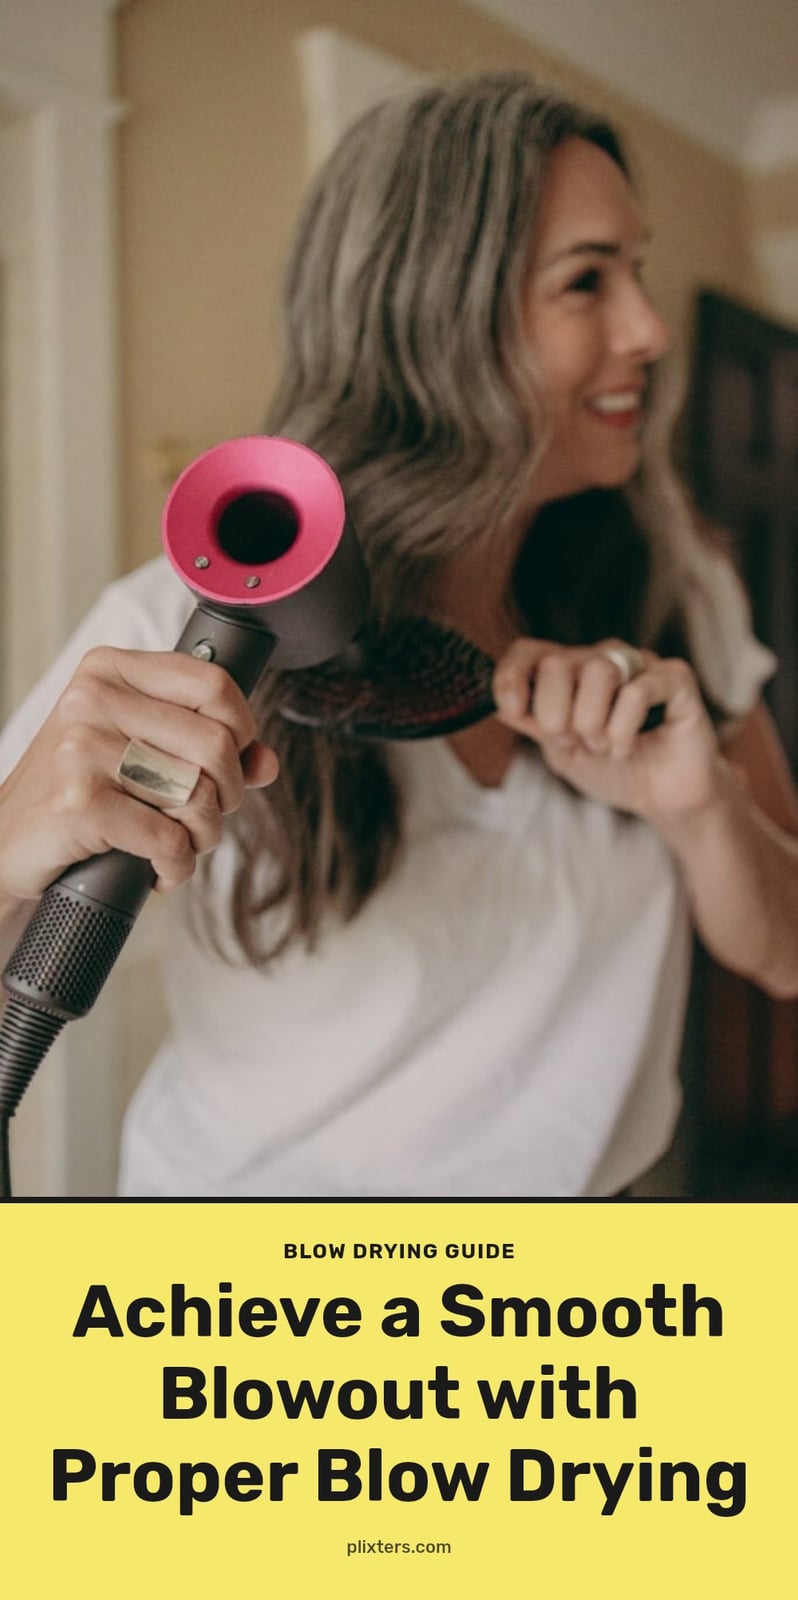
Getting a smooth, salon-quality blowout at home doesn’t have to be a mystery. It all comes down to prepping your hair right and using the correct technique to avoid frizz and damage. This article walks you through the essential tools, a step-by-step routine, and the common mistakes to skip so you can achieve a polished look every time.
Key Takeaways
- Always apply a heat protectant to damp hair before blow drying to prevent damage.
- Rough dry hair to 70-80% dry before using a styling brush to reduce heat exposure.
- Point the blow dryer nozzle downward from roots to ends to smooth the hair cuticle.
- Use the cool shot button on each section to set your style and add shine.
- Section your hair into manageable parts for even drying and a smoother finish.
8 ideas in this post
Achieving a Smooth Blowout at Home
A salon-quality blowout at home comes down to proper preparation and technique. It starts with the right tools and products, then uses strategic heat application to minimize damage and maximize your style. The key is to section your hair, direct the airflow downward from roots to ends, and use brushes to create tension and shape. With this approach, anyone can achieve a smooth, polished finish.
Essential Tools for Your At-Home Blowout
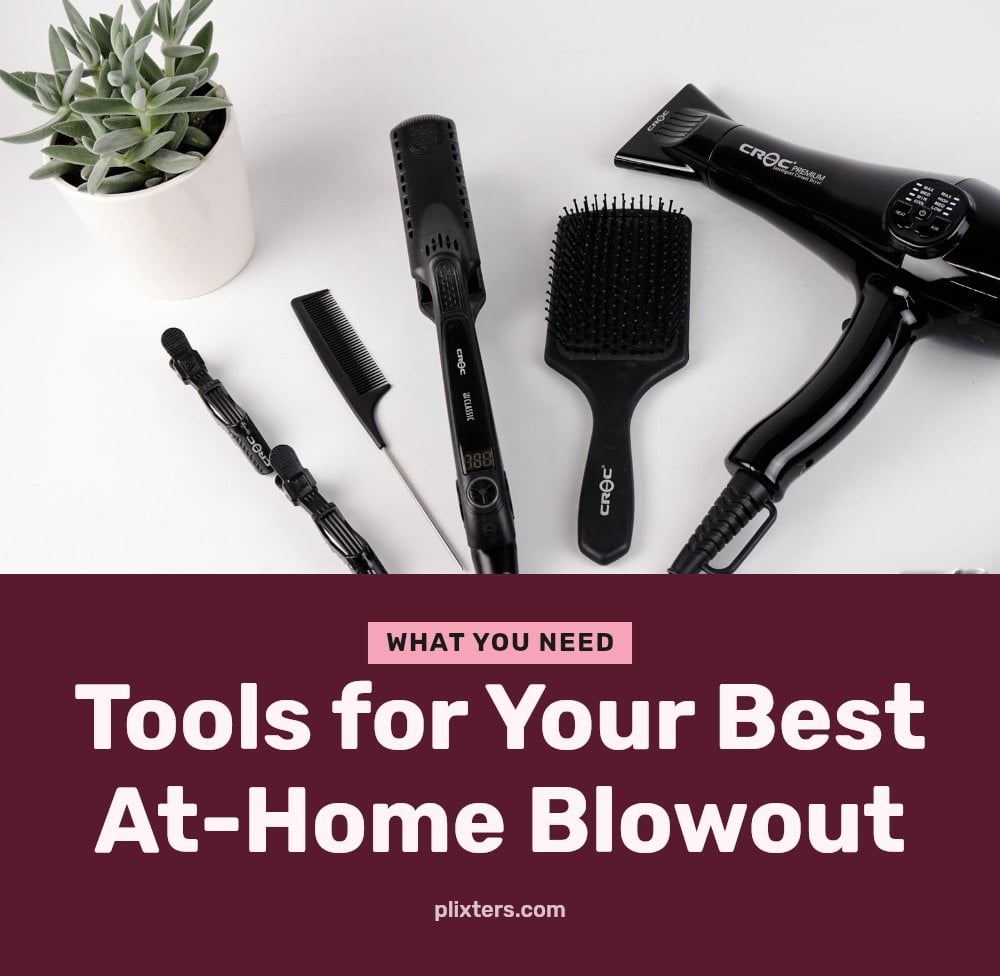
To get that smooth finish, you need the right lineup of tools. Here is what I consider essential for any at-home blowout:
- Blow dryer with concentrator nozzle: The nozzle focuses the airflow so you can direct it precisely and reduce frizz.
- Heat protectant spray: Non-negotiable. It shields your hair from heat damage every time you style.
- Hair clips or ties: You need these for sectioning your hair, which makes drying even and manageable.
- Brushes: A round brush adds volume and curl, a paddle brush creates sleek, straight styles, and a vent brush speeds up rough drying.
- Leave-in conditioner or styling cream: Helps with manageability and keeps frizz under control.
- Hair serum or oil: A few drops at the end give your blowout a smooth, shiny finish.
Step-by-Step: How to Blow Dry Your Hair for a Smooth Finish
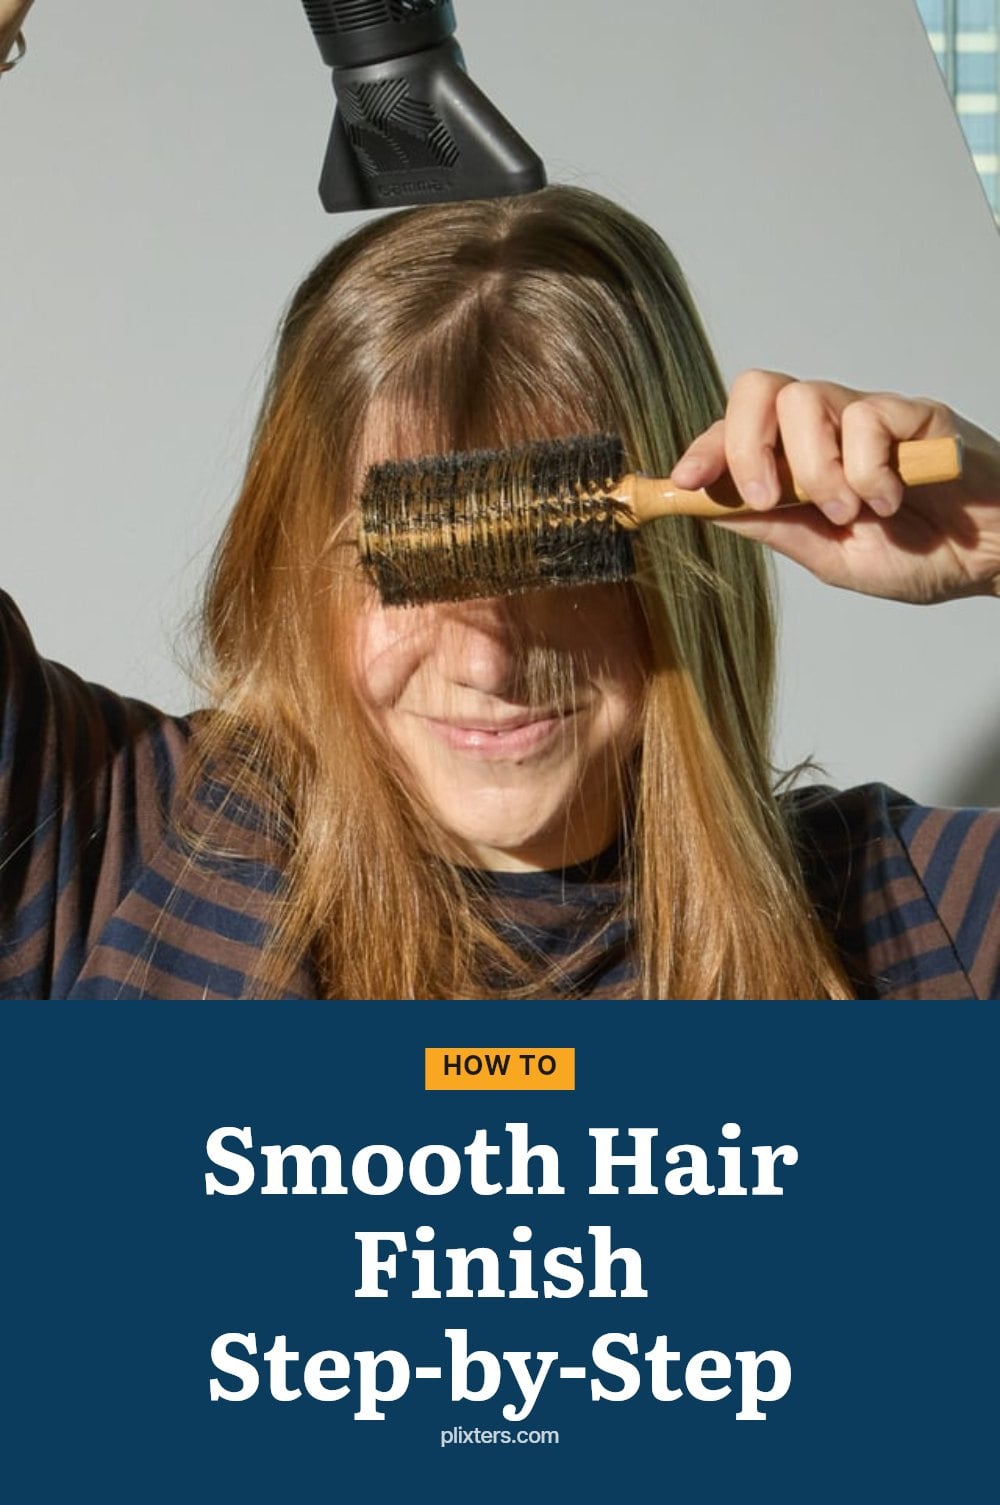
Here is my go-to routine for a smooth blowout at home. Follow these steps, and you will see the difference.
- Towel-dry and protect: Start with hair that is damp, not dripping wet. Apply a heat protectant spray all over to shield your strands from damage.
- Rough dry to 70-80%: Use your blow dryer on a medium setting without a brush to remove most of the moisture. This reduces overall heat exposure and styling time.
- Section your hair: Clip your hair into manageable sections. I usually do four: two on top and two on the bottom. This makes drying even and much easier.
- Attach the concentrator nozzle: The nozzle directs the airflow precisely. Always point it downward, following the direction of hair growth, to smooth the cuticle and add shine.
- Choose your brush: For volume and soft curls, use a round brush and pull the hair taut as you dry. For a sleek, straight look, use a paddle brush. Work through each section from roots to ends.
- Finish with the cool shot: After each section is dry, hit the cool shot button to seal the cuticle. This sets the style and locks in shine.
Pro Tips for a Perfect Blowout
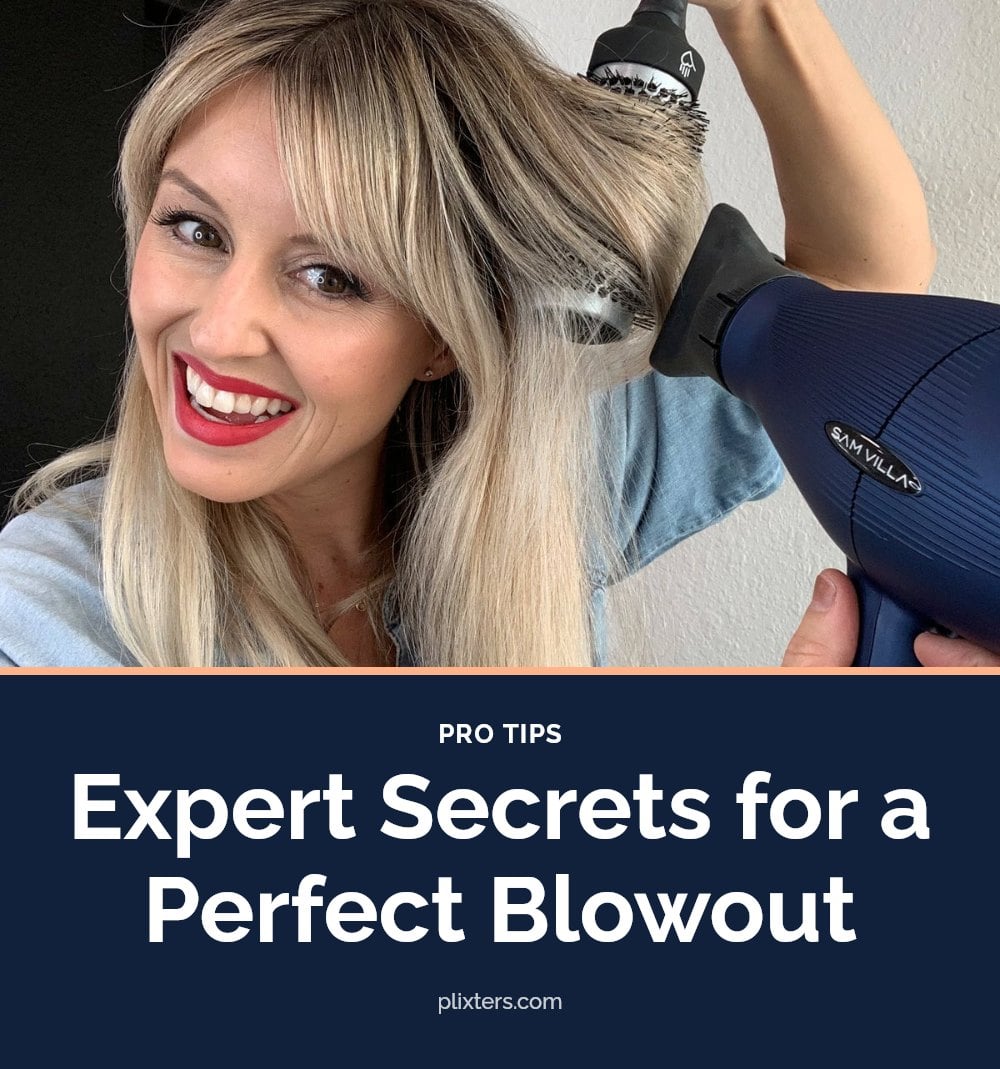
These tips will take your blowout from good to great. I use them every time.
- Choose the Right Brush: A round brush adds volume and curl, a paddle brush creates sleek, straight styles, and a vent brush is great for rough drying.
- Mind Your Heat Settings: Finer hair needs lower heat, while thicker hair can handle medium to high. My tip: always start lower and increase if needed.
- Keep Moving: Never hold the blow dryer stationary on one spot. Keep the airflow moving constantly to prevent heat damage.
- Clean Your Filter: A clean filter ensures optimal airflow and prevents your dryer from overheating. I always check mine.
- Don’t Over-Dry: Stop when your hair is dry, not crispy. Over-drying leads to frizz and damage.
Common Blow Drying Mistakes to Avoid
Skipping Heat Protectant: This is a big no-no. Always apply a heat protectant to damp hair before any heat styling. Hair is most vulnerable to damage when wet, and this product creates a barrier.
Starting with Soaking Wet Hair: Rough dry your hair until it is about 70-80% dry before using a brush for styling. It saves time and reduces overall heat exposure.
Not Sectioning Your Hair: Trying to dry all your hair at once leads to uneven drying and frizz. Sectioning makes it manageable and ensures every strand is styled properly.
Using Too High Heat: Excessive heat can damage your hair, especially if it is fine or already damaged. Adjust your temperature setting. My tip: start lower and increase only if needed.
Ignoring the Cool Shot Button: The cool shot button seals the cuticle, adds shine, and sets your style. Use it on each section for a polished finish.
Blow Drying Against Hair Growth: This lifts the cuticle and causes frizz. Always direct airflow from roots to ends, following the direction of hair growth.
How Long Does a Blowout Take? (And Is It Worth It?)
Time Investment: A full at-home blowout typically takes 15 to 45 minutes, depending on your hair’s length, thickness, and the style you are aiming for. The results are immediate, giving you a smooth, polished look right away.
Cost Savings: While a salon blowout can cost anywhere from $35 to $75 or more, mastering the technique at home means significant savings over time. You can achieve a similar look for the price of your tools and products.
Frequency: How often you blow dry depends on your hair type and desired style longevity. Some do it daily, others a few times a week. Adjust your routine to what works for your hair.
Frequently Asked Questions
How do I choose the right heat setting for my hair?
Use low or medium heat if you have fine, thin, or damaged hair to avoid over-drying and breakage. For thick or coarse hair, a higher setting is generally safe, but always start lower and increase only if needed. The goal is to dry and style without causing frizz or damage.
Can I blow dry my hair every day?
Yes, but daily heat styling can lead to dryness and breakage over time, especially if you don’t use a heat protectant. To minimize damage, use the lowest effective heat setting, keep the dryer moving, and consider air drying a few days a week. A good heat protectant is non-negotiable for daily use.
What’s the best way to add volume when blow drying?
For volume, start by rough drying your hair upside down to lift the roots. Then use a round brush to pull sections upward and away from the scalp while drying. Finish each section with a cool shot to lock in the lift. Avoid heavy styling products at the roots, as they can weigh hair down.
How can I make my blowout last longer?
To extend your blowout, sleep on a silk or satin pillowcase to reduce friction and frizz. Avoid touching your hair too much during the day, as natural oils can weigh it down. You can also refresh the style with a quick cool shot from the dryer the next morning without rewashing.
Why does my hair get frizzy after blow drying?
Frizz often happens when you blow dry against the direction of hair growth or skip the heat protectant. Always point the nozzle downward from roots to ends to smooth the cuticle. Also, make sure your hair is not soaking wet when you start, rough dry it to 70-80% first. Using a concentrator nozzle helps too.
Final Thoughts
My tip: invest in a quality heat protectant and a blow dryer with a concentrator nozzle. Those two items make the biggest difference. Realistically, expect your first few attempts to take closer to 45 minutes, but with practice you will get faster. Once you master the technique, you will save money on salon visits and love the results.