 Save
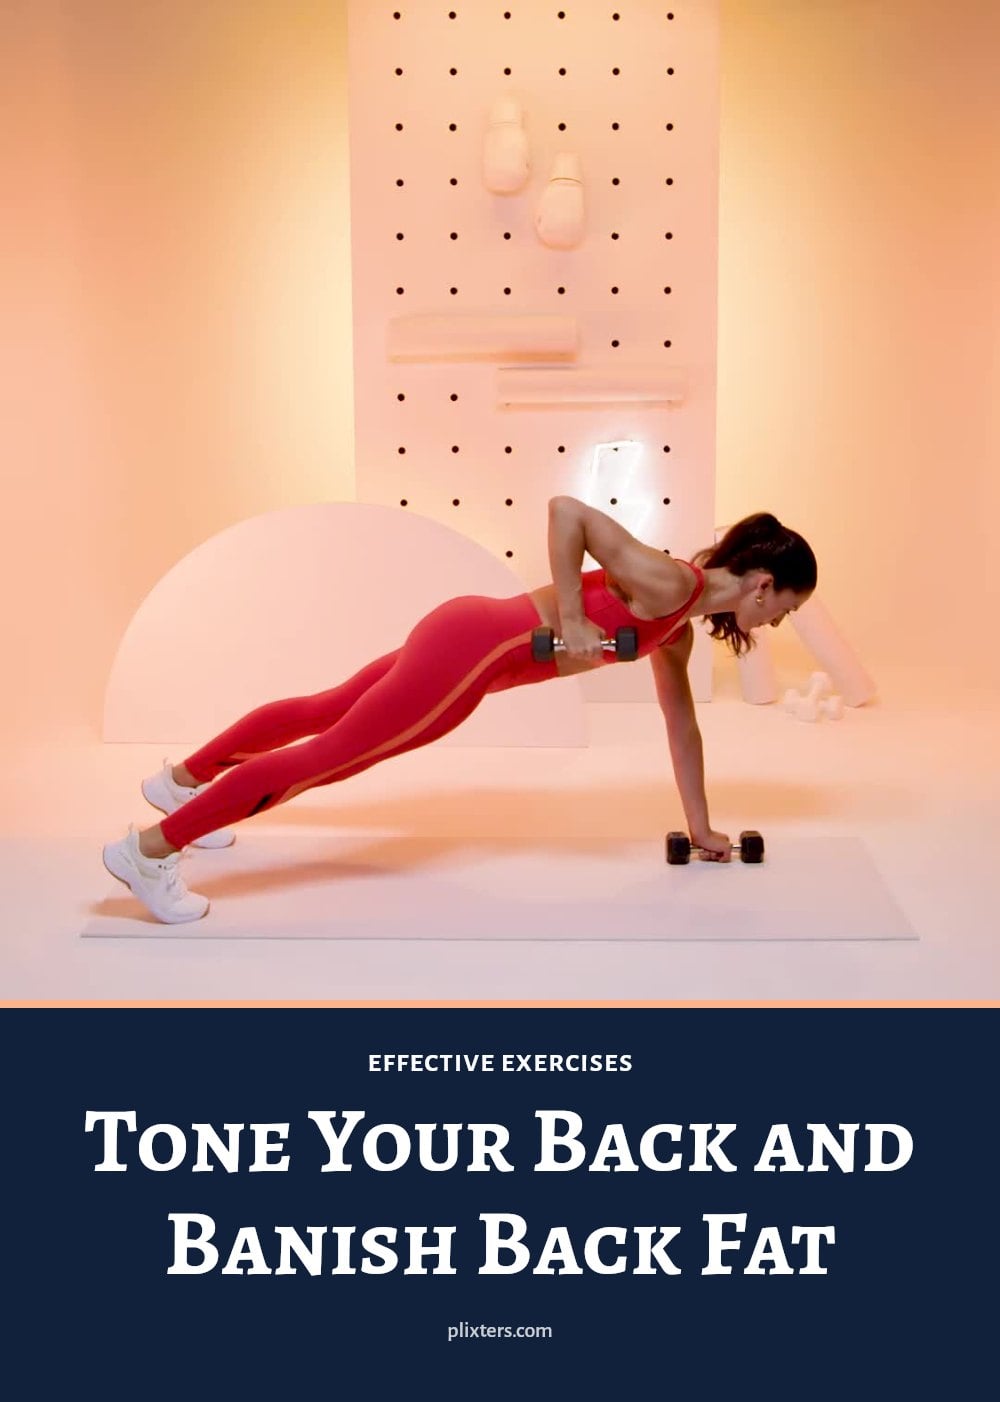
Noticing some extra fullness around your bra line or lower back can be frustrating, but you can definitely tone that area at home. While you can’t spot-reduce fat from just one place, building muscle in your back through targeted exercises helps create a smoother, more sculpted look. This article covers eight effective moves to strengthen your back muscles, plus a sample weekly plan to help you stay consistent.
Key Takeaways
- Spot reduction isn’t possible; overall fat loss through diet and cardio is needed to reduce back fat.
- Building back muscle with exercises like rows and pull-aparts creates a more toned appearance.
- Poor posture can make back fat look more prominent, so focus on standing and sitting tall.
- Consistency over several weeks to months is key to seeing noticeable changes in muscle tone.
- Include strength training, cardio, and rest days in your weekly routine for best results.
12 ideas in this post
1. Warm-Up: Arm Circles

Stand with your feet shoulder-width apart and extend your arms straight out to the sides, parallel to the floor. Make small circles forward for 30 seconds, then switch to backward circles for another 30 seconds. Gradually increase the size of the circles as you go.
- Time: 30 seconds forward, 30 seconds backward
- Form cue: Keep your shoulders relaxed and your core engaged throughout
- Make it easier or harder: Start with tiny circles and grow them; for a challenge, hold light weights
2. Superman
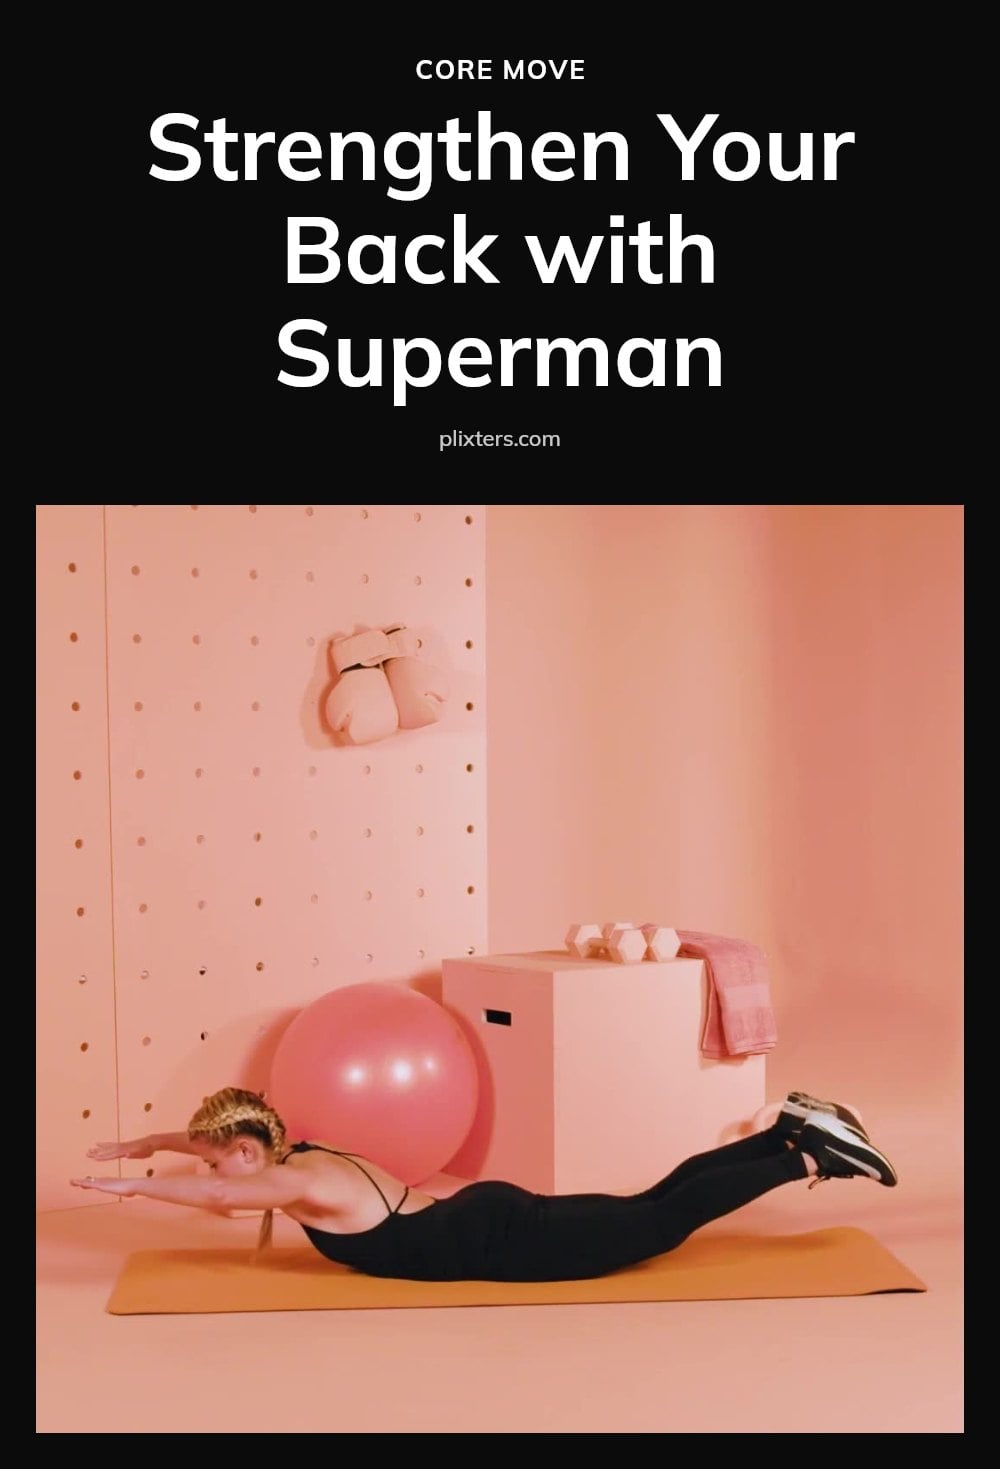
Lie face down on an exercise mat with your arms extended forward and legs straight. Engage your core and glutes, then lift your arms, chest, and legs a few inches off the floor simultaneously. Hold for 2-3 seconds, feeling the squeeze in your lower back and glutes, then slowly lower back down.
- Sets and reps: 3 sets of 10-12 repetitions
- Form cue: Focus on controlled movement, not height; keep your neck neutral
- Make it easier or harder: Lift only your upper body first, or add a 2-second hold at the top
3. Bent-Over Dumbbell Rows
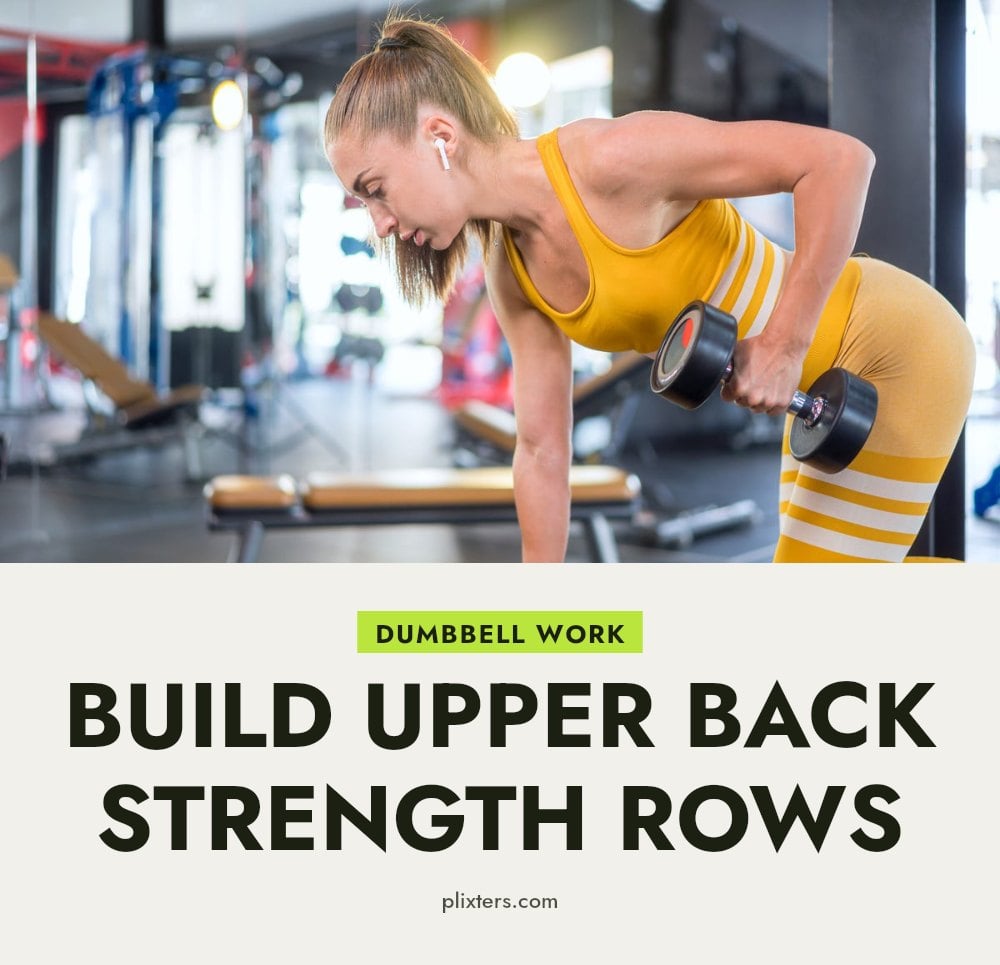
Stand with feet hip-width apart, holding a dumbbell in each hand, palms facing each other. Hinge at your hips, keeping your back straight and core engaged, until your torso is nearly parallel to the floor. Let the dumbbells hang straight down, then pull them up toward your chest, squeezing your shoulder blades together. Slowly lower back down.
- Sets and reps: 3 sets of 10-12 repetitions
- Form cue: Keep your back flat and hinge from the hips, not the waist
- Make it easier or harder: Use light dumbbells or water bottles; increase weight gradually
4. Resistance Band Pull-Aparts
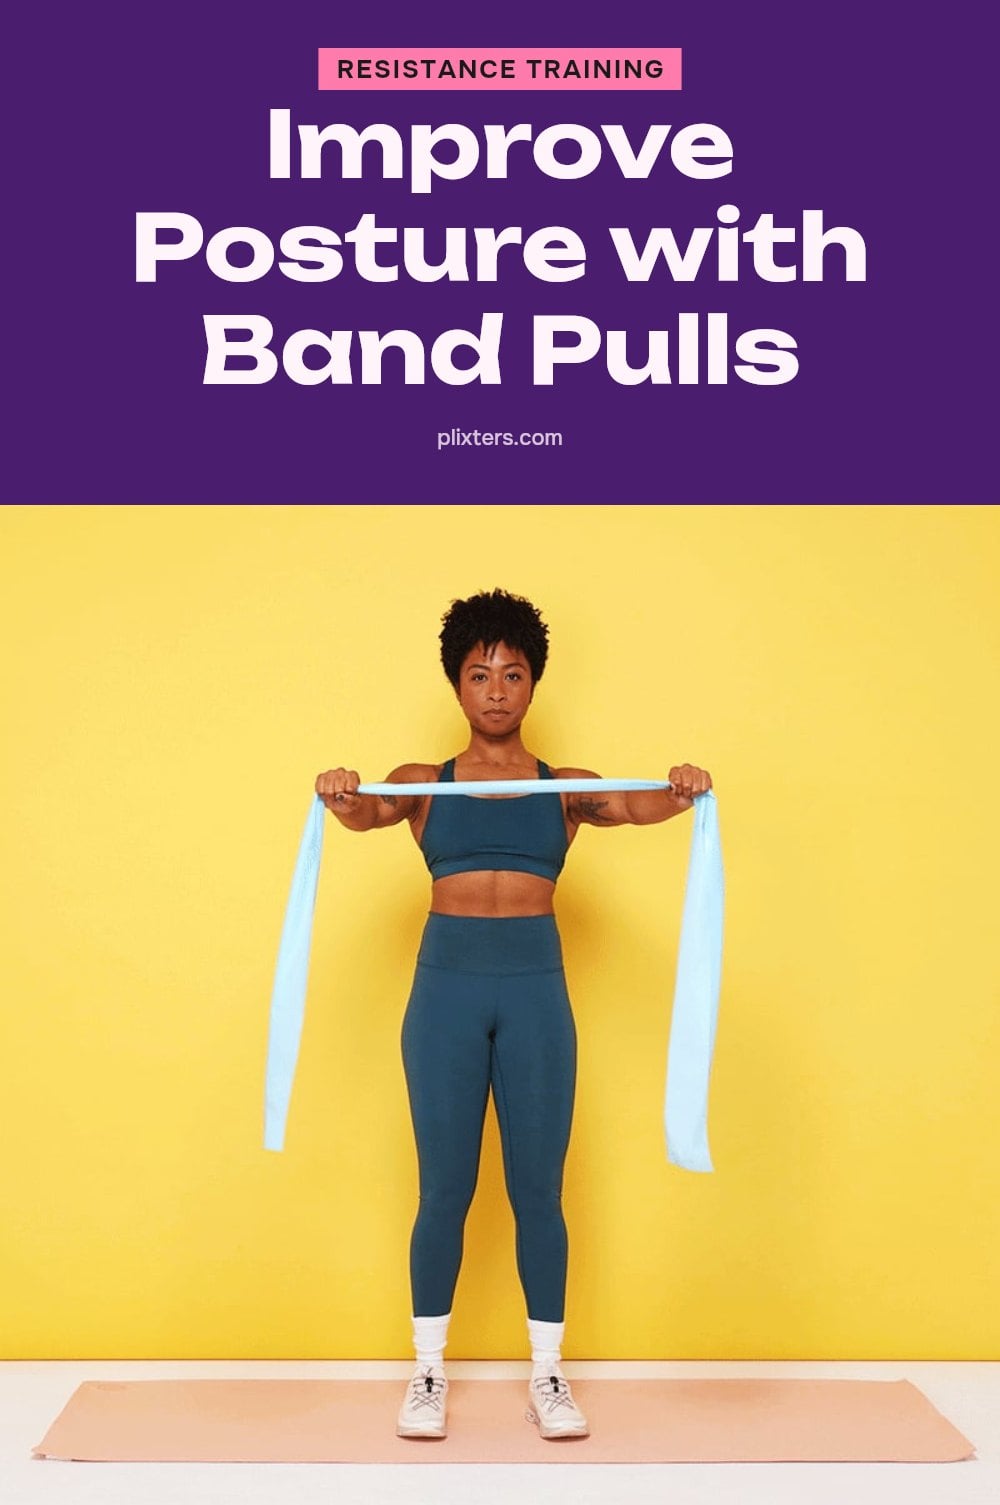
Stand tall, holding a resistance band with both hands, arms extended straight out in front of you at shoulder height. Keeping your arms straight, pull the band apart by moving your hands outward, squeezing your shoulder blades together. Control the movement as you slowly return to the starting position.
- Sets and reps: 3 sets of 12-15 repetitions
- Form cue: Focus on squeezing the shoulder blades, not just moving the arms
- Make it easier or harder: Use a lighter band or grip closer together; for more resistance, grip wider
5. Bodyweight Reverse Fly
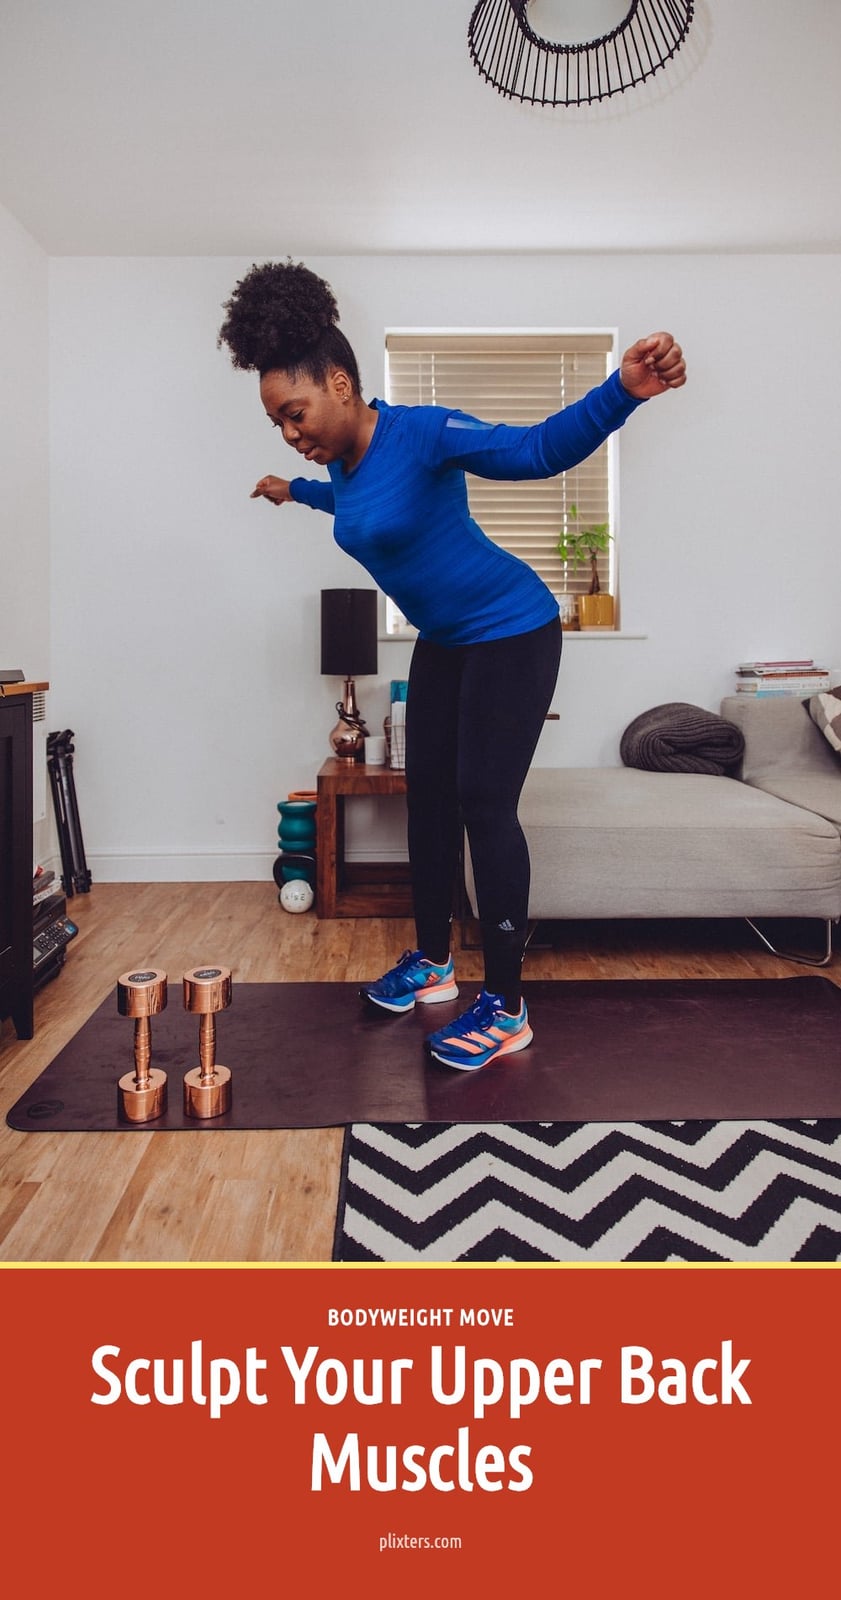
Stand with feet hip-width apart, knees slightly bent. Hinge at your hips, keeping your back straight, until your torso is nearly parallel to the floor. Let your arms hang down with a slight bend in your elbows, palms facing each other. Lift your arms out to the sides, squeezing your shoulder blades together, then lower with control. This bodyweight version of a reverse fly targets the upper back without any equipment.
- Sets and reps: 3 sets of 12-15 repetitions.
- Form cue: Focus on squeezing your shoulder blades together at the top of the movement.
- Make it easier or harder: Use no weight, or hold a light dumbbell in each hand for added resistance.
6. Plank with Arm Reach

Start in a high plank position with your hands directly under your shoulders and your body in a straight line. Keeping your core tight and hips stable, slowly reach one arm straight forward. Hold for a moment, then return to plank and switch arms. This move challenges your core and back stabilizers while improving shoulder stability.
- Sets and reps: 3 sets of 8-10 reaches per arm.
- Form cue: Keep your hips square to the floor; don’t let them rotate as you reach.
- Make it easier or harder: Perform from your knees, or add a light ankle weight to the reaching arm.
7. Cat-Cow Stretch
Start on all fours with your hands under your shoulders and knees under your hips. Inhale, drop your belly toward the mat, lift your chest and tailbone (Cow pose). Exhale, round your spine toward the ceiling, tuck your chin to your chest (Cat pose). Flow between these two poses with your breath for a gentle spinal mobilization and stretch.
- Time: 1 minute of slow, controlled movement.
- Form cue: Move only as far as feels comfortable; avoid jerking or forcing the stretch.
- Make it easier or harder: Slow the pace to deepen the stretch, or add a hold of 2-3 breaths at the peak of each pose.
8. Child’s Pose
From all fours, sit your hips back toward your heels, keeping your big toes touching. Walk your hands forward and rest your forehead on the mat. Allow your chest to sink toward your thighs, feeling a gentle stretch in your back and shoulders. Hold this position and focus on deep, relaxing breaths.
- Time: Hold for 30-60 seconds.
- Form cue: Let your entire body relax with each exhale; soften your jaw and shoulders.
- Make it easier or harder: Place a pillow under your forehead for support, or spread your knees wider for a deeper hip stretch.
Your Weekly Back Toning Plan
This sample plan pairs the exercises above with cardio and rest days so your back gets both strength work and recovery time. Aim for three strength sessions, two cardio sessions, and two rest days each week.
| Day | Activity | Duration |
|---|---|---|
| Monday | Back strength circuit (all 8 exercises) | 30-40 min |
| Tuesday | Brisk walking or cycling | 30 min |
| Wednesday | Rest or gentle stretching | 15-20 min |
| Thursday | Back strength circuit (all 8 exercises) | 30-40 min |
| Friday | Swimming or dancing | 30 min |
| Saturday | Rest or light yoga | 20-30 min |
| Sunday | Back strength circuit (all 8 exercises) | 30-40 min |
Adjust the intensity to your fitness level. If you feel sore, take an extra rest day or swap strength for a walk. Consult a doctor or fitness professional before starting if you have any health concerns or injuries.
Common Mistakes to Avoid When Toning Your Back
Believing in spot reduction: You cannot choose where your body loses fat. Focus on overall fat loss through a balanced diet and regular exercise, and the back will follow.
Neglecting strength training: Cardio burns calories, but strength training builds the muscle that gives your back a toned shape. Include both in your routine.
Using incorrect form: Poor technique can strain your back and reduce results. Prioritize proper posture over heavier weights or more repetitions.
Being inconsistent: Muscles adapt only with regular stimulus. Stick to your workout schedule and healthy eating habits for several weeks to see change.
Wearing ill-fitting bras: A too-tight band or wrong cup size can create bulges that look like back fat. Get professionally fitted and try different styles.
Expecting immediate results: Body changes take time and patience. Celebrate small wins, like improved posture or stronger form, and trust the process.
Frequently Asked Questions
How long does it take to see results from back fat exercises?
Most people need consistent effort over several weeks to months to notice visible changes in muscle tone and body composition. How quickly you see results depends on factors like your starting point, diet, workout frequency, and genetics. Stay patient and focus on building a routine you can stick with.
Can diet alone get rid of back fat?
Diet plays a major role in overall fat loss, but relying on diet alone won’t target the back specifically. A balanced diet supports fat reduction everywhere, while strength training builds the back muscles that create a toned look. For best results, combine healthy eating with regular exercise.
Do resistance bands help with back fat?
Resistance bands are a great tool for strengthening back muscles, which can improve muscle tone and posture. They won’t directly remove fat from the back, but building muscle underneath can make the area appear firmer and smoother. Use them in exercises like pull-aparts to target the upper back.
What causes back fat besides weight gain?
Genetics play a big role in where your body stores fat, and some people naturally carry more in the back area. Poor posture can also make back fat look more prominent by causing the skin to bunch. Additionally, wearing a bra that is too small can create visible bulges that aren’t actually excess fat.
Is it possible to target fat loss in the back area?
No, spot reduction is not scientifically supported. You cannot choose where your body loses fat through exercise alone. To reduce fat in the back, you need to lower your overall body fat percentage through a combination of a calorie-controlled diet, cardiovascular exercise, and strength training.
Final Thoughts
For real results, stick with a balanced routine that combines these back-strengthening moves with regular cardio and a healthy diet. Expect to see gradual changes over several weeks to months, not overnight. My tip: pay attention to your posture throughout the day, because standing taller instantly makes your back look smoother and helps your hard work show.
This article is for general informational purposes only and does not constitute medical or professional advice. Before starting any new exercise program, consult your doctor, especially if you have pre-existing health conditions or injuries. For persistent or serious concerns, speak with a qualified healthcare provider.