 Save
If you use a flat iron, curling wand, or blow dryer, you already know heat can be hard on your hair. But here’s the thing: how you apply your heat protectant matters just as much as whether you use it. Getting it right means every strand is covered and protected, without the greasy, weighed-down look that comes from overdoing it. In this article, I’ll walk you through the correct way to apply heat protectant, what to avoid, and how to pick the best formula for your hair type.
Key Takeaways
- Apply heat protectant to damp hair before blow-drying, and to dry hair before flat ironing or curling.
- Comb through after applying to ensure even distribution from roots to ends.
- Use a light mist or small amount; too much can leave hair greasy.
- Choose a formulation for your hair type: spray for fine, cream for thick or dry, serum for frizz.
- Always use the lowest effective temperature setting on your styling tools.
9 ideas in this post
- Why Heat Protectant Is Your Hair’s Best Friend
- Your Essential Heat Protection Toolkit
- Step-by-Step: Applying Heat Protectant for Maximum Protection
- Choosing the Right Heat Protectant for Your Hair Type and Styling
- Common Heat Protectant Mistakes and How to Fix Them
- Expert Tips for Optimal Heat Protection
- When to Consult a Hair Professional
- Frequently Asked Questions
- Final Thoughts
Why Heat Protectant Is Your Hair’s Best Friend
Heat protectant is your hair’s best friend because it creates a thermal barrier on the hair shaft. This barrier slows down heat conduction and distributes heat more evenly, so your strands don’t take the full brunt of your flat iron or curling wand. It also helps seal the cuticle, reducing moisture loss that leads to dryness, split ends, and breakage. Without it, the high heat from styling tools can damage hair proteins, leaving your hair brittle and dull.
Your Essential Heat Protection Toolkit
To get the most out of your heat protectant, you need the right toolkit. Here’s what I keep on hand:
- Heat protectant spray: Ideal for even coverage, especially on fine hair.
- Heat protectant cream: Best for thick or dry hair that needs extra moisture.
- Heat protectant serum: Targets frizz and adds shine, great for smoothing.
- A comb or brush: Ensures the product is distributed evenly through every strand.
- Hair clips: Help you section your hair for thorough application.
- Your heat styling tools: Flat iron, curling iron, or blow dryer, whichever you use.
Step-by-Step: Applying Heat Protectant for Maximum Protection
Applying heat protectant correctly makes all the difference. Follow these steps for maximum protection.
- Start with clean, damp hair: Wash and towel-dry your hair so it’s damp but not soaking wet. This is the right time to apply protectant before blow-drying.
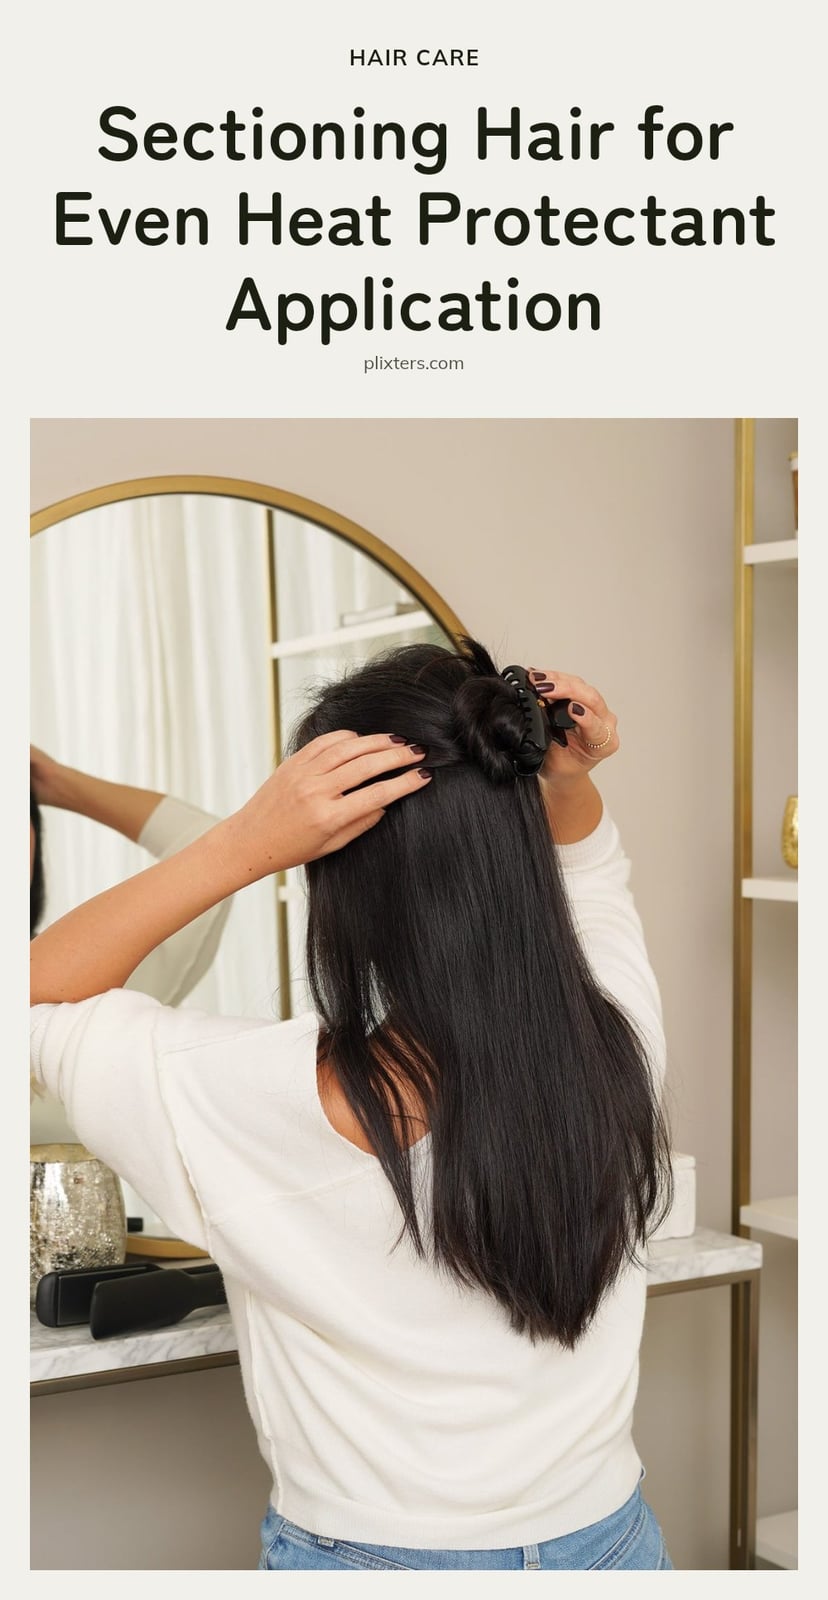
- Section your hair: Use clips to divide your hair into manageable sections. My tip: I always section my hair to make sure every strand gets coated!
- Apply product evenly: Spray or work a small amount of cream or serum from roots to ends. Don’t oversaturate, a light mist or pea-sized amount is usually enough.
- Comb through: Use a wide-tooth comb to distribute the product evenly, ensuring no section is left unprotected.
- Blow-dry completely: Dry your hair fully before using any flat iron or curling iron. Heat protectant applied to damp hair is not enough for dry styling.
- Apply a separate protectant for dry styling: If you’re flat ironing or curling after blow-drying, use a protectant formulated for dry hair. Apply it evenly and comb through again.
Choosing the Right Heat Protectant for Your Hair Type and Styling
Choosing the right heat protectant depends on your hair type and styling routine. Here’s a quick comparison to help you decide.
| Formulation | Best For | Key Benefit |
|---|---|---|
| Spray | Fine or thin hair | Lightweight, even coverage |
| Cream | Thick or dry hair | Adds moisture and control |
| Serum | Frizzy or dull hair | Smooths frizz, adds shine |
Some products are formulated specifically for wet or dry application, so check the label. My tip: finding the right one for your hair makes a huge difference.
Common Heat Protectant Mistakes and How to Fix Them
Applying too much product: A heavy hand leaves hair greasy and weighed down. Use a light mist or a small amount of cream, then add more only if needed.
Uneven distribution: Spraying and skipping the comb leaves some strands unprotected. Always comb through after application to coat every section evenly.
Wrong application timing: Damp hair before blow-drying, dry hair before flat ironing or curling. Using the wrong one at the wrong time dilutes the product or leaves hair unprotected.
Skipping it entirely: Even occasional heat styling causes cumulative damage. Use a protectant every single time you pick up a hot tool.
Believing hair is invincible: Heat protectant reduces damage, it doesn’t eliminate it. Still set your tool to the lowest effective temperature.
My tip: I used to overspray and then wonder why my hair looked flat. A light mist, a quick comb, and the right timing made all the difference.
Expert Tips for Optimal Heat Protection
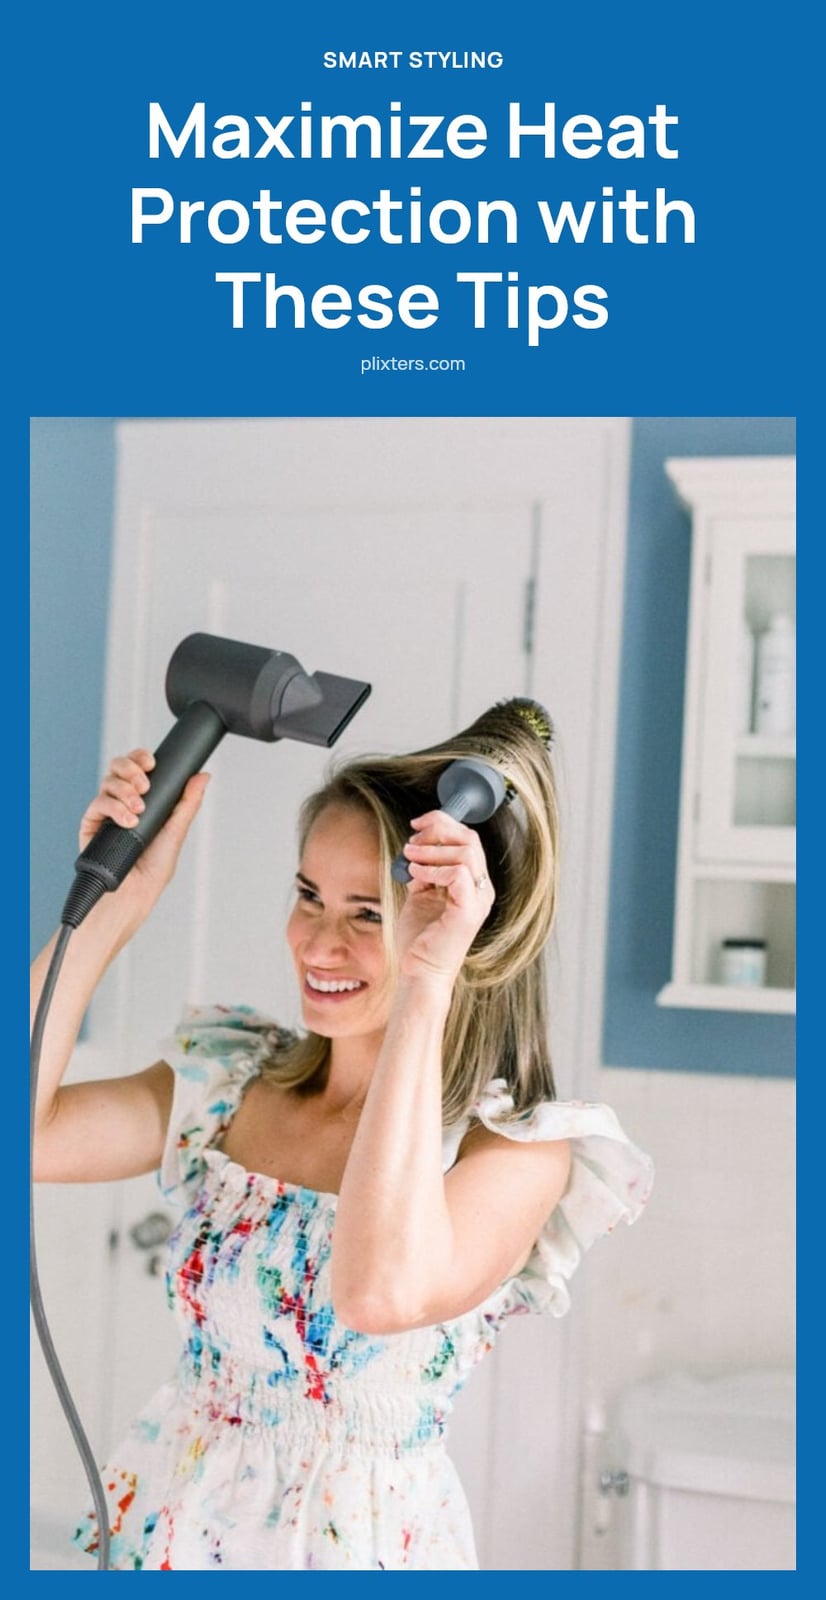
Layering Products: If you blow-dry and then flat iron, use a protectant for damp hair first, then a separate one for dry hair. This ensures each tool gets the right formulation.
Temperature Control: Always use the lowest effective temperature setting on your styling tools, even with protectant. Heat tools can reach 300°F to 450°F, which can damage hair proteins.
Targeted Application: Focus on the mid-lengths and ends, which are most prone to damage. Roots are newer and less fragile, so a light mist there is enough.
Ventilation: Apply sprays in a well-ventilated area to avoid inhaling mists. Step outside or near an open window when you spray.
When to Consult a Hair Professional
If your scalp stays red, itchy, or painful after using a heat protectant, stop using it and see a dermatologist. Persistent irritation or an allergic reaction is a sign the product isn’t right for you.
Also book a consultation if your hair keeps showing significant damage, like breakage or split ends, even though you apply protectant every time. A professional can spot underlying issues and recommend products tailored to severe damage or your specific hair concerns.
Frequently Asked Questions
Can I use heat protectant on dry hair before blow-drying?
No, heat protectant should be applied to damp, towel-dried hair before blow-drying. Applying it to dry hair before blow-drying is a common mistake because the product won’t distribute as evenly and may not provide the same level of protection. For dry hair, use a protectant only before flat ironing or curling.
How often should I use heat protectant?
Use heat protectant every time you use a heat styling tool, even if it’s just a quick touch-up. Skipping it occasionally can still lead to cumulative damage over time. Make it a habit to apply immediately before styling, and reapply if you’re doing multiple passes or using multiple tools.
Does heat protectant really prevent all damage?
No, heat protectant reduces damage by creating a thermal barrier and distributing heat more evenly, but it doesn’t make your hair invincible. High heat can still cause dryness, split ends, and breakage over time. That’s why it’s important to use the lowest effective temperature and not rely solely on the product.
Can heat protectant make my hair greasy?
Yes, if you use too much, heat protectant can weigh hair down and make it look greasy. The key is to apply a light, even mist or a small amount of cream, and add more only if needed. Comb through to distribute the product evenly and avoid concentrating it in one spot.
Is heat protectant necessary for low heat settings?
Yes, even low heat settings can cause damage over time, especially with frequent styling. Heat protectant is recommended whenever you use any heat tool, regardless of the temperature. It adds an extra layer of defense and helps keep your hair healthy, so don’t skip it just because you’re using a cooler setting.
Final Thoughts
For the best protection, make heat protectant a non-negotiable step every time you style with heat. My tip: keep a spray for damp hair and a separate cream or serum for dry touch-ups, so you’re never caught without the right formula. Remember, even with protectant, no heat styling is completely damage-free, so stick to the lowest effective temperature and give your hair a break when you can. With consistent care, you’ll keep your strands stronger and shinier for longer.